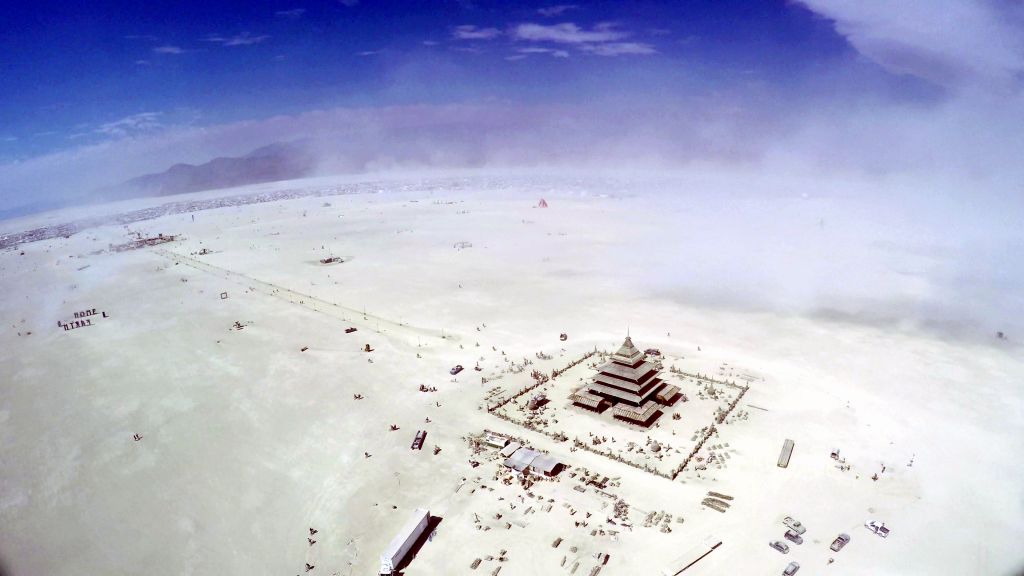
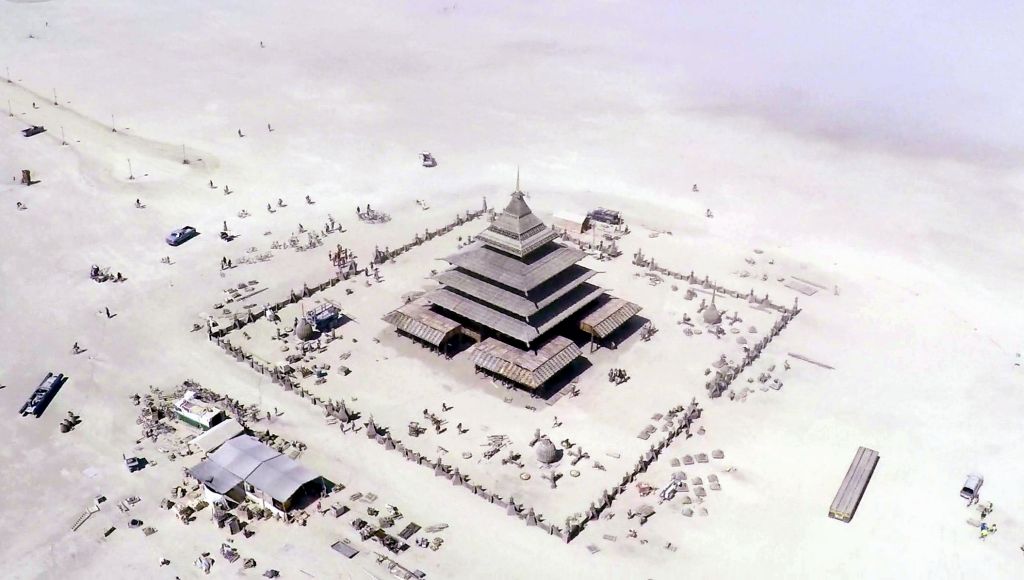
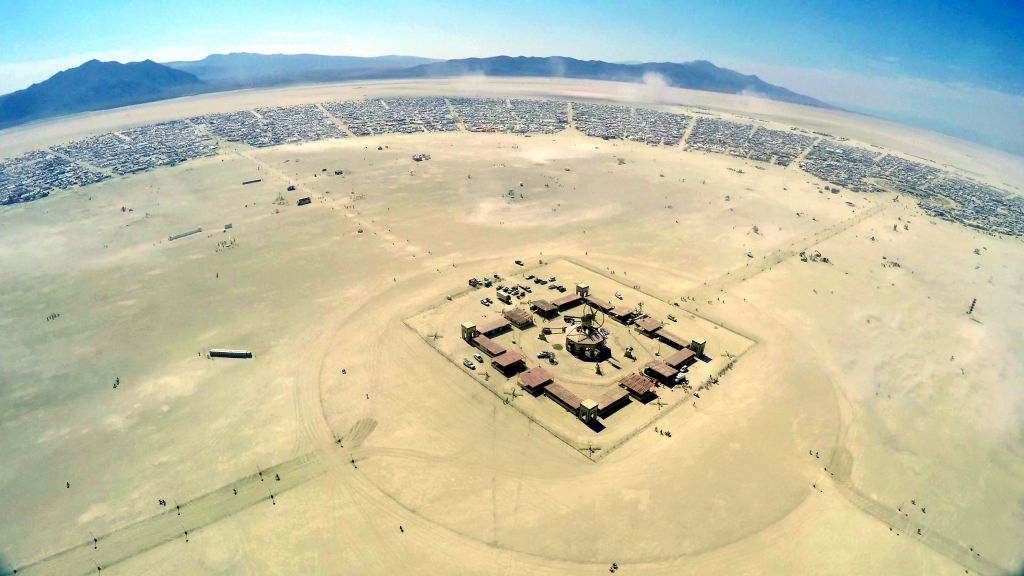
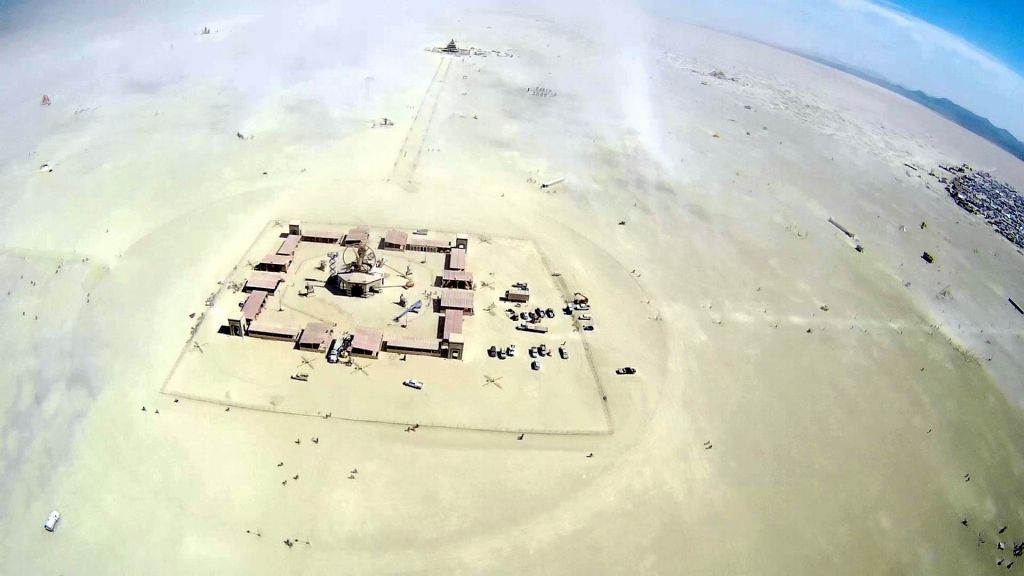
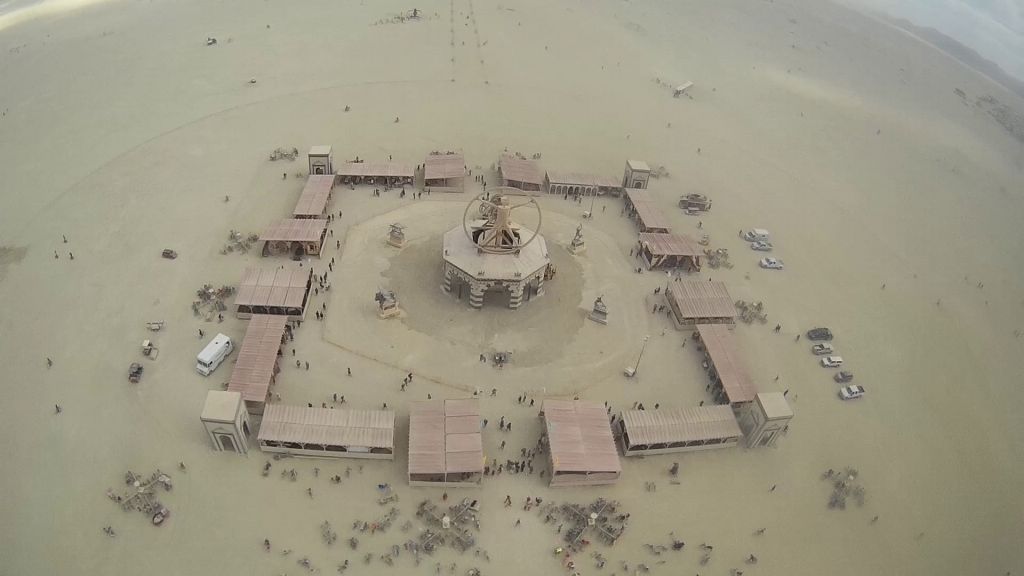
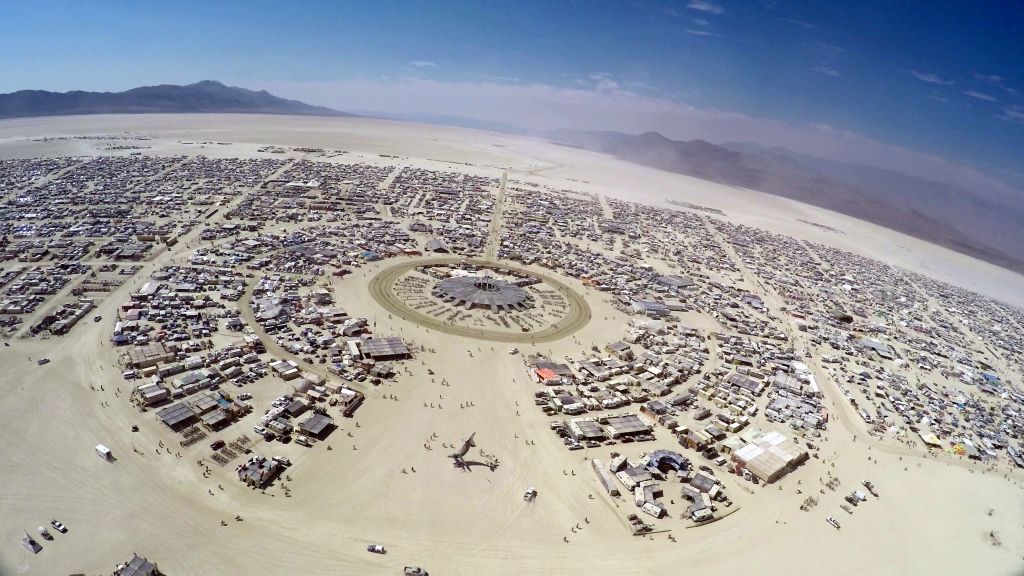
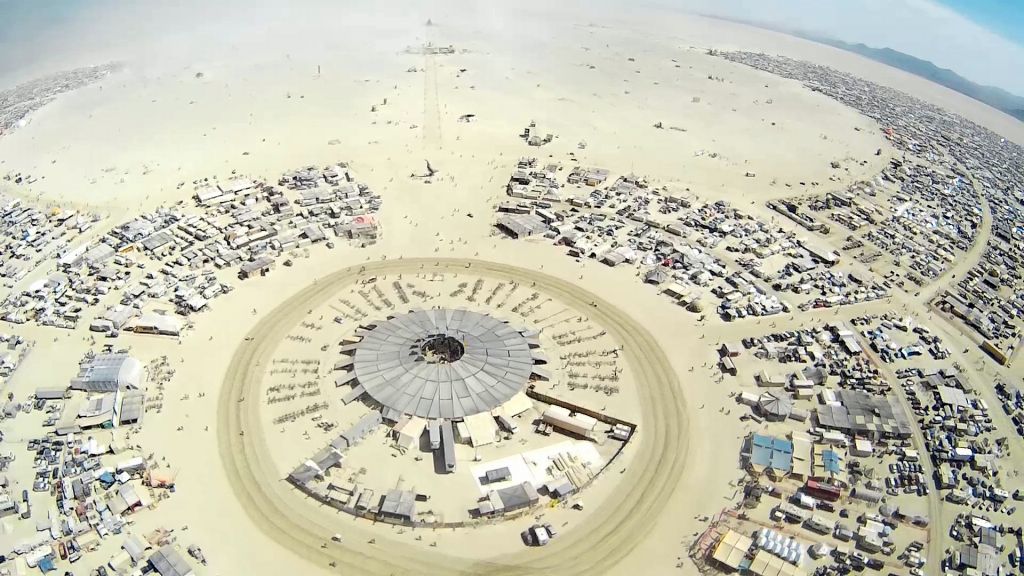
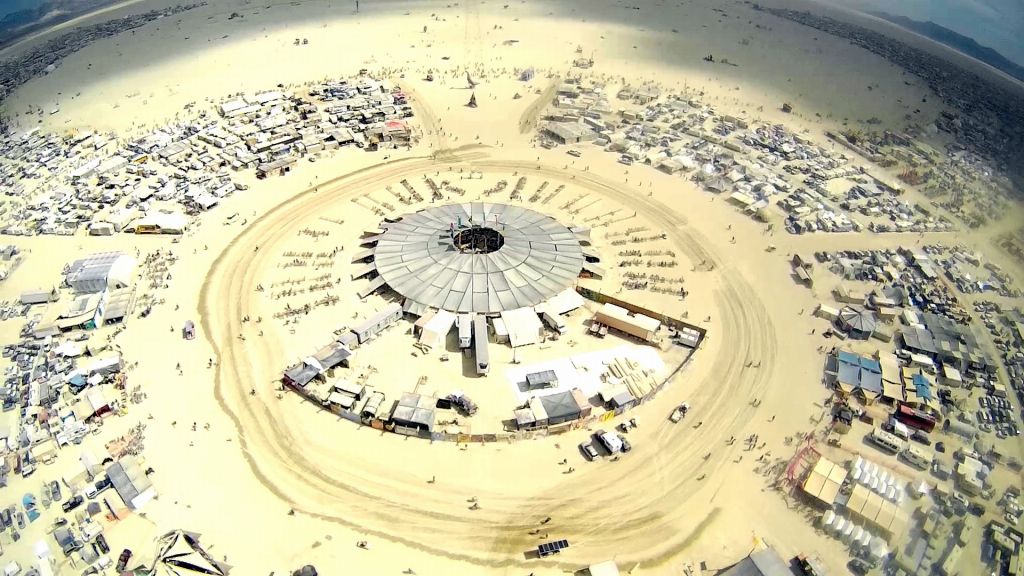
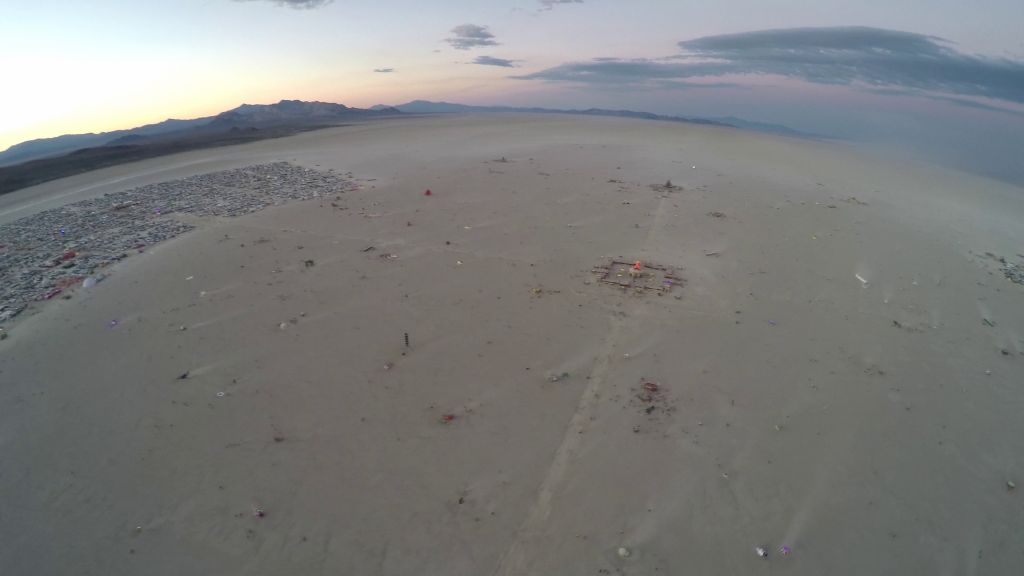
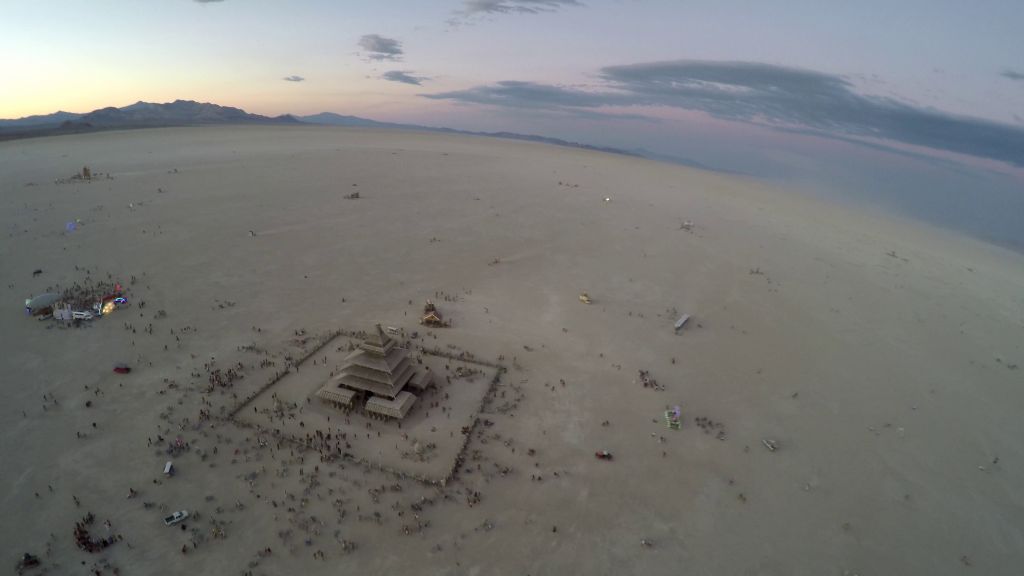
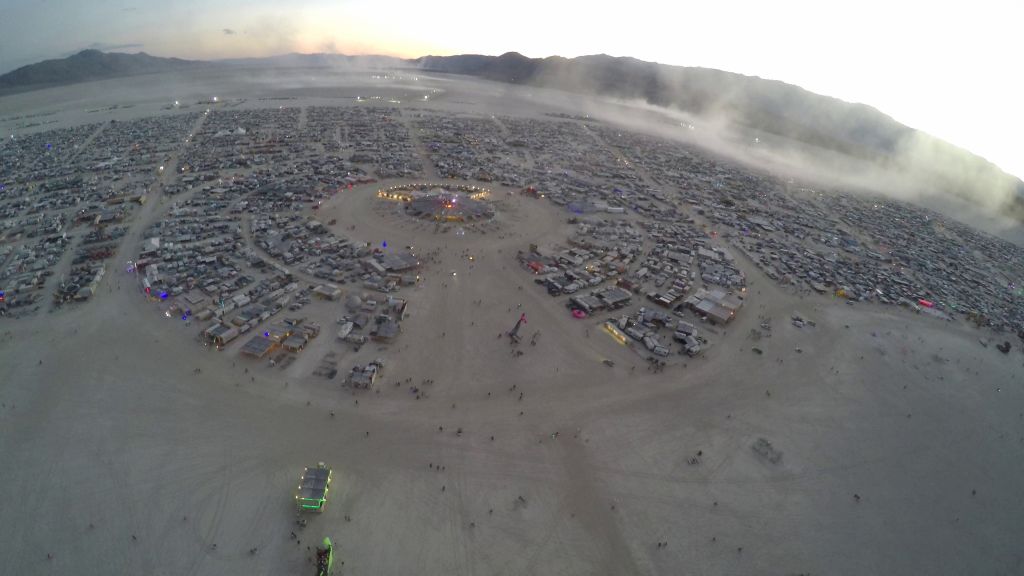
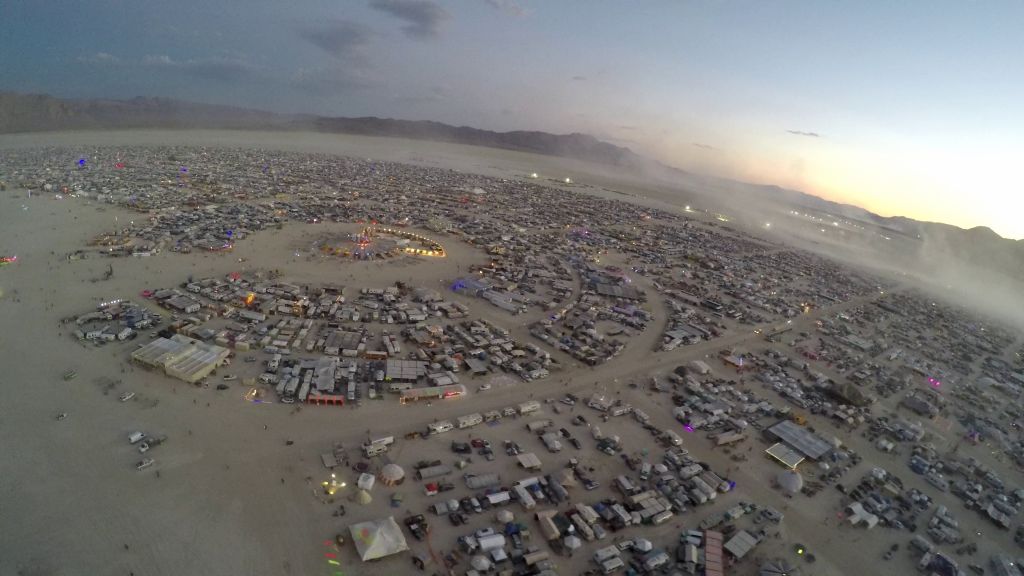
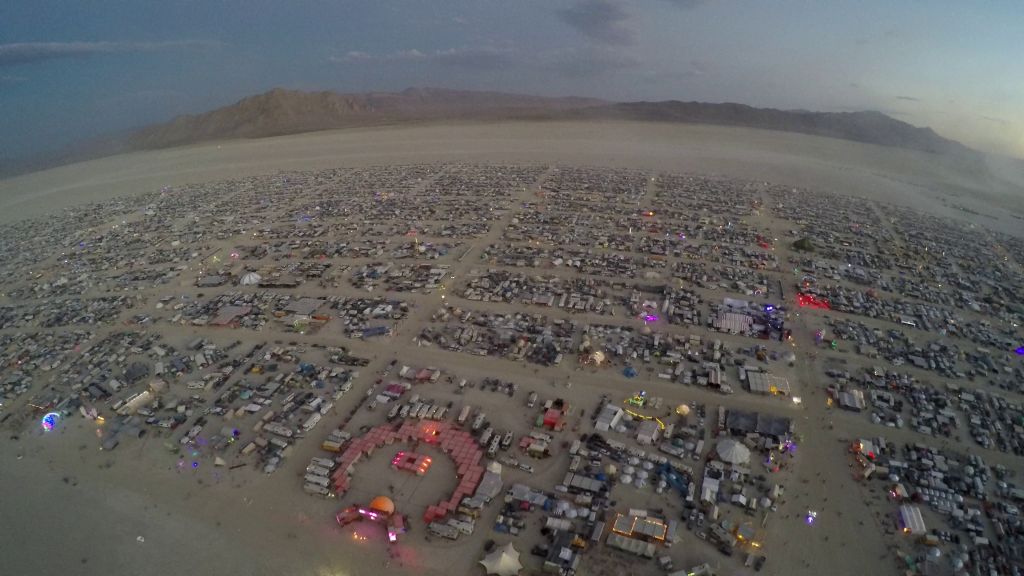
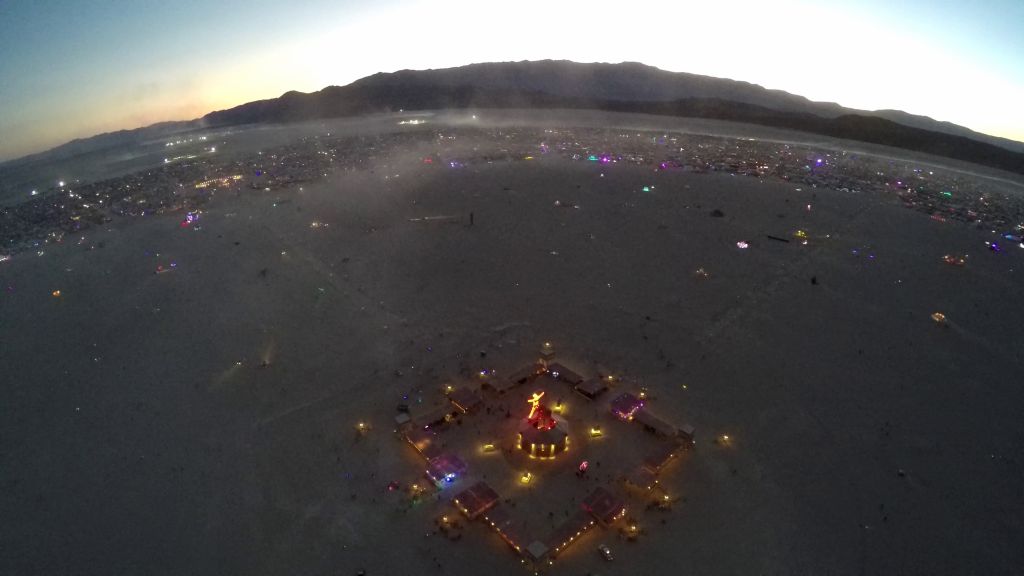
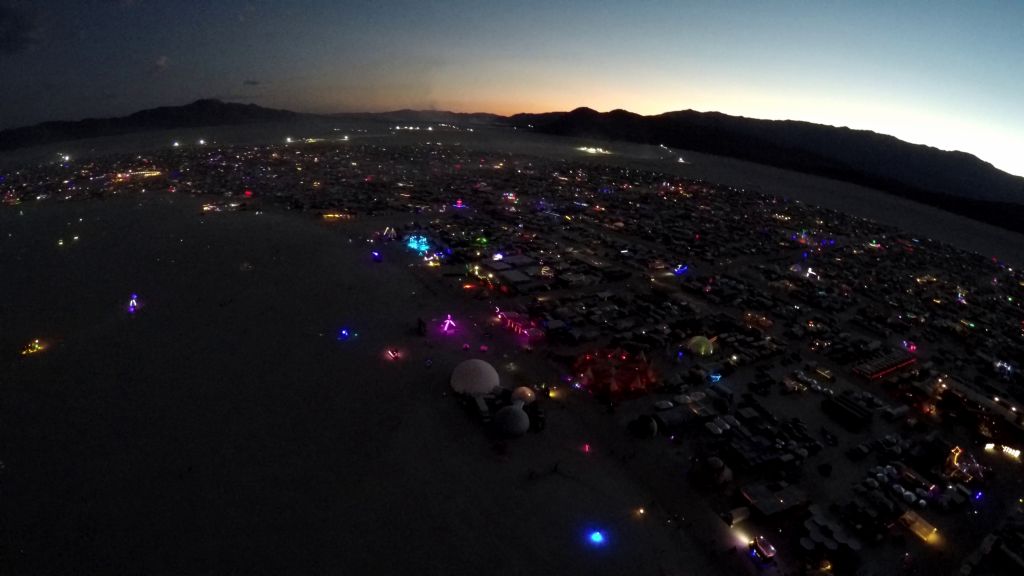
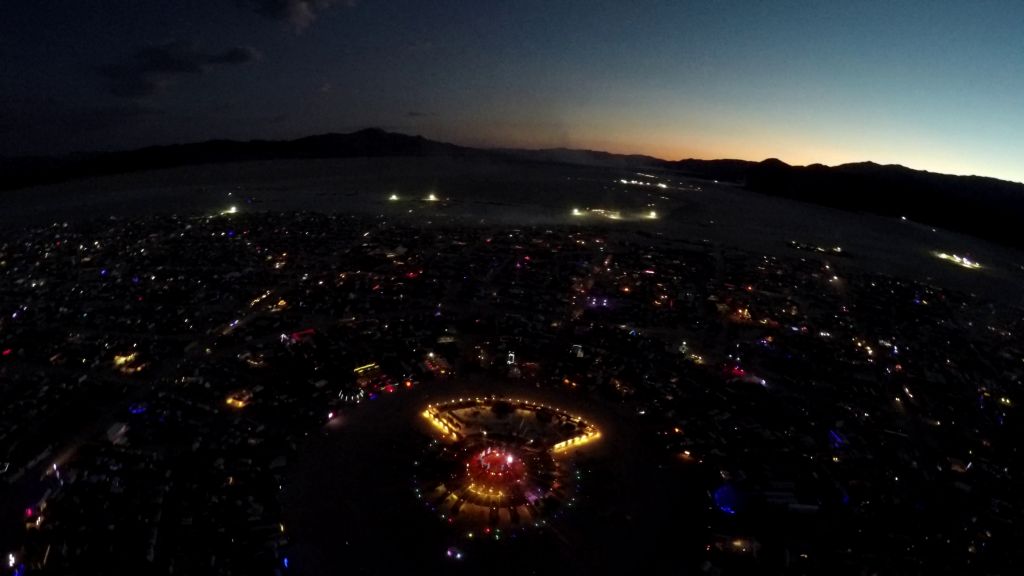
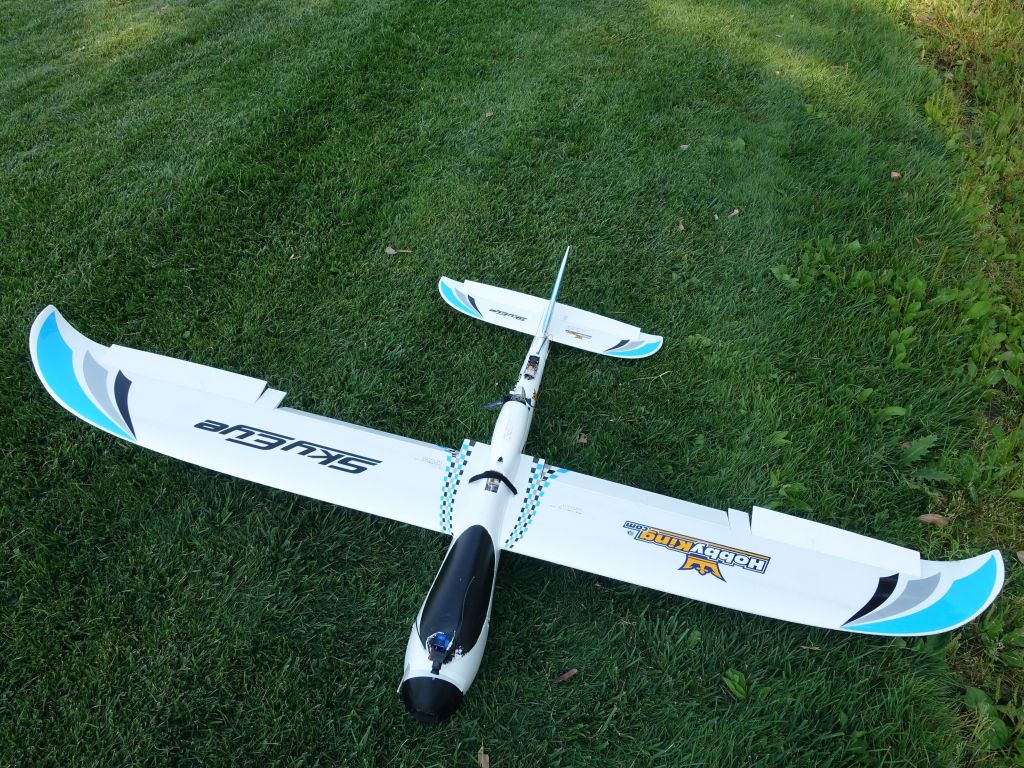
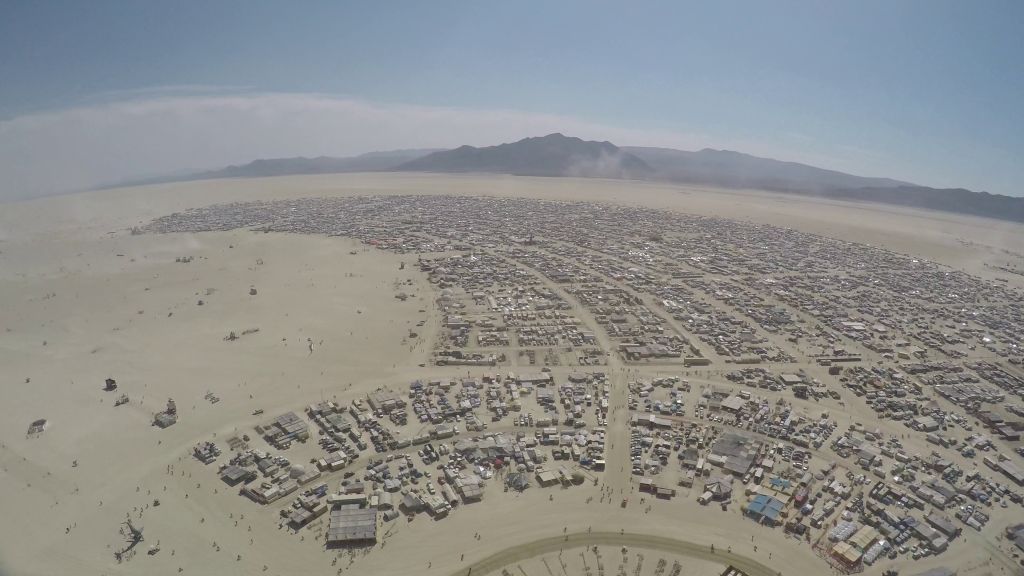
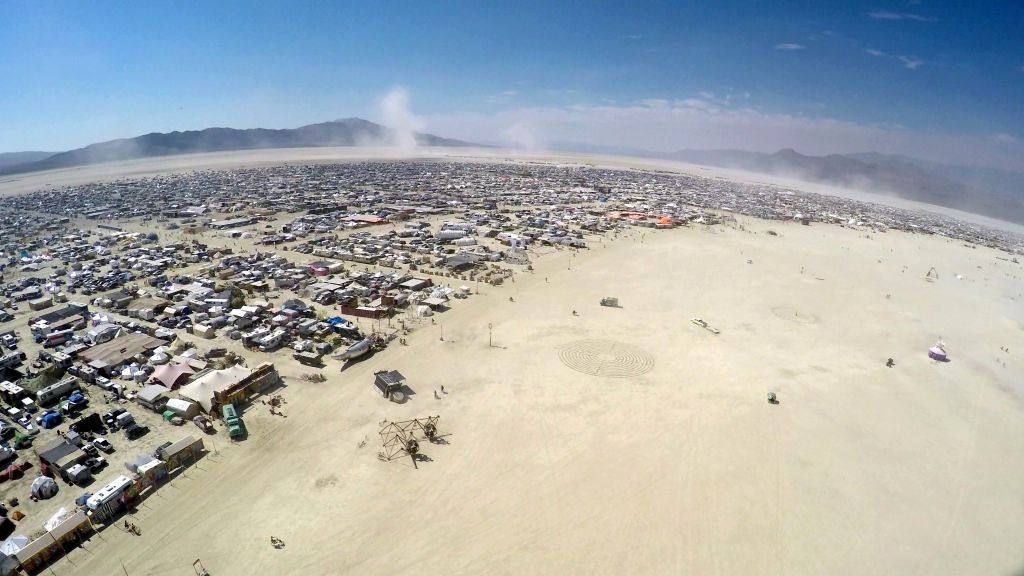
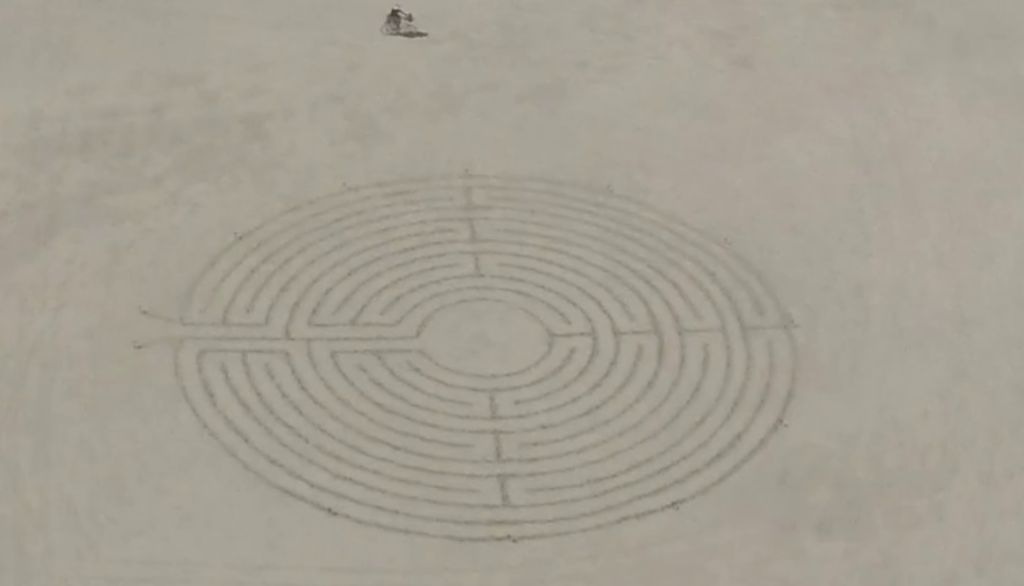
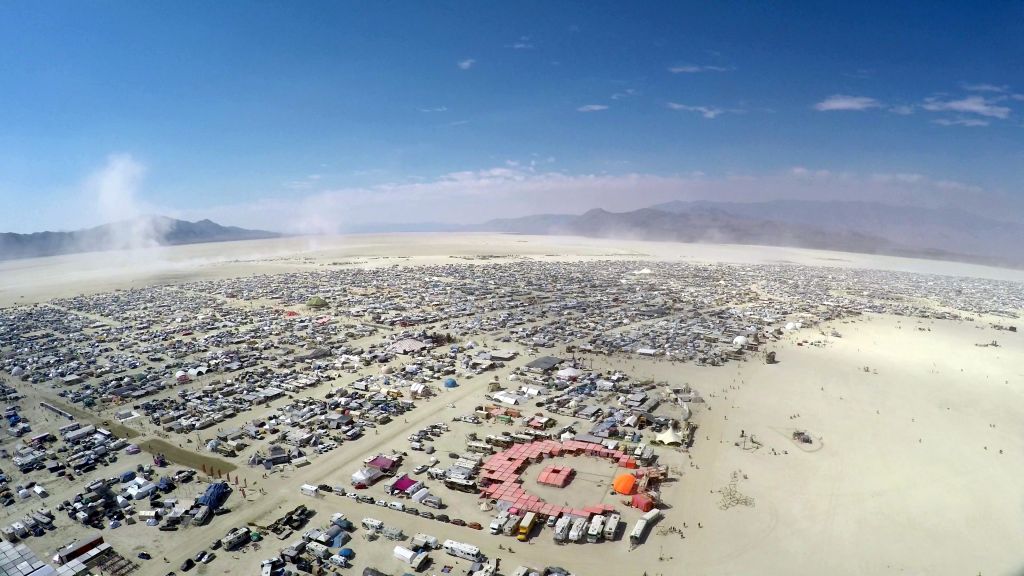
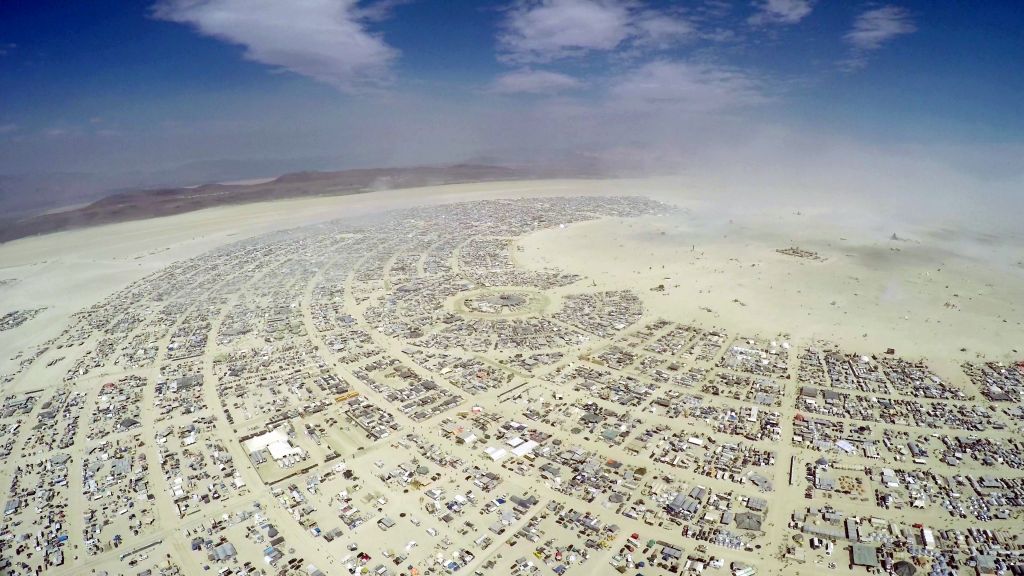
I needed a new plane for my plans of overflying and filming burning man 2016 with 4K resolution, and I ended up choosing the HK Sky Eye for this job (follow the link for the result)
My BFG2600 was my big range, big load FPV platform so far. It's a great platform, but as big as the plane is (2.6m), the cargo bay is not actually that huge, and it's totally packed with electronics, to a point that it's hard not to have them conflict with one another.
The next problem with the BFG is the front propeller, making it hard to get forward facing video without getting the prop in the way (even if it's actually capable of gliding for quite a while without motor power and with the prop folded). Related to this, I wanted to switch to 4K video, and fitting a 4K camera in the plane, preferably forward facing, and without sticking it out the plane where it would foil airflow, didn't seem to be very possible.
So, the previous year I had tried the X-UAV Talon but while it looked good on paper, it was a bit of a handful to fly, and it meant more for long range FPV at high speed than low speed loitering and filming, and due to its wing design and wing loading, it needs a pretty long runway for landing, so it's not ideal for difficult terrain.
Enter the Sky Eye, which is a good compromize between the two by having a pusher prop which is sadly not in the rear like the X-UAV, but still allows decent power (more than 600W if needed), and it comes with an open view front dome:
Power Upgrade
Here are some details on my build. While it comes ARF, I trashed the undersized ESC which I wasn't going to trust and wasn't compatible with a 4S setup anyway (3S was not going to yield enough power for my needs), and while the stock motor did work on the bench, I was not going to trust it to output 700W on 4S when it's rated for 430W on a good day.
So I used a Castle Edge 50 which I knew I could trust and had data logging, along with a bigger motor: NTM 3542 1250KV, 700W/50A peak. The stock setup allows 50-60kph, while my upgraded setup allowed 120kh, which is way safer when flying in high winds.
I'm currently using an aeronaut cam 8x6 prop (8x7 works too but needs a bit more of a throw), and it's making plenty of power
Here's a quick table I wrote then choosing motors and props:
Stock motor, 3536  1200kv, 430W/30A max
RPM     Watt	meterV meterA
12500	295W	11.8V  25A	3S, 8x6, 50-60pkh?
15000	540W	14.8V  38A	4S, 8x6 (>max allowable power 30A/430W)
	690W	15.0V  46A	4S, 8.5x6 (way over max allowable amps), 110kph+

NTM 3542 1250KV, 700W/50A peak
RPM     Watt	meterV  meterA
13000	250W	11.6V  	21A	3S, 8x6 cam folding prop, 60kph?
12300	700W	14.4V	50A	4S, 8.5x6 prop, 60A ESC cutoff
10600	500W    15.0V	33A	4S, 8x6 cam folding prop, 110kph
The space for the motor isn't that big, but I'm thankful the NTM 3542 fits in there. For prop, you can go to 8.5" and if you go to 9" or bigger you need an adapter, or you need to notch the boom, which may or may not be a great idea:
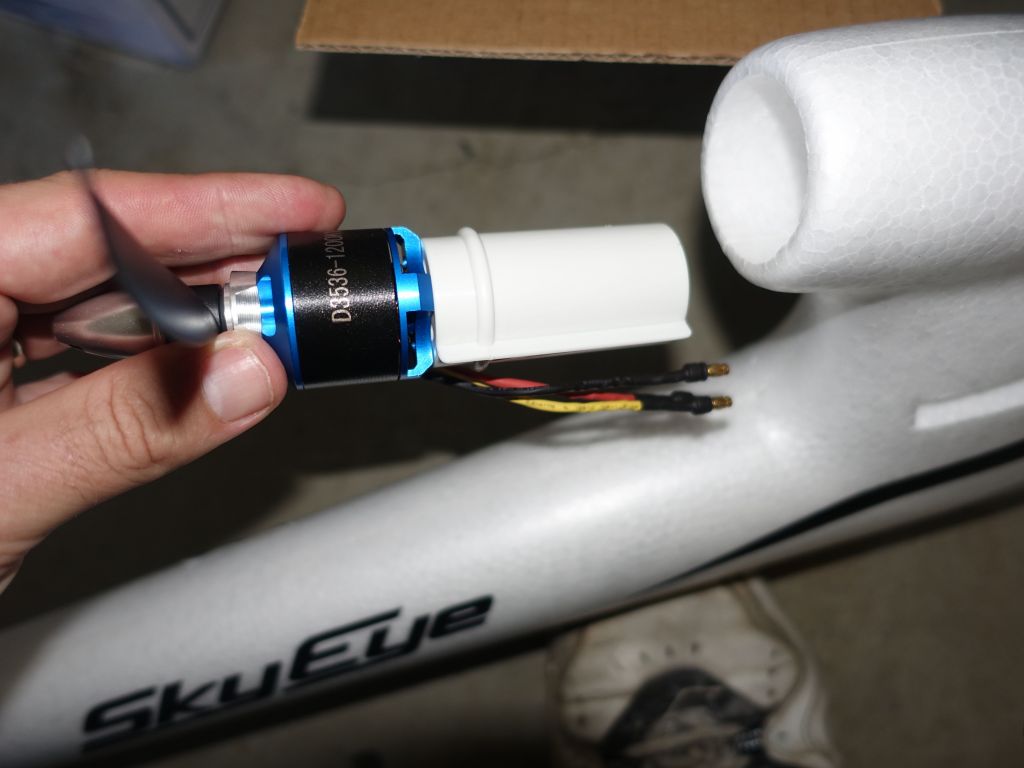

new motor with foldable prop for gliding
Making the Airframe Safe with 100kph+ speeds
The reason why it's important for me to have a plane that can go at 100kph or more, is that I may fly in wind that is up to 50kph, and want enough reserve power to fly against it back to the landing point. At Burning Man, I actually encountered a wind that peaked at 60kph right after a storm, while I almost lost my bixler2 as it was flying full throttle against a wind that was more than 50kph and was actually flying backwards (i.e. it was getting further and further away from me as its battery was draining while it was trying to fly back, and failing).
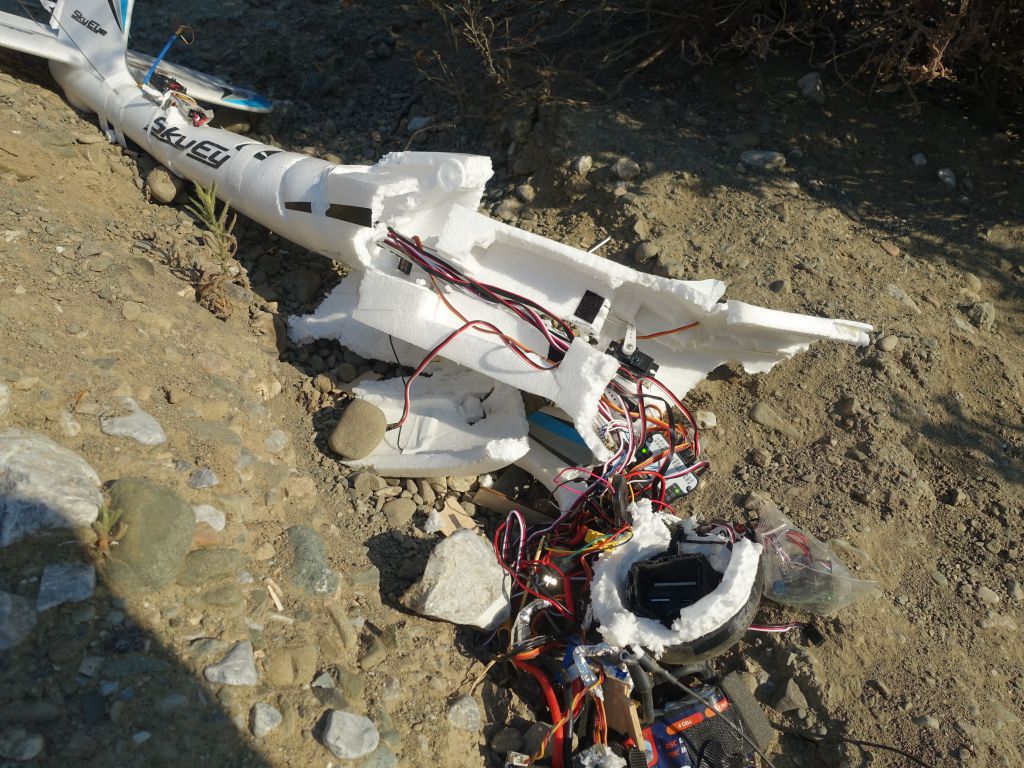
Now, the next problem with the Sky Eye is that the plane wasn't designed for those speeds, and sure enough, after a light crash during flight testing, the wings got slightly bent, and the very little that was keeping them snapped into place, failed during a test run at 110kph+, the wings got ripped out in flight, and my plane had a very bad crash
Thanks to my multiple radios and GPS coordinates, I did find the wreck, but I never found the wings, they were taken away by the wind at high altitude, and despite a 2H search around and downwind from the crash site, I never found them:
")
i'm impressed the lipo did not blow up, it was a pretty high speed crash straight down (130kph)
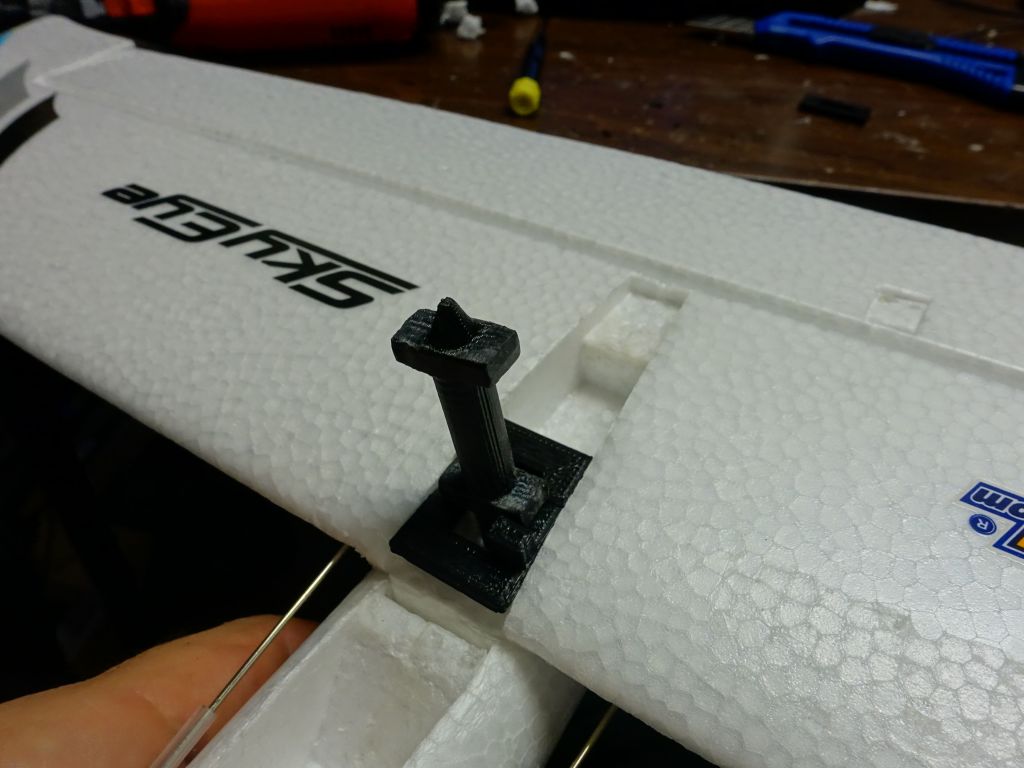
To avoid this from ever happening again, I changed the wing design to allow a strap to go around the entire plane, including the wing roots. Sure, it makes the plane a bit more dirty to the air flow, but I'll take that for wings that won't fly off:

made a hole in the wings, and added reinforcing wood

with a velcro strap

initially I secured the wings like so, until I realized that in my crash the top part with the ESC broke off in flight

so instead I'm wrapping around the body top...

to bottom, for extra strength
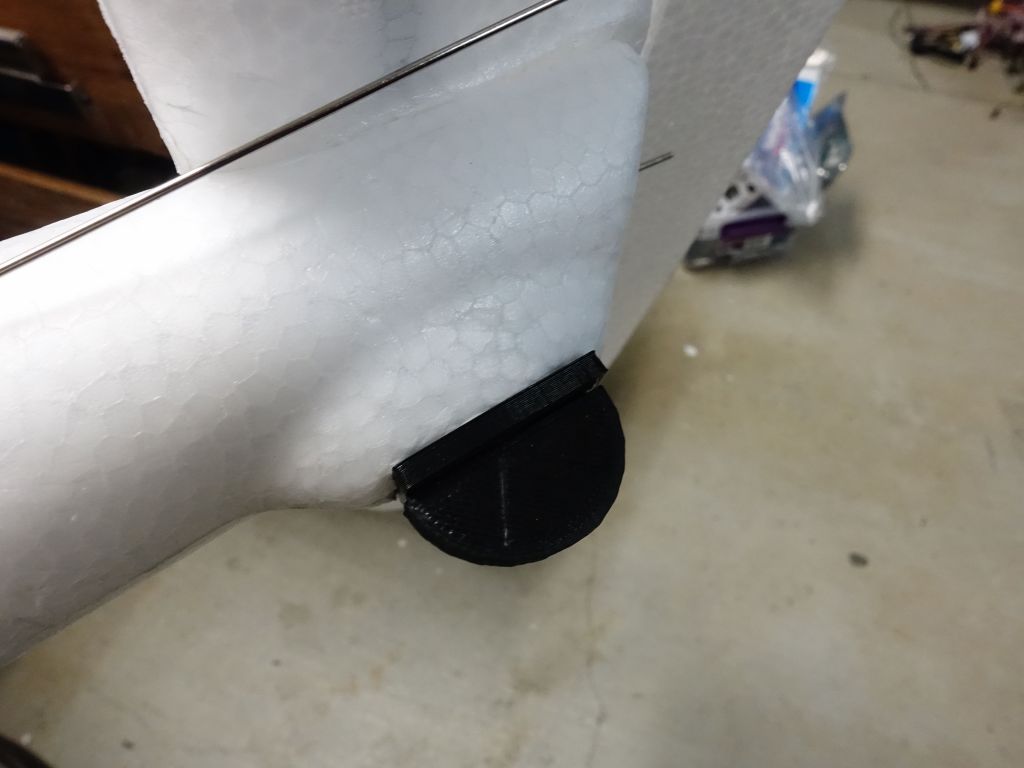
With that fix made, the next sizeable modification I made was to allow the flaps to travel down a lot more for crow flaps. The only issue I found was that it wasn't suitable for landing, so I now release some amount of crow to avoid smack landings:

I shaved off the flap hinge

allowing for severe flap down and better descent rates for a short field behind a fence
Avionics and VTX
For the avionics, while the cargo bay has a lot of room, but I opted for putting the pixhawk in a cramped and inconvenient space below the wings. The reason for this madness is to avoid electronics around the flight controller, and not have to worry about putting a battery on top or something else that would avoid free movement on top of the anti vibration foam pads. Cabling does suck as a result, but it really feels like the best place for it:
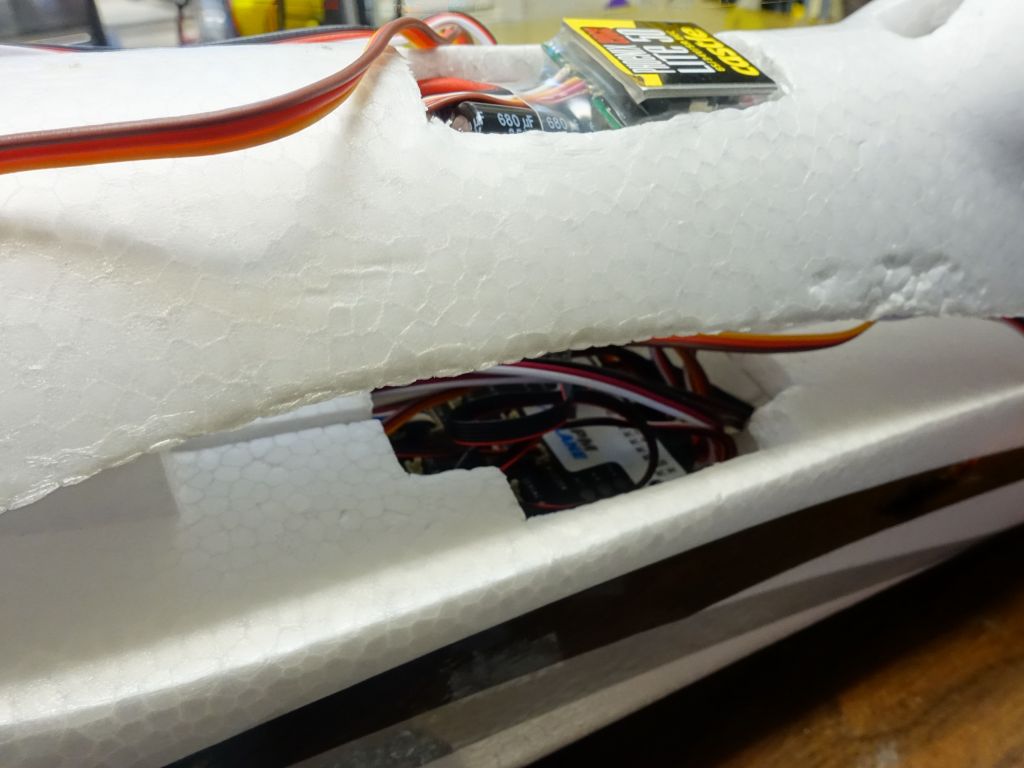
As a result, I have plenty of room for the electronics and a big battery (4S 5000mAh, but bigger is possible). In there:
3DR power module 90A
RCCCv2 3 channel video switcher plus switch for night lights and strobe
Battleswitch RC controlled relay to switch 12V for VTX and 5V for the 3 onboard cameras
Front Camera: mobius or GoPro Black 4K (both 5V)
Rear Camera: mobius with detachable lens
I2C Airspeed Sensor
MinimOSD with 5V mod, heatsink, and nightghost firmware
Brotronics Diversity RX with backup lipo and lost model finder buzzers
RC controlled buzzer to help finding aircraft in flight
2W 5Ghz VTX in the tail
This is what it looks like:


fit inside nicely, more easily than in the bigger BFG2600

2W 5Ghz VTX gives 5 to 10km range in non ideal environments
Sending the power and video to the tail in a prebuilt plane wasn't too hard, I just punched through 2-3 foam walls with this tool and pushed the cables through:
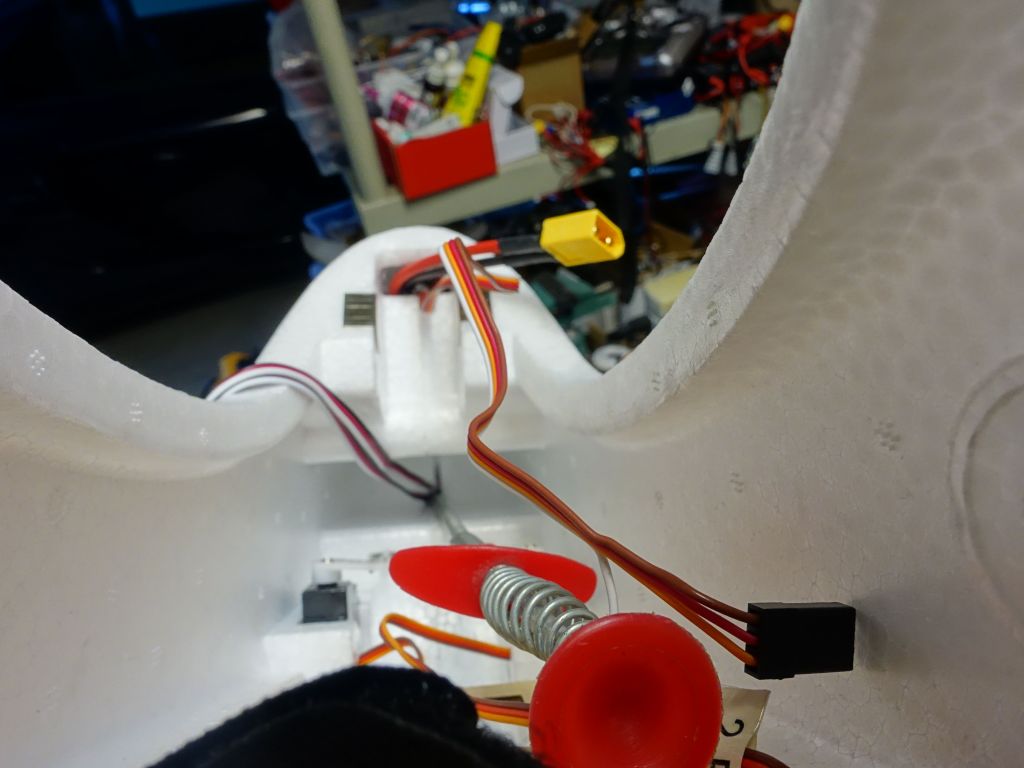

nicely got to the other side

all good
Video
Now, let's look at the video issue. Like other such blames, it comes with a plastic dome. Let's be honest, all those domes give very unsightly reflections from the sun while in flight. I didn't waste much time trying to fit a camera behind the dome, even if I did a quick test just to verify anyway:
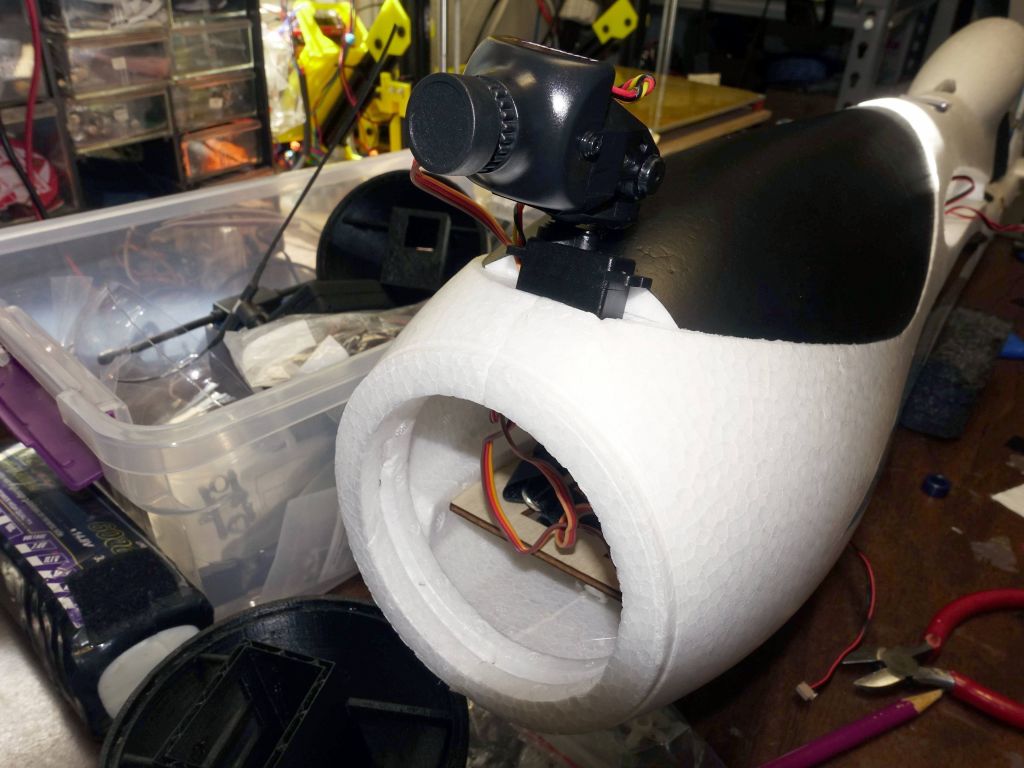
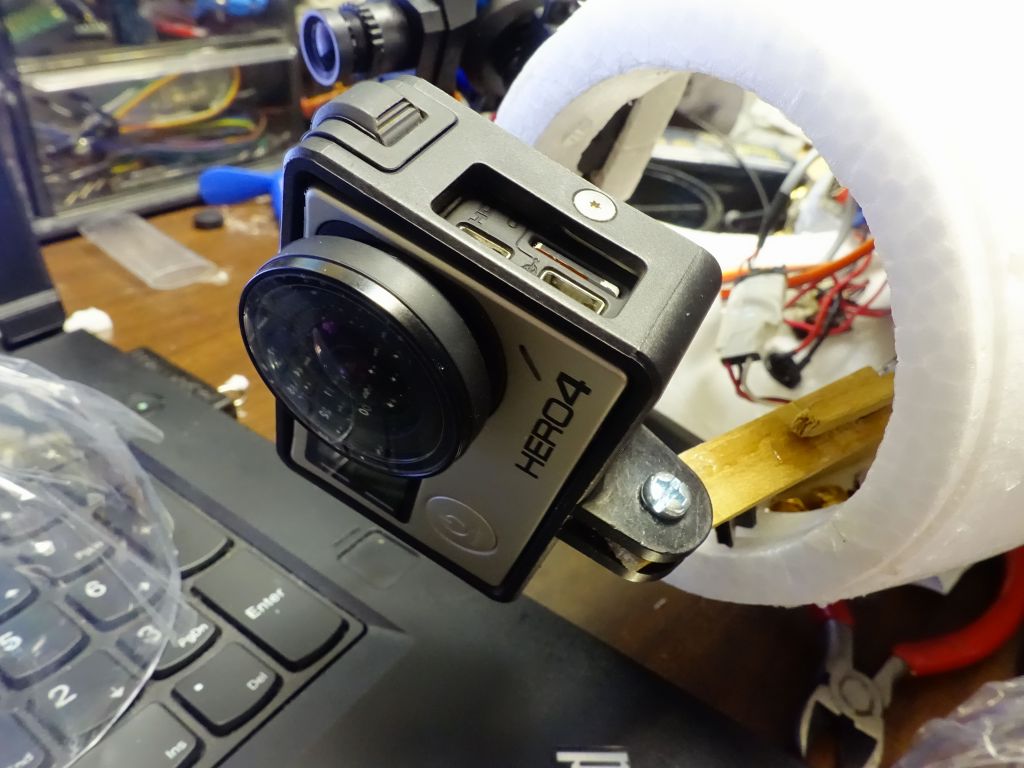

it fits, but as expected I got dome reflections on the video and didn't want that

so I made a ghetto solution with foam padding that I carved. Looks like crap but better than an open hole acting as an airbrake
Now, the other way to do this if you don't need 4K, it's much easier with a mobius. Someone made a nice 3D model for a mobius dome that I was able to 3D print:
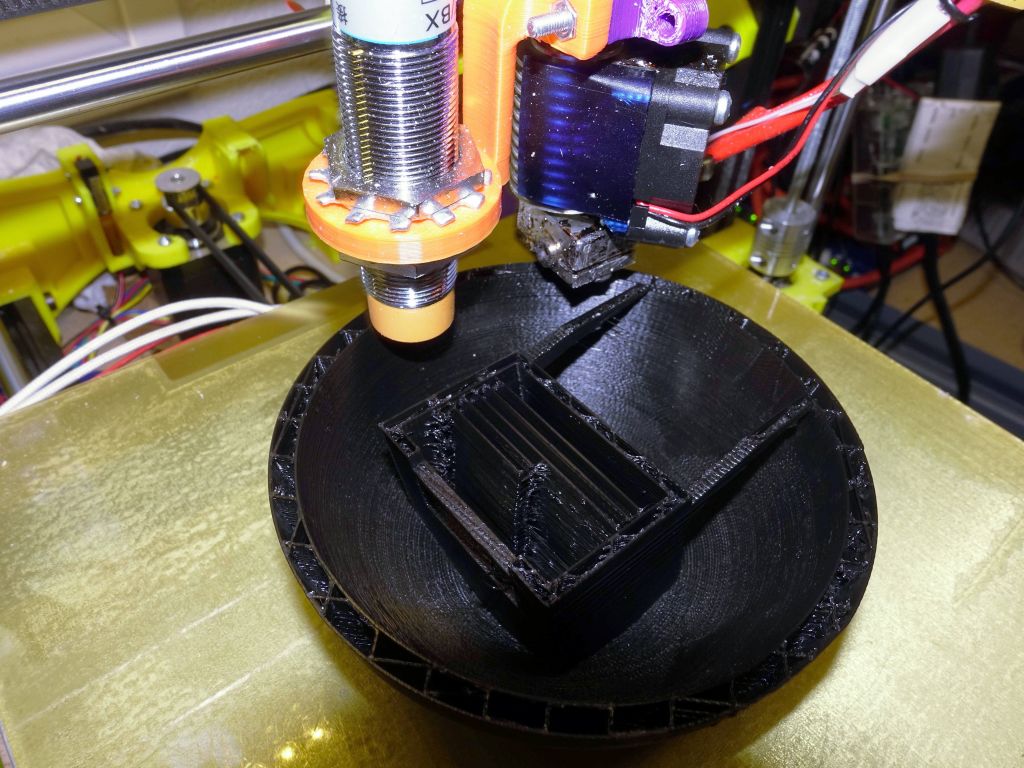

it weighs the same as the transparent plastic dome


I later printed this without the rear piece so that I could slide the mobius back, or change its angle more easily

not too bad
I then also looked at other options for getting better than 1080p, and the Joovuu X almost gave me a 3K solution, but in the end the lens extension cable that took way too long to arrive, was too short, and also managed to short my camera and kill it:


so I use a trusty 2K gopro with detachable lens in the rear
I also found an interesting mod for this plane, which was a 3D printed lock pin tail hook that allowed taking the tail off for transport. It was appealing in theory, but after trying it out on my broken plane (it required carving the tail surfaces that weren't big to start with), I concluded that it worked in theory, but there was no way I wanted to take the risk of flying loads with that setup and potentially lose the tail in flight due to weight and G load:

this was the iffy part, lots of foam had to be removed, I didn't feel what was left would be strong enough
Conclusion
I like the Sky Eye, it's very reasonably priced ($150-ish), mostly pre-built even if I had to replace some bits and carve the flaps a bit, and the cargo space is fantastic, loads of room.
I was dubious of the 8" rear prop at a weird angle, but it works well enough and I was able to get 800W out with an 8.5" prop and without a motor or prop adapter, so that worked fine for me. The only downsides are that you still have a whiny noise from the small prop and you're going to use more amps to fly against the wind, but I'll take that for a nice unobstructed few in the front.
I think I only really wish it came with more custom made domes for popular cameras where the lens is in front, unobstructed by a dome.
I'm very happy with the results I was able to get while overflying and filming burning man 2016 with 4K resolution.


")