Marc's Public Blog - Arduino Hacking


vvv Click on the categories below to see other topic specific pages vvv


Table of Content for arduino:

More pages: November 2026 July 2026 May 2026 January 2026 October 2025 March 2025 January 2025 November 2024 June 2024 August 2023 June 2023 May 2023 April 2023 March 2022 January 2022 January 2021 December 2020 March 2020 January 2020 May 2019 April 2019 March 2019 January 2019 July 2018 May 2018 April 2018 January 2018 June 2017 April 2017 January 2017 February 2016 January 2015 September 2013 January 2012 December 2011 May 2011 January 2011


π 2026-11-01 01:01 in Arduino, Clubbing, Festivals
I upgraded my LED outfit from 64x96 to 128x192 over 5 years ago, increasing the resolution 4 times, which allowed me to show much better graphics. During that time, I still had an old off the shelf 64x64 P3.5 LED panel which was nice and thin, and not too power hungry. But the remote software was not great, and the memory was limited. Also, they were old style circuit boards that did not like any flexing and broke easily (I have literally broken more than 10 of those in the last 10 years or so).

End result


And these are the old 64x64 panels:
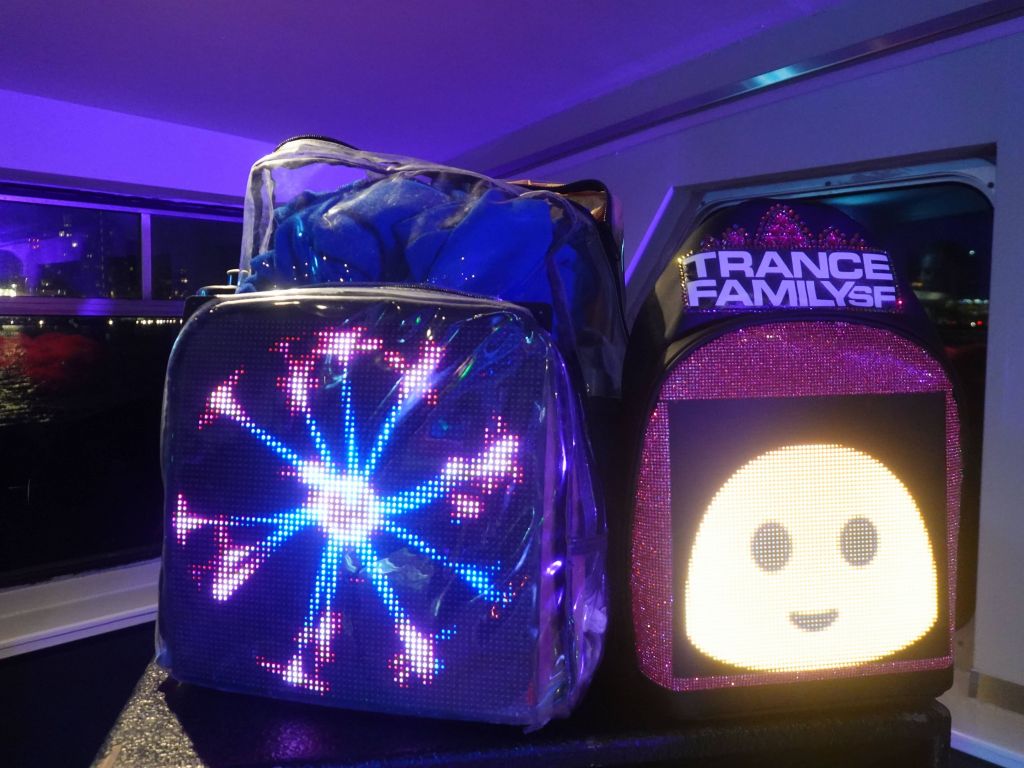
with 64x64 P3.5, you can of course see the bigger pixels
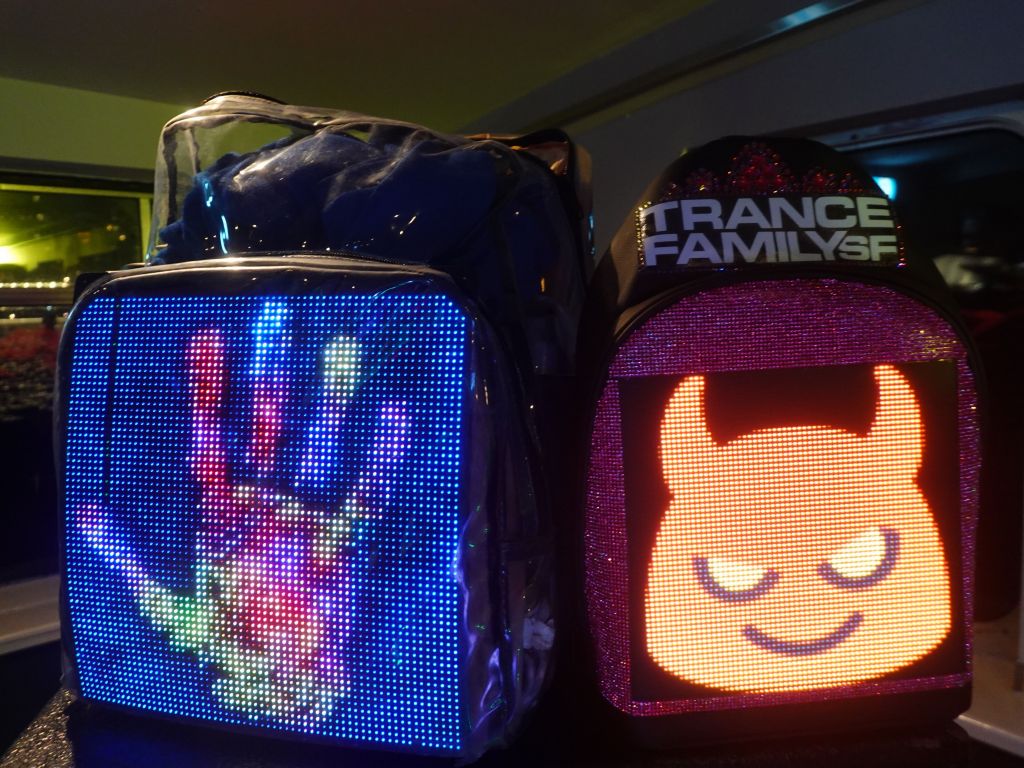

as I mentioned, they broke easily
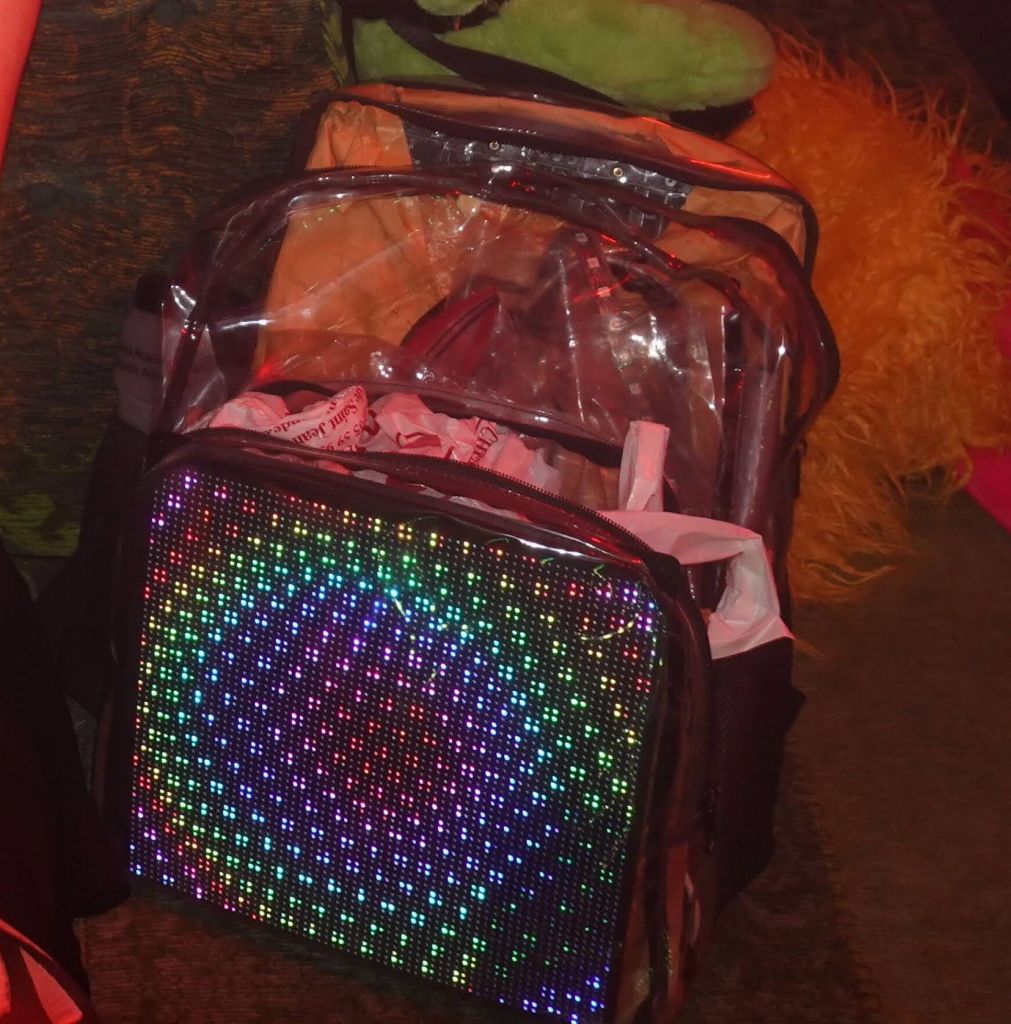

here the bottom right corner is broken

Story

For a long time, I had been wanting to run my own code on my LED backpack, but I also wanted higher resolution, so I held off. While I was at it, I also wanted my backpack to be synced with my LED outfit, so after I did the work to make my LED Outfit v8 with independent front and back screens that are not connected physically (they do share power for convenience reasons), the same wifi code that keeps them in sync was now easy to add to an external display like one in a backpack, so the only thing left was to get said display.
For size reasons, LED backpacks are sized to work with P3.5 64x64 panels, which also means they work perfectly with P1.875 128x128 panels. My only need was to find some that were bright enough and would not break right away. This is where Hongren Su from Azerone, who has been my trusted panel seller for years now, got me 2 sets of P1.825 PWM panels (they run a different PWM chip), which ensured they'd have high refresh rates and work pretty well in daylight too. Thankfully, earlier this year, kindgoc9 made a fork of the hzeller RPI RGB Panel code, and added support for enough PWM panels that both kinds I got, just worked.

First, I had to significaly improve the robustness of my wifi code, which took a bit of time as the ESP32s like to save power but in the process woudl also lose broadcast packets I used to discover other screens. Google gemini helped figure this out, and with my guidance, I made some more robust code that works most of the time. Most of the time is because unsurprisingly, I found at a festival that there can be so much RF noise, that my ESP32 AP is not visible by the other chips, or my phone, so I'll need to implement some workarounds for that, but otherwise it worked well.

First, I had to find some driver settings to get around some display issues, and found that adding a higher GPIO slowdown, fixed it:


Before long, I got my 3 LED panel displays to sync, plus 2 smaller 128x128 backpack ones:


wrote some extra code to shrink the graphics on 128x128 displays

I buitl 2 different kinds to see what would work best. This pre-made panel was great since it would be bulletproof and not bend, but there was no room to add my electronics:


the other bad news is that it's pretty battery hungry and I need 2x70Wh for a full night

the panel + 2 LED strips took around 100Wh for 7H, pretty hungry but 2 70Wh batteries do the job

for comparison, my full front and back outfit (without extra LEDs) took 125Wh for the same 7H-ish

not the most professional setup, but ok for the first time ;)

my 2nd prototype uses raw panels and a nice metal frame done by Hongren Su from Azerone


the 2 kinds of panels look the same from the display side (and yes, they work with USB packs that can do 12V USB-PD)

Power Use

That was the tricky part. For comparison, the 64x64 ones I made run by just an ESP32 S3, used 1.5W of power or so. The first version of the rPi one, was taking 12W (!)


So to lower that down, I did this:

  • I had 2 kinds of PWM panels, the one without shift register used 2W fewer, easy win
  • I downgraded the Rpi3a to an Rpi0 2wl, that was another watt or so, saved
  • The step down converters, I had a tobsun that was big, and a nice and flat 16A BEC, but it took 1W more :(
  • And then I realized that I got the entire thing below 10W even on bright displays, that USB-C can give 3A/15W on 5V, so I just skipped the step down and powered with straight 5V from the battery pack
  • This got the whole thing down to 5-7W dependind on how bright the display, is:


    almost 10H runtime, great news!
    almost 10H runtime, great news!

    And the great news is I was able to empty an entire 60Wh pack, and it worked for 9h49mn, which enough for most nights.


    More pages: November 2026 July 2026 May 2026 January 2026 October 2025 March 2025 January 2025 November 2024 June 2024 August 2023 June 2023 May 2023 April 2023 March 2022 January 2022 January 2021 December 2020 March 2020 January 2020 May 2019 April 2019 March 2019 January 2019 July 2018 May 2018 April 2018 January 2018 June 2017 April 2017 January 2017 February 2016 January 2015 September 2013 January 2012 December 2011 May 2011 January 2011

    Contact Email