Marc's Public Blog - Arduino Hacking


All | Aquariums | Arduino | Btrfs | Cars | Cats | Clubbing | Computers | Diving | Dreamstate | Edc | Electronics | Exercising | Festivals | Flying | Halloween | Hbot | Hiking | Linux | Linuxha | Monuments | Museums | Oshkosh | Outings | Public | Rc | Sciencemuseums | Solar | Tfsf | Trips


>>> Back to post index <<<

2012/01/24 Much Improved Pebble v2 Aiko Demo Code
π 2012-01-24 01:01 in Arduino
TL;DR: Get code here: https://github.com/marcmerlin/aiko_pebble_v2

Note, you will need the LiquidCrystal_SR_LCD3 driver from the NewLiquidCrytal Library.

You will also need the Aiko Library: https://github.com/geekscape/aiko_arduino .

Pebble v2 requires at least the IDE 0.23 (untested) but 1.0 or better is recommended. The code is of course arduino 1.0 compatible.

At the LCA 2012 Arduino Miniconf, we got to build a new toy, a Freetronics Pebble v2 (schematics here). This was a refresh of the Pebble V1 (schematics here) which was the target of the very first arduino miniconf I missed in 2010.

This new Pebble had even more hardware to program against and was a much more compact design due to the use of a bunch of SMT parts (actually there are 2 arduinos on the board, one is dedicated to usb/serial communications, removing the need for an ftdi chip).

Like good hacking projects and conferences, the design and software were improved until the last minute, and Andy worked all night before the conf to get us his demo code (along with bits from Luke and others).
Andy wrote the very cool aiko event handler for arduino. You give it a list of callback functions and it'll do its best to call them on the interval you gave it (interval in milliseconds). For arduino folks, with Aiko, code looks like this:

void setup(void) {
  Serial.begin(DEFAULT_BAUD_RATE);
  // Call LCD init early so that others can write to it.
  lcdInitialize();

Events.addHandler(clockHandler, 1000); Events.addHandler(lightHandler, 1000); // Aim for 250 ms Events.addHandler(rotaryEncoderHandler, 100); Events.addHandler(serialHandler, 30); // Sufficient for 38,400 baud Events.addHandler(temperatureHandler, 1000); // Aim for 250 ms Events.addHandler(touchPanelHandler, 250); // Aim for 50 ms Events.addHandler(rgbLedFadeHandler, 10); // Can run slower. // Call LCD last so that it can display variables that just changed. Events.addHandler(lcdHandler, 1000); // Aim for 100 ms }

void loop(void) { Events.loop(); }

So Andy got us working code to test our hardware, but of course it wasn't fully optimized (hell, code never is). So, that gave me a chance to do some arduino programming to see what could be improved. It was a good learning experience.

After a bunch of work, here is what I was able to do:

  • I happened to have RGB LED demo code I had taken a while to write over Xmas (nice transitions that I went through the trouble of writing so they would work with an Aiko event handler), so I did a bit more hacking to refine the code and plugged it in.
  • The rotary button was being polled every millisecond to catch which was it was turning. First I figured that every 5ms was probably enough, but thanks to sample code from Brett Downing, I was able to write a handler using hardware interrupts on input pin state changes (something I knew nothing about, so it was a good learning experience).
  • Then this brings us to the LCD handler. I had some grand view of writing a popup menu that would let you configure the code at runtime, but that meant a lot of LCD code. I knew arduino had a nice LiquidCrystal library, but it did not work with the shift register setup in the Pebbles. Long story short, I wrote a plugin for the Pebble/LCD3Wires shift register setup in the Pebble. This demo requires this new library (LiquidCrystal_SR_LCD3) to do its work.
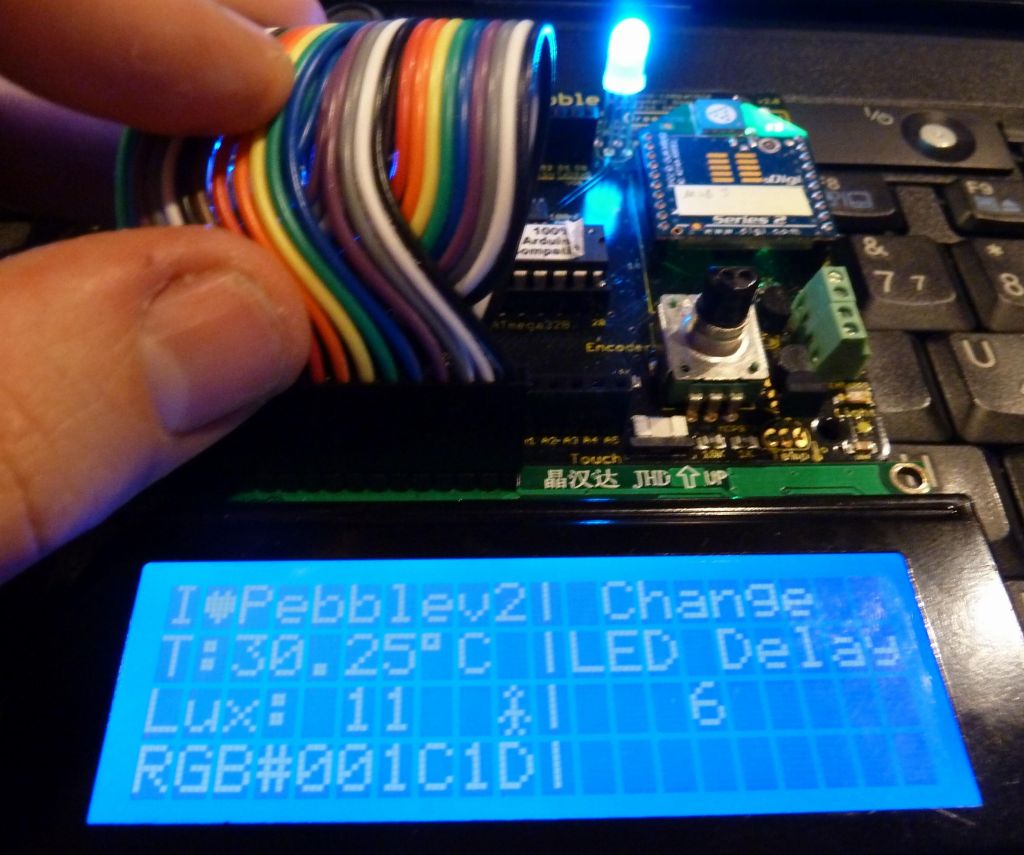
  • Here is the end result:

    Again, the code: https://github.com/marcmerlin/aiko_pebble_v2

    Here's a quick man page :)
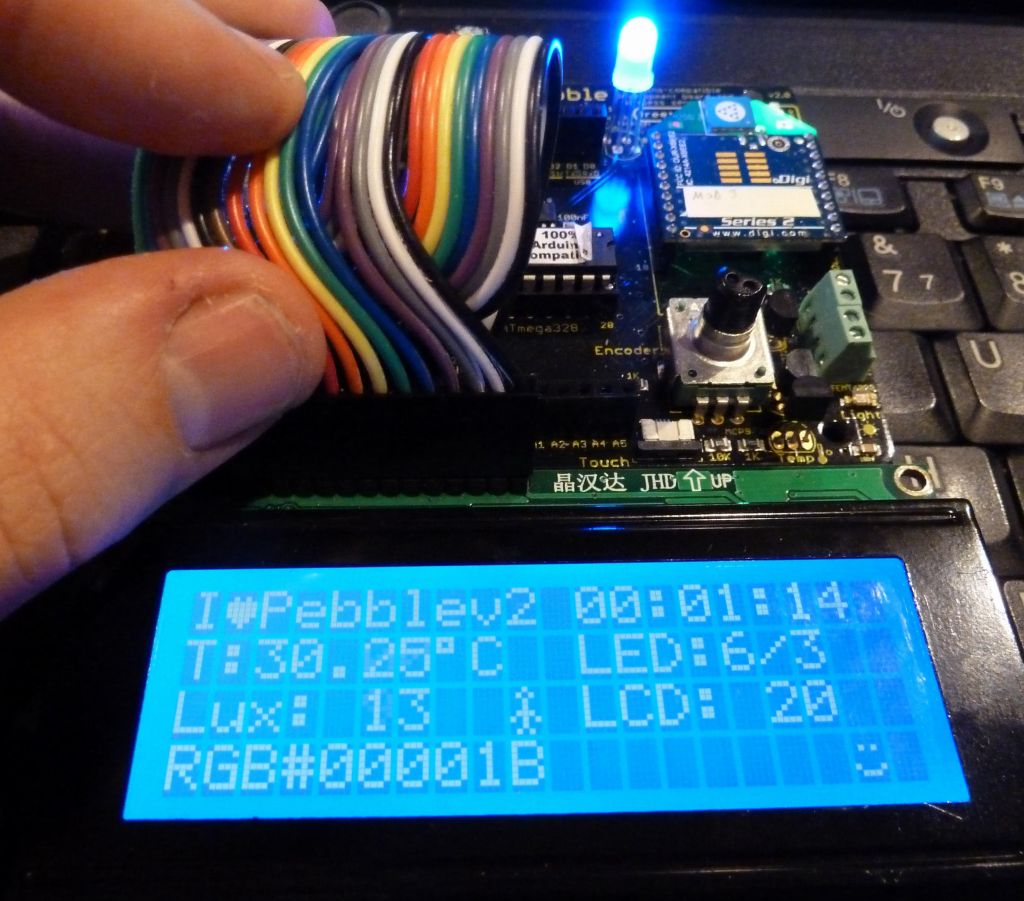
  • The 4th line shows the color that the RGB LED is changing towards
  • LED 6 means that the color change delay factor is 6 (lower means faster color changing)
  • 3 in LED 6/3 is by how much the color brightness is reduced (clips the color values so that they arne't too bright, mostly useful in dark rooms or when taking pictures).
  • LCD 80 is the analog PWM value for the LCD backlight (higher is brighter).
  • A few custom characters are displayed to show use of the custom character support brought by LiquidCrystal_SR_LCD3

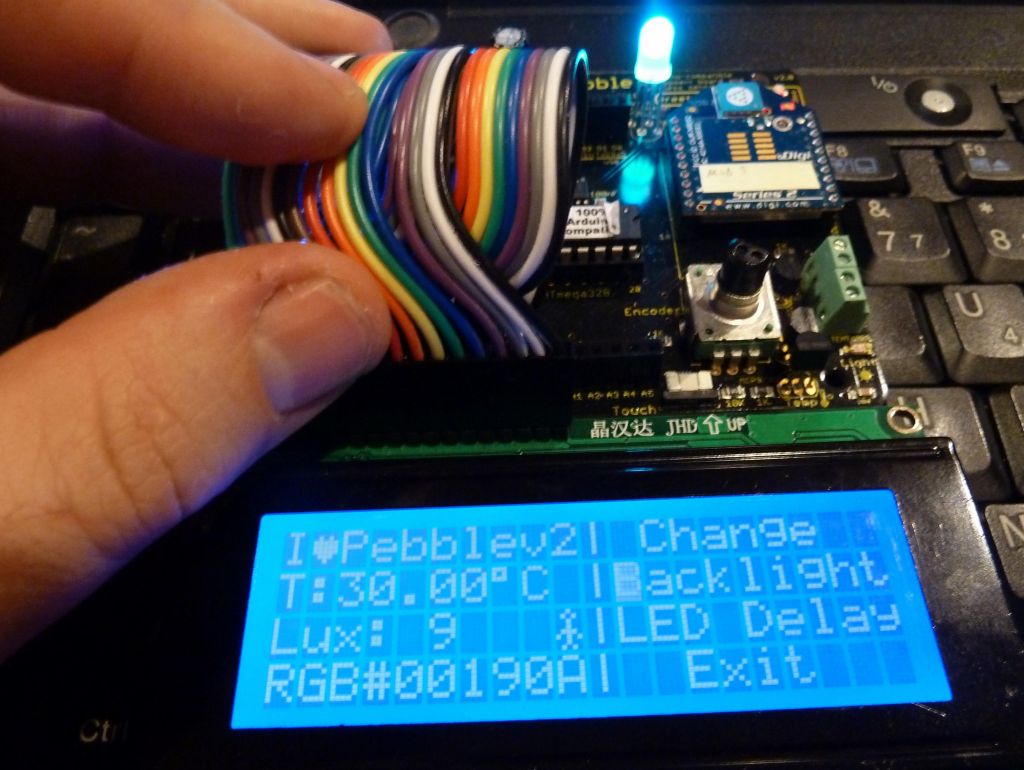
  • pop up menu with selection cursor
    pop up menu with selection cursor

    backlight menu
    backlight menu

    LED color change delay menu
    LED color change delay menu

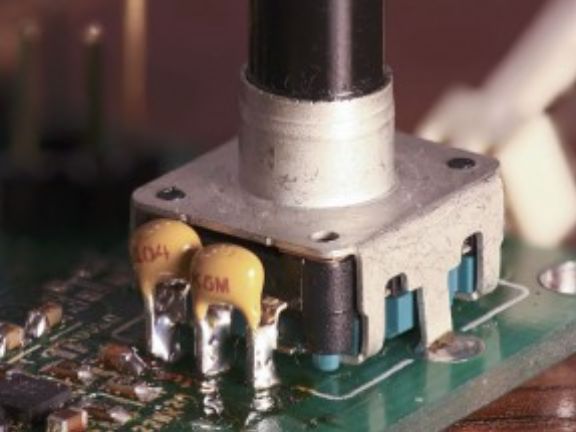
    Note that I as read on http://www.circuitsathome.com/mcu/rotary-encoder-interrupt-service-routine-for-avr-micros and have seen with multiple decoding errors in my rotary encoder test code (shown below), it is probably a good idea to add a couple of small caps around the encoder's feet:


    And that's it folks, that was fun :)

    Oh, actually I also made a repository of small demo code I wrote for the Pebble v2: https://github.com/marcmerlin/pebble_v2_demos .
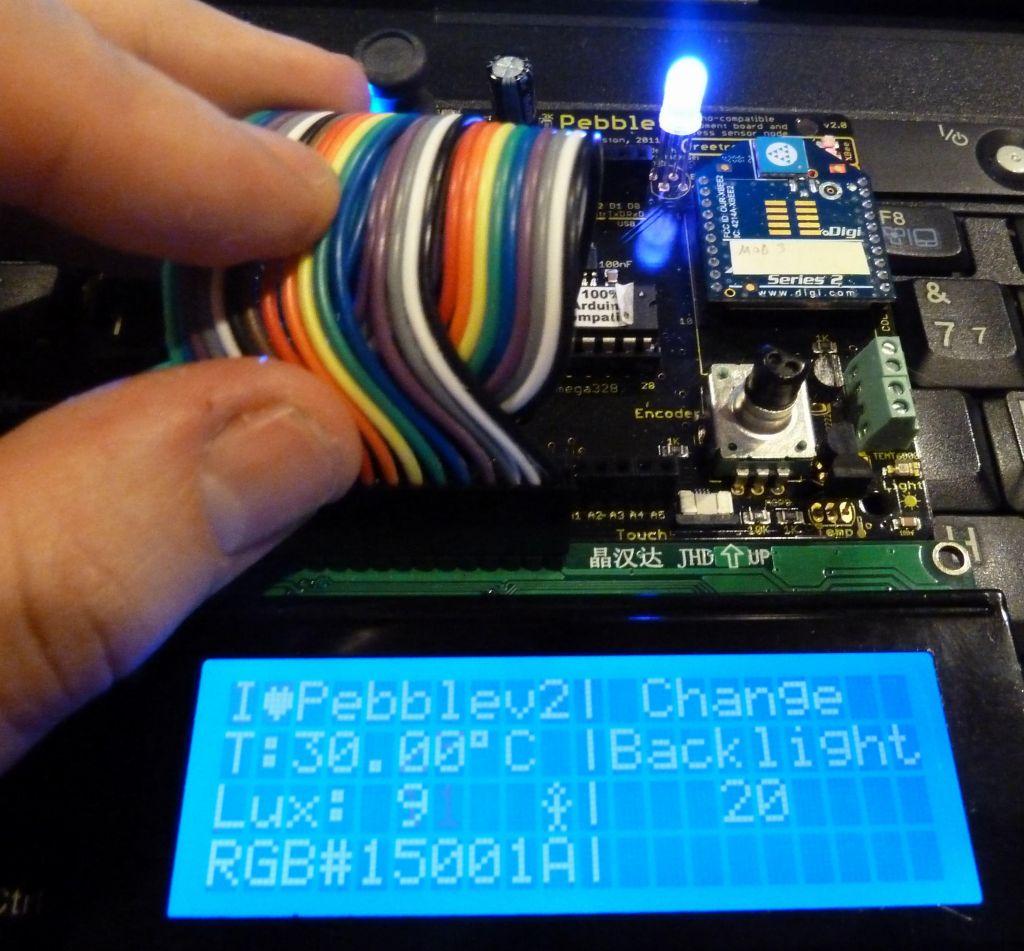
  • Full_LiquidCrytal_Demo: This is my NewLiquidCrystal demo code writing for the 20x4 LCD on the Pebble V2.
  • InterruptEncoder_test: This is the standalone/debug interrupt code I used to test the rotary button interrupt code.
  • LCD3WireExample: This allows using the deprecated http://arduino.cc/playground/Code/LCD3wires library with the Pebble v2 (this was just to try it out, there is no reason to use this library, you should be using NewLiquidCrystal's LiquidCrystal_SR_LCD3 library instead: http://marc.merlins.org/perso/arduino/post_2012-01-23_LiquidCrystal-driver-support-LCD3Wire-hardware-_pebble-and-others_.html ).
  • performanceLCD: This is a port of Fernando's LCD example for Pebble v2.

  • More pages: November 2024 June 2024 August 2023 June 2023 May 2023 April 2023 March 2022 January 2022 January 2021 December 2020 March 2020 January 2020 May 2019 April 2019 March 2019 January 2019 July 2018 May 2018 April 2018 January 2018 June 2017 April 2017 January 2017 February 2016 January 2015 September 2013 January 2012 December 2011 May 2011 January 2011

    >>> Back to post index <<<

    Contact Email