Note that the last link uses my https://github.com/marcmerlin/FastLED_NeoMatrix library which ports NeoMatrix to the better FastLED backend. The nice thing though is that all your code keeps working just the same, no changes required outside of matrix initialization. I wrote a different page for my FastLED::NeoMatrix library.
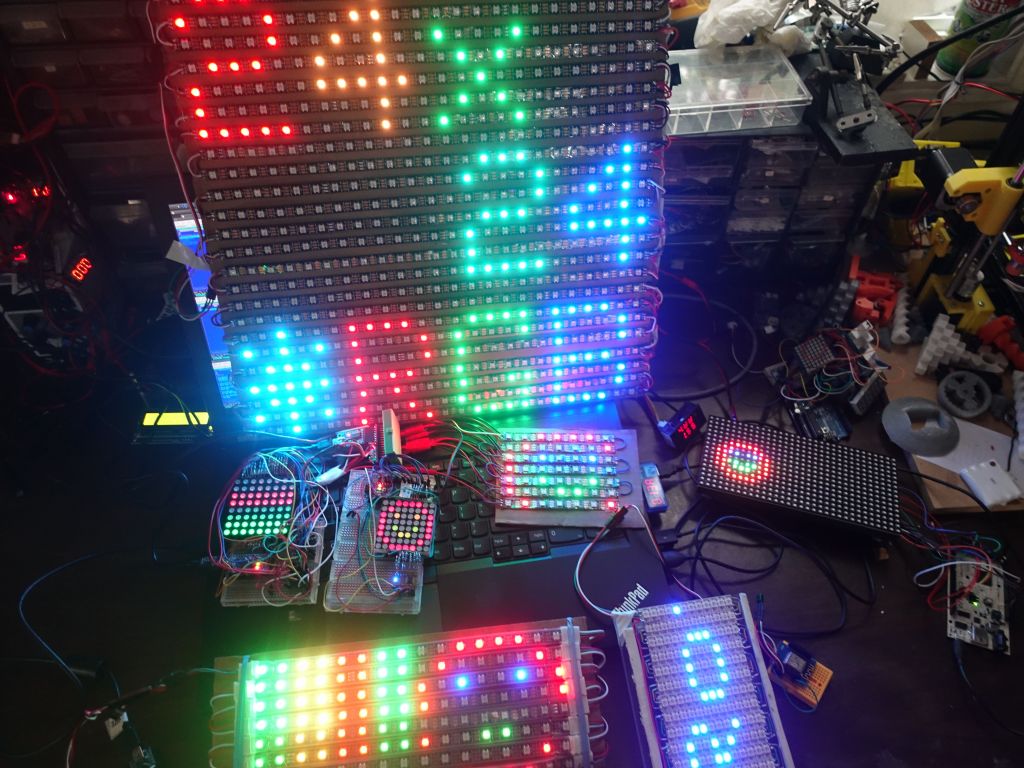
All the displays, 4 made with neopixels and soldered by hand
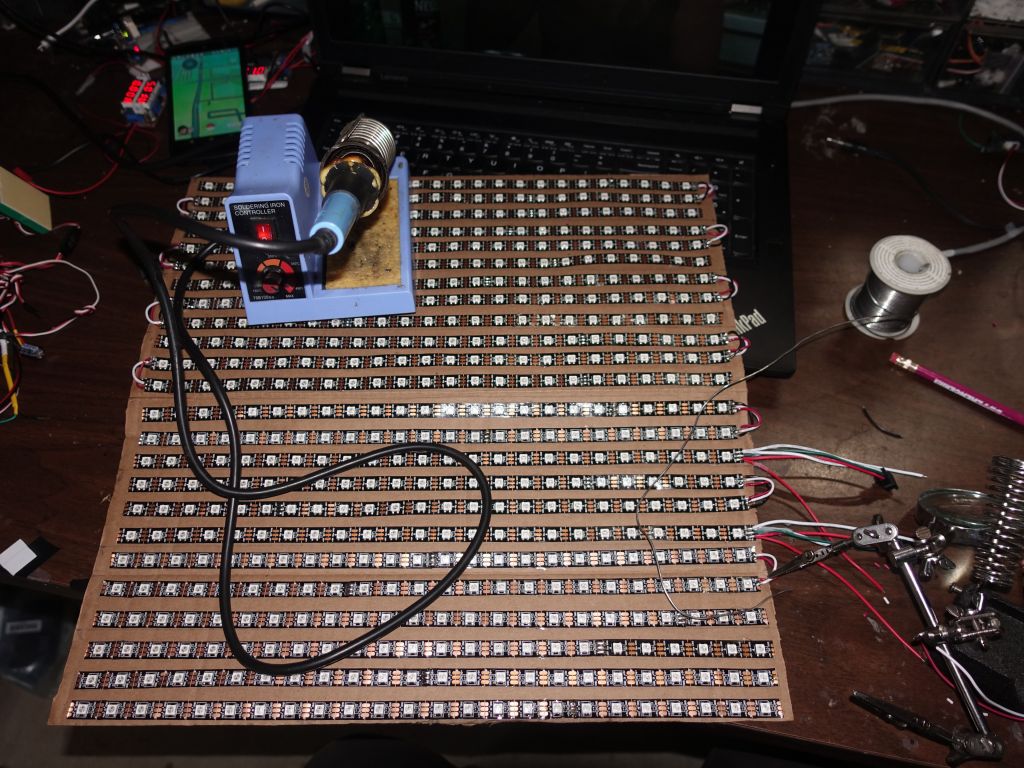
Yeah, the 24x24 one took forever to lay out, glue and solder (6H+)
More than 2 years ago, I spent many hours writing an interrupt written driver for LED matrices that require fast line scanning while you setup the right rows, and even faster per color refreshes where you turn the color on and off depending on how bright you want each color component to be to yield different color mixes. This is explained in more details on my page on Driver for direct driving single to 3 color LED Matrices with software PWM.
Then came in Neopixels which can be individually addressed without fast row scanning, and the Adadfruit Neomatrix library. Those made creating color matrices much more trivial (except for the part where you have to actually build and solder that matrix):
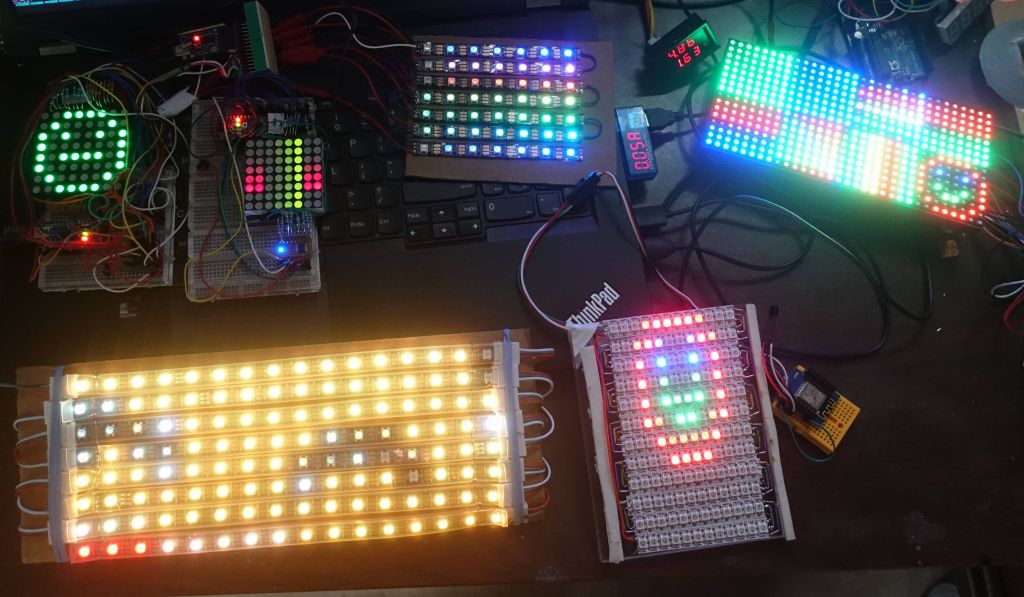
2 row scanned matrices on the upper left, 7x7 neomatrix, another row scanned 32x16 Adafruit panel.
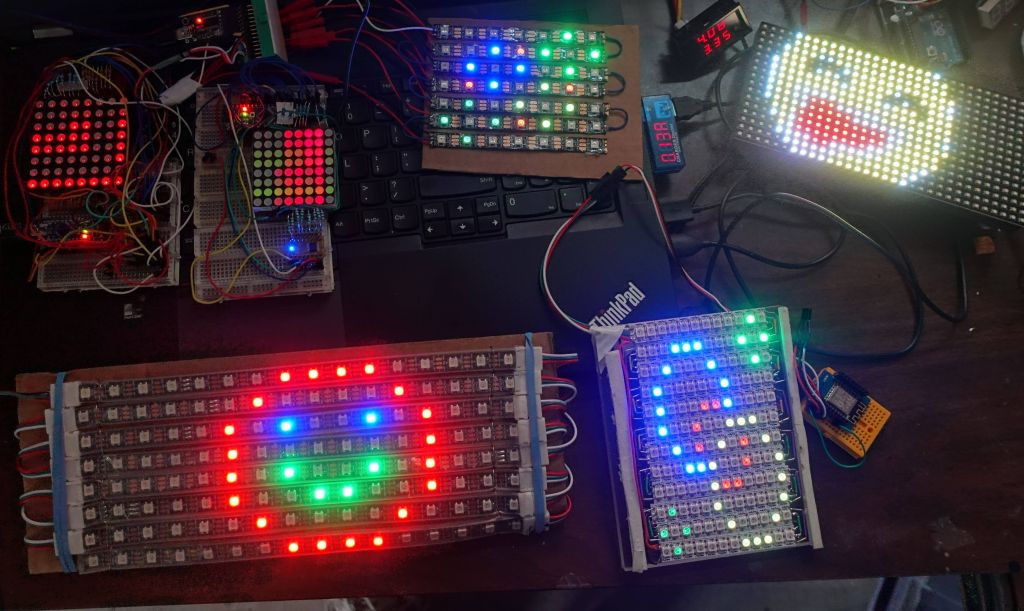
on the bottom row, self built 16x8 neomatrix, and another 12x12 neomatrix
I ended up taking my old Adafruit GFX demo I wrote fro my interrupt driven scan matrices, porting it to Neomatrix (which was trivial) and then extending it. You can find my MatrixGFXDemo code here,
Soon afer, I dug up my Adafruit 16X32 RGB LED Matrix Panel, setup an old Arduino Mega to control it and have enough RAM left to run some fun code (on an Uno memory would have been too tight), it turns out that thanks to Adafruit GFX support, it took very little time to get my same demo working on the RGB Panel.
Here is a video of the demo I wrote on all those different displays:
Here are some things the demo does:
Hope you enjoy the demo, it should work pretty trivially on any display that supports Adafruit::GFX, see https://github.com/marcmerlin/RGB-matrix-Panel/blob/master/examples/PanelGFXDemo/PanelGFXDemo.ino#L21 on how some backend specific code can be #define'd to work on other backends.
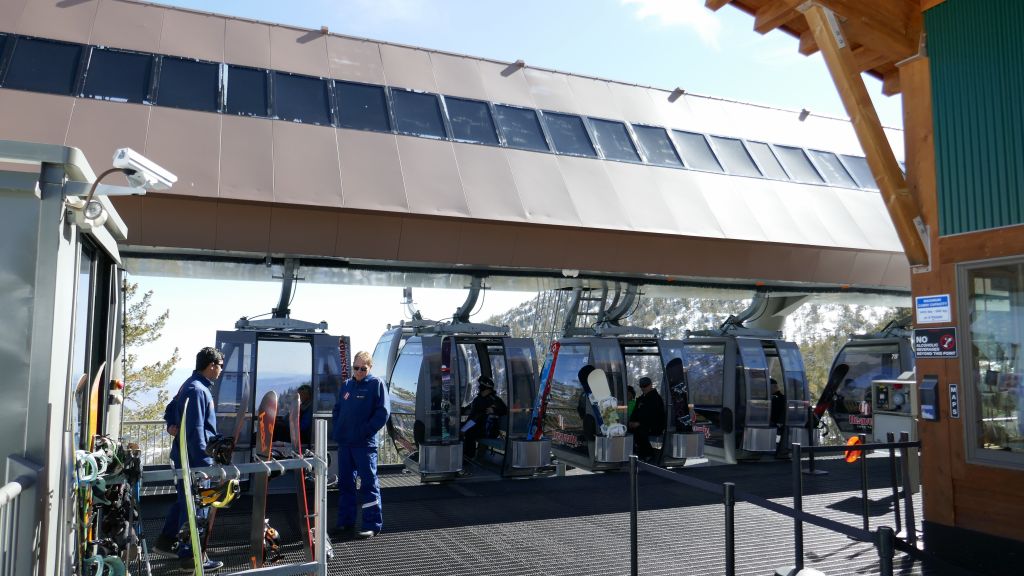
we actually stopped at mid station for a look, which I had never done :)
We then had to follow the sun and started down at stagecoach and went up to dipper as things got warmer, and eventually moved to sky express. The snow was spring snow, we had to avoid the ice in some places and sticky slush in others, but overall the snow was good on groomers and ok elsewhere. And for snow, there is lots of it.
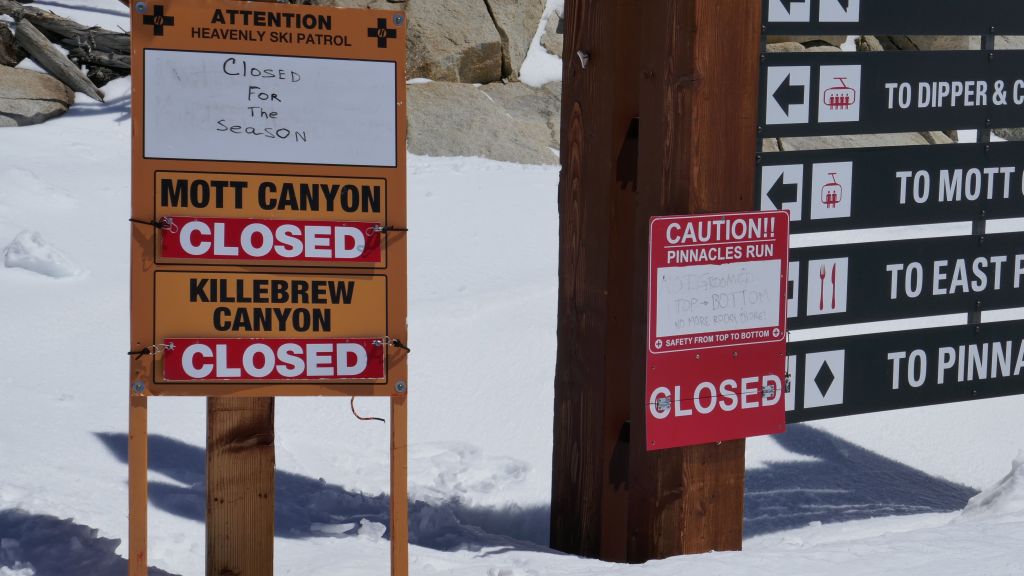
lots of things were closed of course
Thanks to Arturo for getting us there, that was fun.
Sadly the WROVER lacks a touch screen, so you'll have to wire at least a rotary encoder or a joystick. In the demo above I also wired 2 neopixels and an IR receiver to mirror the hardware on the IoTuz.
Source code: https://github.com/marcmerlin/IoTuz
See this video for a demo:
You'll definitely want to read https://github.com/marcmerlin/IoTuz/blob/master/README.md carefully, especially the WROVER section.
On an ILI3941 based WROVER, you should also be able to play tetris and breakout:
Enjoy!
By 07:15, I landed at KMMH, taxied to parking, found my rental car waiting for me on the tarmac (courtesy of Hertz), but sadly it was a 2 wheel drive with crappy tires (the front tires were not even M+S, they turned out to be crappy summer tires). Driving up to the resort, blowing past several chain control signs, took virtually all the driving skills I had. While I was barely able to drive up in the snow, I knew if I ever had to stop, it would be super unlikely that the car would get traction to restart at all (especially uphill), so I drove slowly with some distance with the car in front of me so I never had to stop when the traffic slowed down. Maybe in hindsight I should have gone to Eagle Lodge at much lower altitude, but powder-wise this was not a good idea, it was the wrong side of the resort and the top connecting lifts would be closed for a while. Yes, I should have had chains, but Hertz refuses to give or rent you chains because they're worried you may put them on wrong :(
Despite the driving challenges, I arrived at the main base around 08:15, had to find a far away parking spot and walk to the ticket counter to get my pass. I eventually got to the slopes around 08:40, which wasn't too bad.
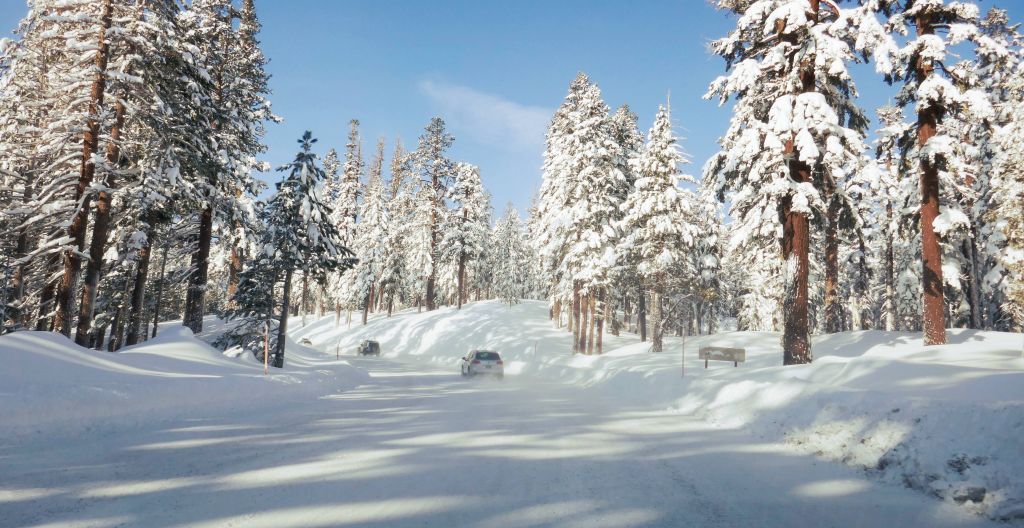
snow all the way up to the base
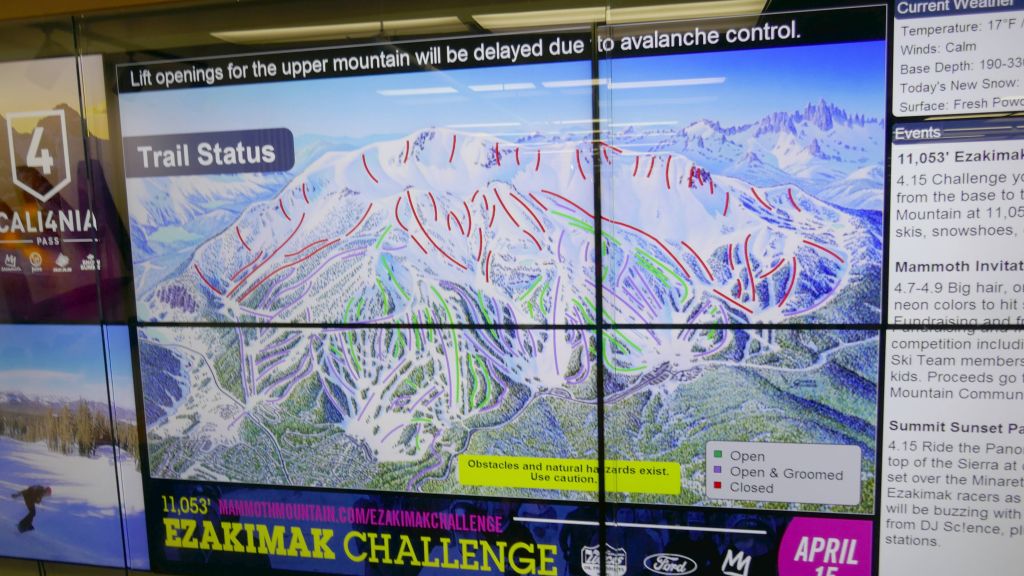
the top of the mountain stayed closed until about 11:00
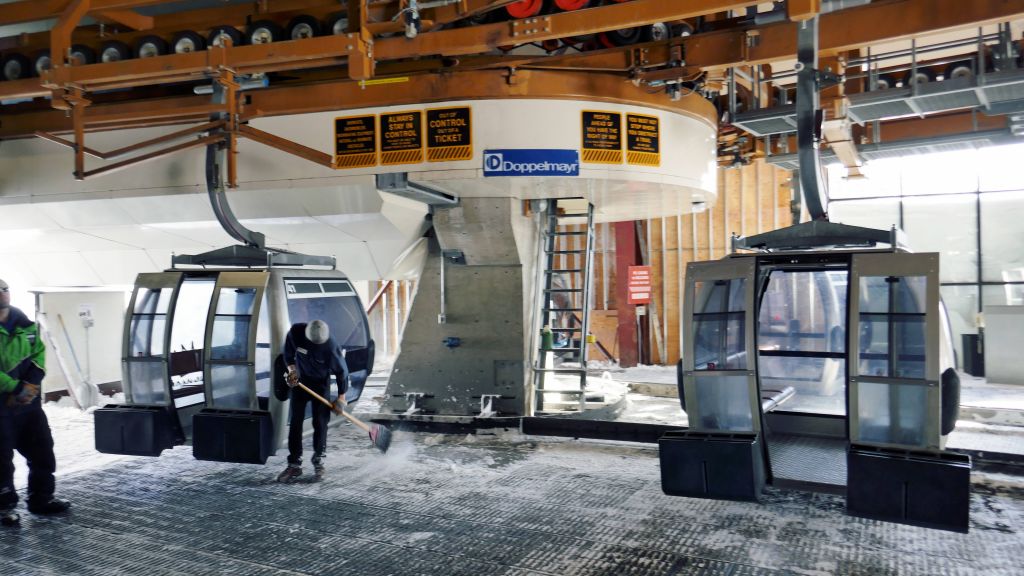
strangely, there was no line at the gondola
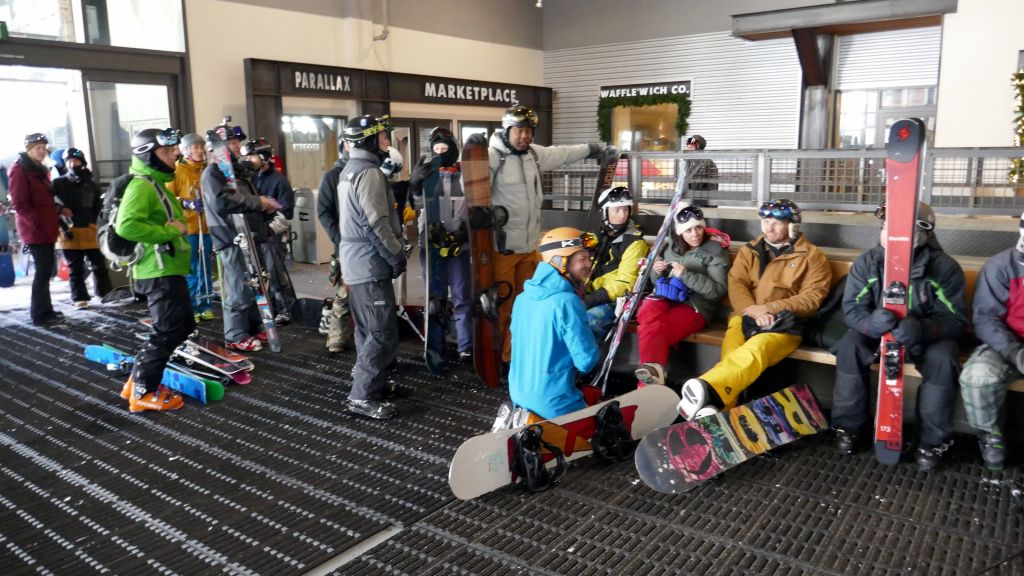
that's because everyone got out at mid station waiting for the top to open (that took 2H)
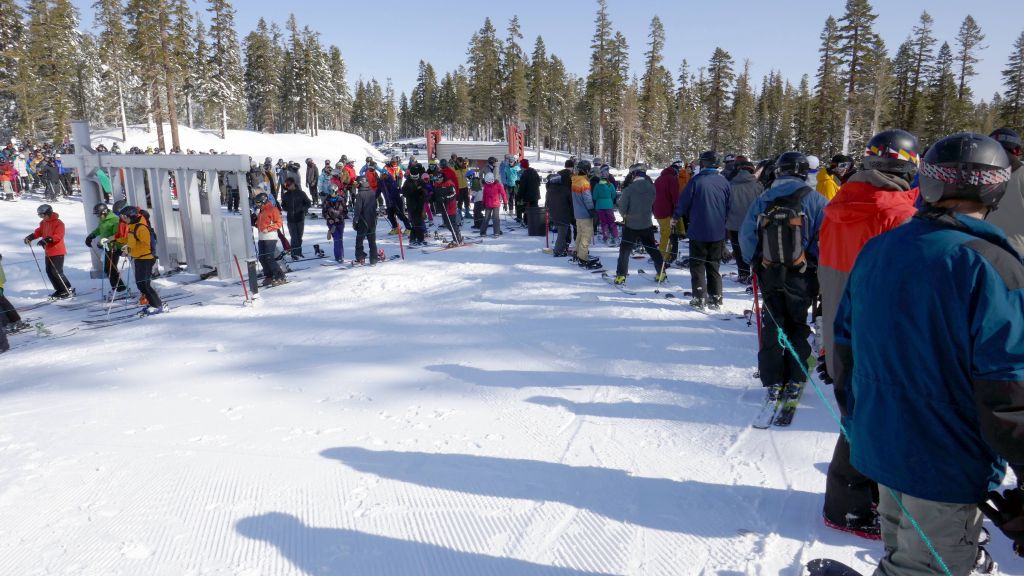
every other lift had 15mn+ lines
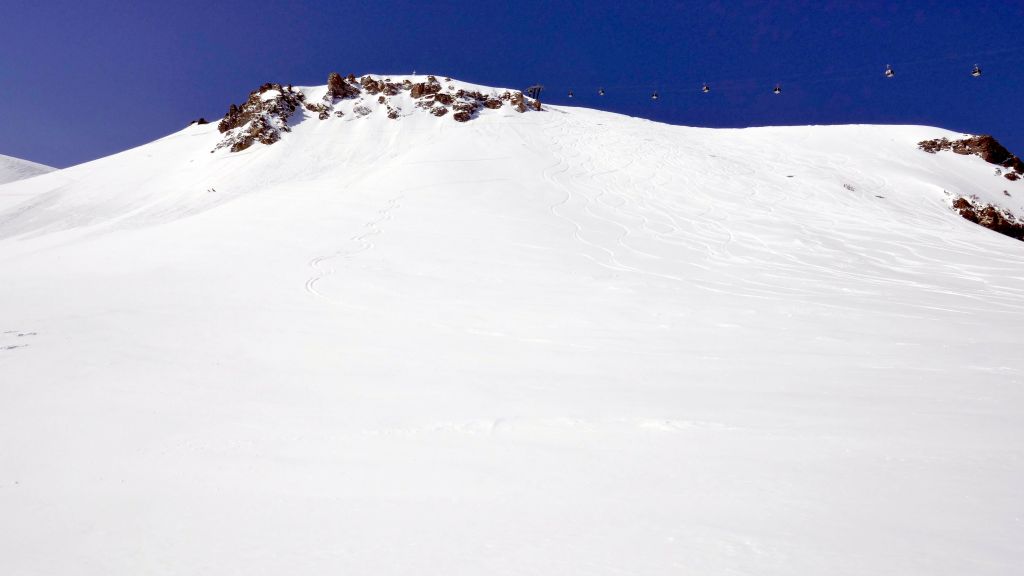
while the gondola to the top wasn't open yet, but that's a lot of tracks down for a few ski patrol runs. Mmmh...
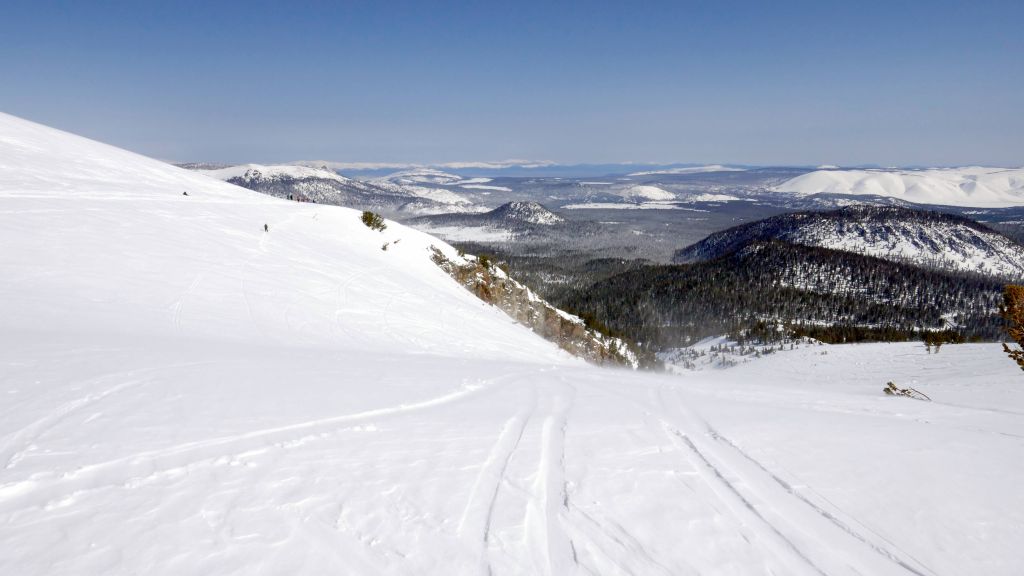
sadly, the 2ft of powder were pretty packed by the wind
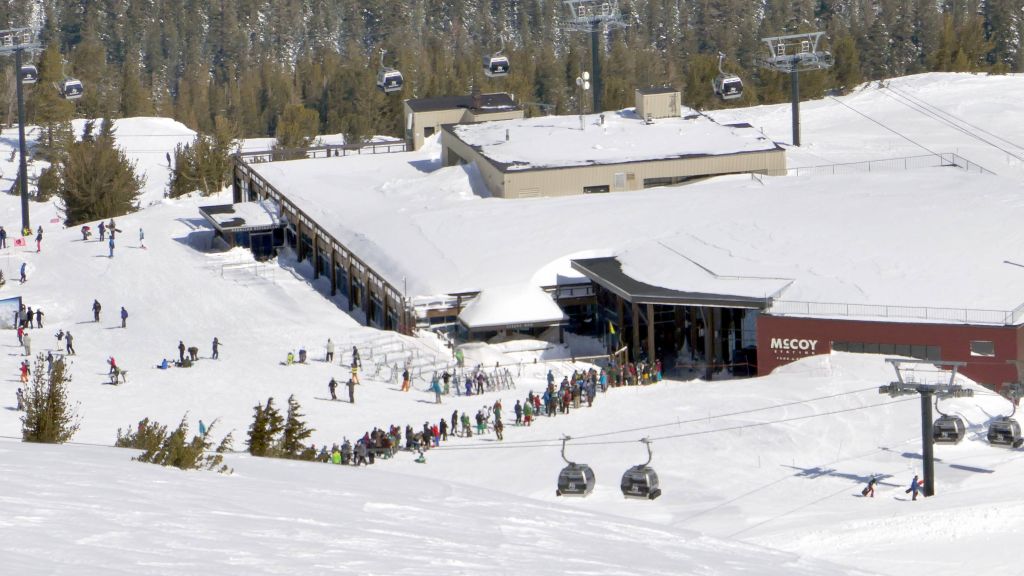
line at the mid station gondola. It was better go to all the way back down and get it there
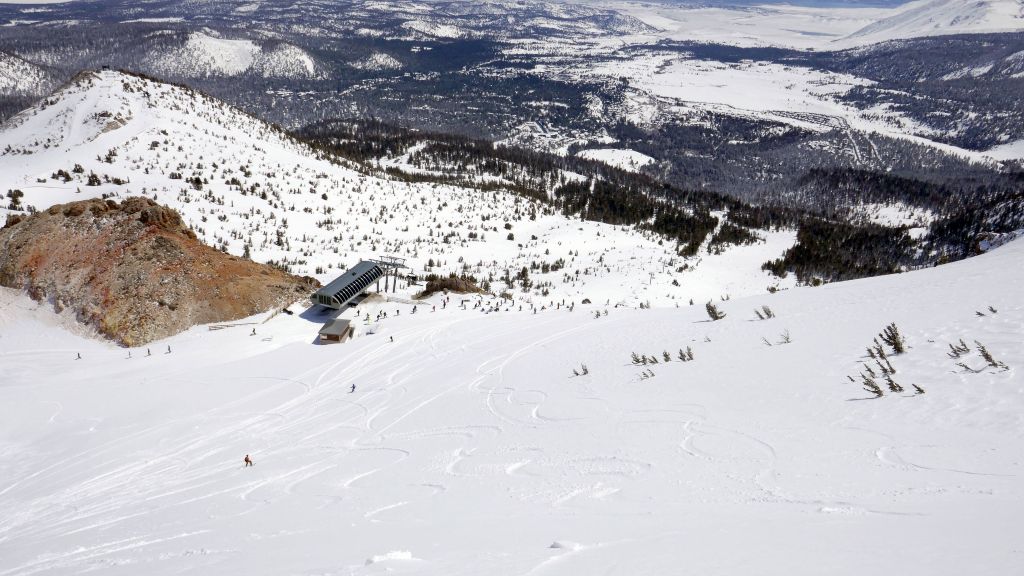
Gondola towards top of cloud nine had a bit of powder (only enough for one run though)
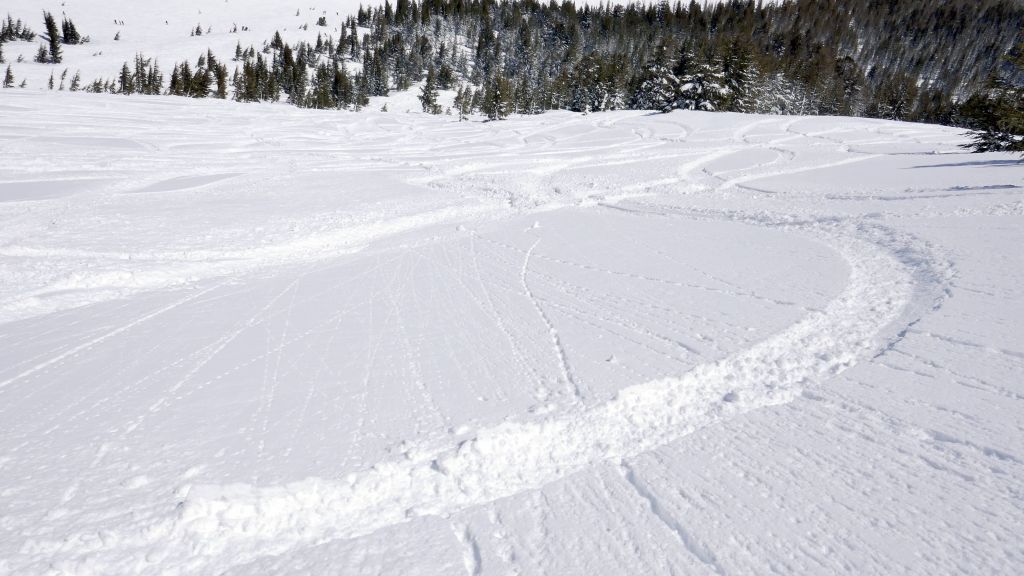
snow was good up high, but by 9000ft the powder quality went way down :-/
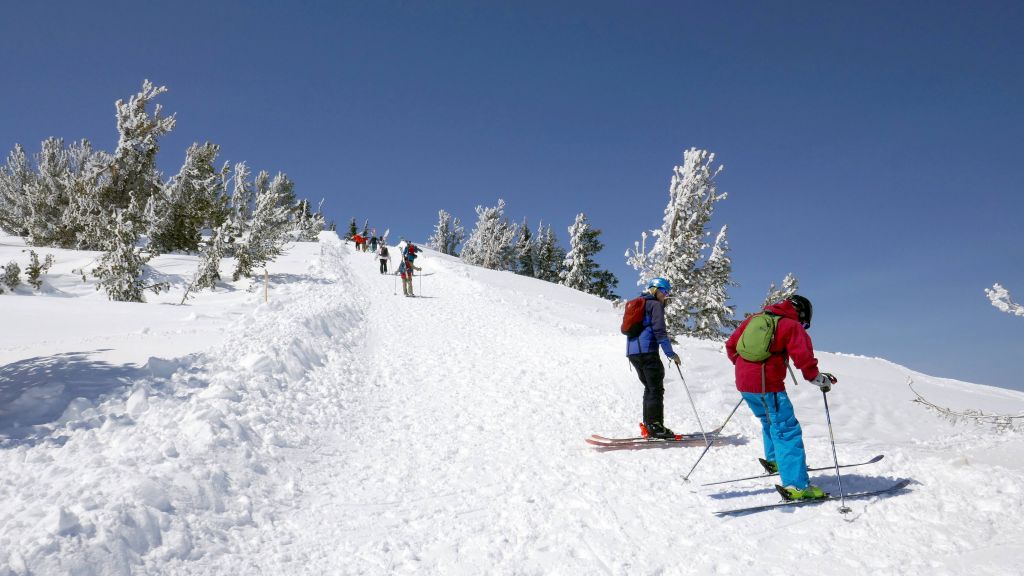
hike up the ridge to santiago bowl/hemlock bowl and chair 14
The next morning, driving up was easier, the road was mostly clear. I also only drove up to Mill's Café, which put me at the lifts I wanted and is actually easier to get back to, than the main lodge. Some people actually camped there:
The next morning was already spring skiing. Not bad, mostly no ice or slush, which is good, but virtually no powder left anywhere:
During those 2 days, I got some nice pictures of the surroundings:
this reminds me of heavenly]On the way back, saw one of the Alaska planes bringing in a load of passengers:
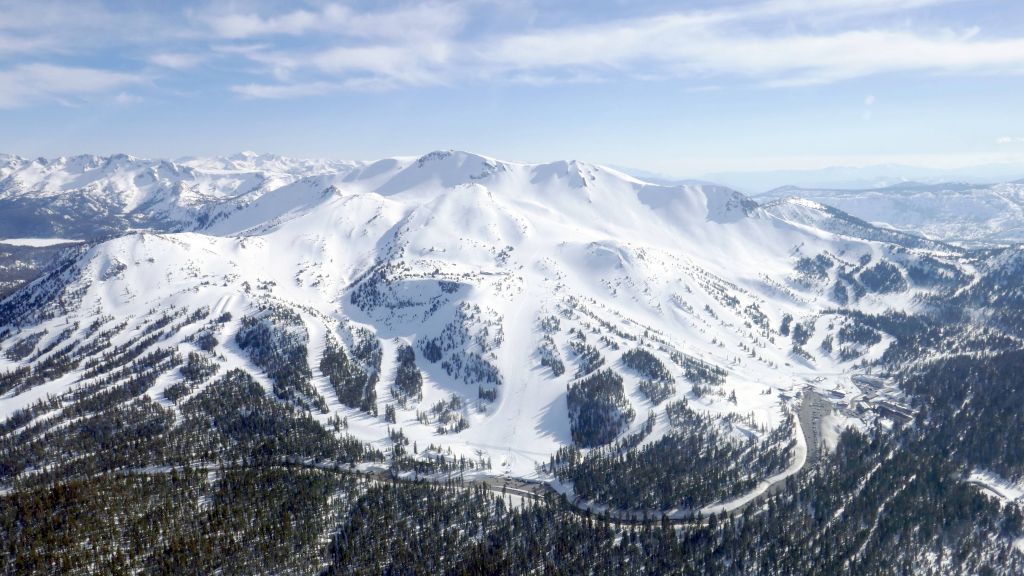
Mill's Café where I parked, and main lodge at the end of the road
See also the newer https://github.com/marcmerlin/NeoMatrix-FastLED-IR (from http://marc.merlins.org/perso/arduino/post_2018-07-30_Building-a-64x64-Neopixel-Neomatrix-_4096-pixels_-running-NeoMatrix-FastLED-IR.html )
I started with a silver shirt, I added a few LEDs, and then more I got from a swap meet, and later added some LED shoes I hacked to last 12H instead of 4
The end goal was adding neopixel strips on my shirt sleeves and pant legs:
Here is a 6mn clip showing the shoes and shirt if you'd like the details:
The problem with my shirt, though, is that the colors you see on the picture are actually due to broken traces, causing the colors you see. It's better than nothing, but not what I was trying to do, and no way to create streaming effects. This is of course where neopixels come in.
I'm not going to repeat the excellent Adafruit Neopixel Uberguide here, but I have a 3mn video clip showing a standard IR RGB LED controller, compared to a neopixel strip. It also shows how I use standard remote control servo cables to wire neopixels, and how to watch out for:
It's easy to listen for IR, and then change neopixels, leave them alone, and listen for IR again. It's hard (or near impossible on some chips) to actively update neopixel strips for animations and listen for IR commands at the same time.
Why? This video explains the issue:
What's going on is on low end arduino chips (328p, leonardo, or even AT mega and all other 16 bit AVRs), neopixels are controlled by stopping chip interrupts and sending a very precisely timed signal to the neopixels. If the timing is off just a little bit, the wrong colors get sent, or nothing works at all. This is why interrupts must be disabled
Now, there are actually many other addressable multicolor LED types. The nice ones are 4 wire and work via SPI, which allows the CPU to control the timing and the clock, removing this exact bit banging timing issue. The cheaper 3 wire ones have a set clock and require that the CPU sends a very precisely timed signal, usually done while disabling interrupts. See https://github.com/FastLED/FastLED/wiki/Overview
But since neopixel strips (aka WS2811/WS2812/WS2812B) is what I already had, I now had to deal with this precise timing issue. As you can guess, disabling interrupts causes issues with the IRRemote library because it has its on interrupt handler timer that also requires being run at a special timing, or it doesn't capture proper IR signals.
The end result is that you cannot disable interrupts and receive IR signals, and if you don't disable interrupts, the neopixel signal is unstable and the colors flicker (demonstrated int the video above).
So, unless you use some special hardware to drive neopixels strips on an AVR chip, concurrent IR + neopixels is just not going to work.
![]()
an arduino nano v3 running neopixel strips
![]()
my 328p arduiny chip (equivalent to arduino nano) and anti plug backwards toothpicks :)
![]()
because my 328p chip was unprogrammed, I had to figure out direct ISP programming pinout for it and I flashed a bootloader on it
![]()
a few chips for comparison (uno, leostick, nano v3, arduiny, and Teensy 3.1 in green)
Thanks to better FastLED hardware support, when I moved my code to a Teensy 3.1 32 bit ARM CPU, the CPU was fast enough that it had time to re-enable interrupts in the middle of updating neopixels. This in turns allowed the IR Remote interrupt handler to just barely run in between pixel updates, and capture IR codes. Success!
See this video for details:
The magic code that makes this work, is here: https://github.com/FastLED/FastLED/blob/master/platforms/arm/k20/clockless_arm_k20.h#L34
sei(); delayMicroseconds(WAIT_TIME); cli();
Thanks to this re-enabling of interrupts, things work.
So at this point, someone sensible would have declared victory. However, I felt bad wasting a Teensy 3.1 on something as simple as driving a single neopixel strip (it can drive 8 in parallel) and reading from an IR receiver, when it has around 32 I/O ports. This is why I checked if I could get this to work on ESP8266 chips which are even cheaper and have much fewer I/O pins (but add Wifi)
I had more 32bit chips, so I thought I would give them a try. I tried the ESP8266 and ESP32:
First, the ESP8266 mostly worked with FastLED + IRRemote, but not quite. The FastLed code, just like on Teensy, is nice enough to re-enable interrupts for a short while: https://github.com/FastLED/FastLED/blob/master/platforms/esp/8266/clockless_esp8266.h#L45
os_intr_unlock();
delayMicroseconds(WAIT_TIME);
os_intr_lock();
However in my tests, the IRremoteESP8266 library was maybe a little bit too slow and caused occasional visible neopixel glitching (this has been fixed in FastLED since I originally wrote this). This is where I found this interesting library: https://github.com/JoDaNl/esp8266_ws2812_i2s/ which manages to drive the neopixels without doing bit banging with interrupts disabled ((ab)-using the I2S hardware support). It's not a very fancy library in what it offers, but it works perfectly with interrupts enabled.
There is another DMA library using the UART instead of I2S interface, that also works without affecting interrupts: https://github.com/Makuna/NeoPixelBus
Same thing for ESP32. Actually ESP32 is even more difficult to get a perfect timing out of using bit-banging given that it's a dual core CPU running on top of an RTOS, and no matter how precise your code is, you just cannot guarantee that it'll run perfectly at the timing you need all the time. I did add ESP32 support to the Adafruit Neopixel library, but it only works most of the time, which isn't really good enough.
This where its built in RMT support comes in. It can generate 8 precise signal waves, which are perfect for neopixels, so this is the way to go to animate neopixels without disabling interrupts (making IR receiving trivial). IRremote was missing ESP32 receive support, but I added it recently, so it's all working.
FastLED now supports RMT on ESP32, so you can run interrupts while talking to Neopixels.
Here's a video summary of ESP8266 and ESP32:
And here is my code again: https://github.com/marcmerlin/Neopixel-IR
The big plus from that example code is that it supports 4 different Neopixel backends and abstracts them so that the adafruit (and other) demos can run on all 4 libs. See how it does it here: https://github.com/marcmerlin/Neopixel-IR/blob/v1.0/Neopixel-IR.ino#L275
I also have a video showing the evolution of lights on my shirt from v1 (single non controllable color) to v2 (tri color, but not pixel addressable), to neopixels with cool patterns (jump to 3:50 if you'd like that):