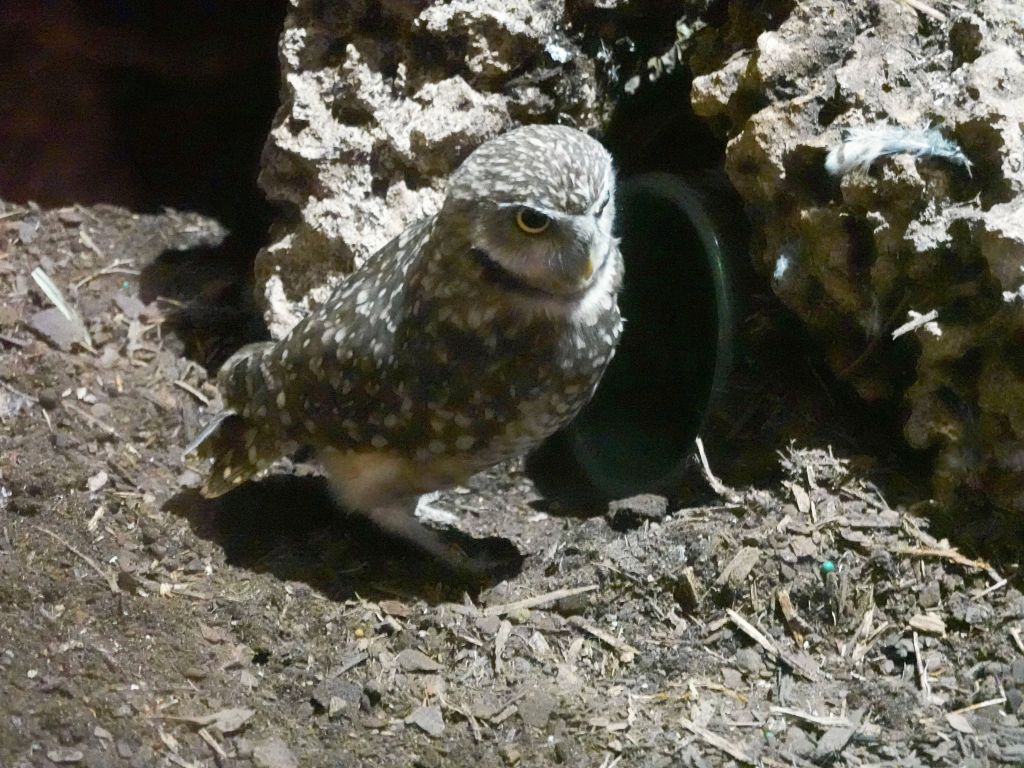
a burrowing owl, that was exciting since we're supposed to have them at home, but I had never seen one

a burrowing owl, that was exciting since we're supposed to have them at home, but I had never seen one

The Dallas Museum of Art was quite good, and free. Easily worth 2-3 hours:
Both allow running your basic 2D code written either of Adafruit::GFX, and LEDMatrix, or 2D FastLED on your linux computer:
There is basic serial input/output emulation to allow you to interact with serial debugging on your arduino code when run on linux, and of course you can run the code under gdb.
You can find all the code and installation/usage instructions here: https://github.com/marcmerlin/FastLED_NeoMatrix_SmartMatrix_LEDMatrix_GFX_Demos
This is what it looks like when it's bigger:
The talk focussed on failures I've encountered in multiple fields, and what I learned from reading from other people's failures, a common practise in aviation that has saved countless lives in not re-creating failures and accidents out of ignorance.
As they say in aviation "experience is a cruel teacher: she gives you the test first, and if you survive, then you get to learn the lesson".
After looking at examples of failures we experienced at Google, I give a fair amount of examples from aviation, from AF447, QF32, and the Boeing 737 Max disaster which is so many failures in so many ways that it takes a while to describe in details. My hope is that engineers in a similar situation where they know they are getting overruled, can use other escallation steps to avoid disaster for others.
You can get the talk PDF or openoffice source from here. Otherwise, you can read the slides below and watch the video recording:
Then, I also brought a demo of my next version using Raspberry Pi and displaying a framebuffer of 128x192, using FastLED_RPIRGBPanel_GFX I wrote for the occasion :)
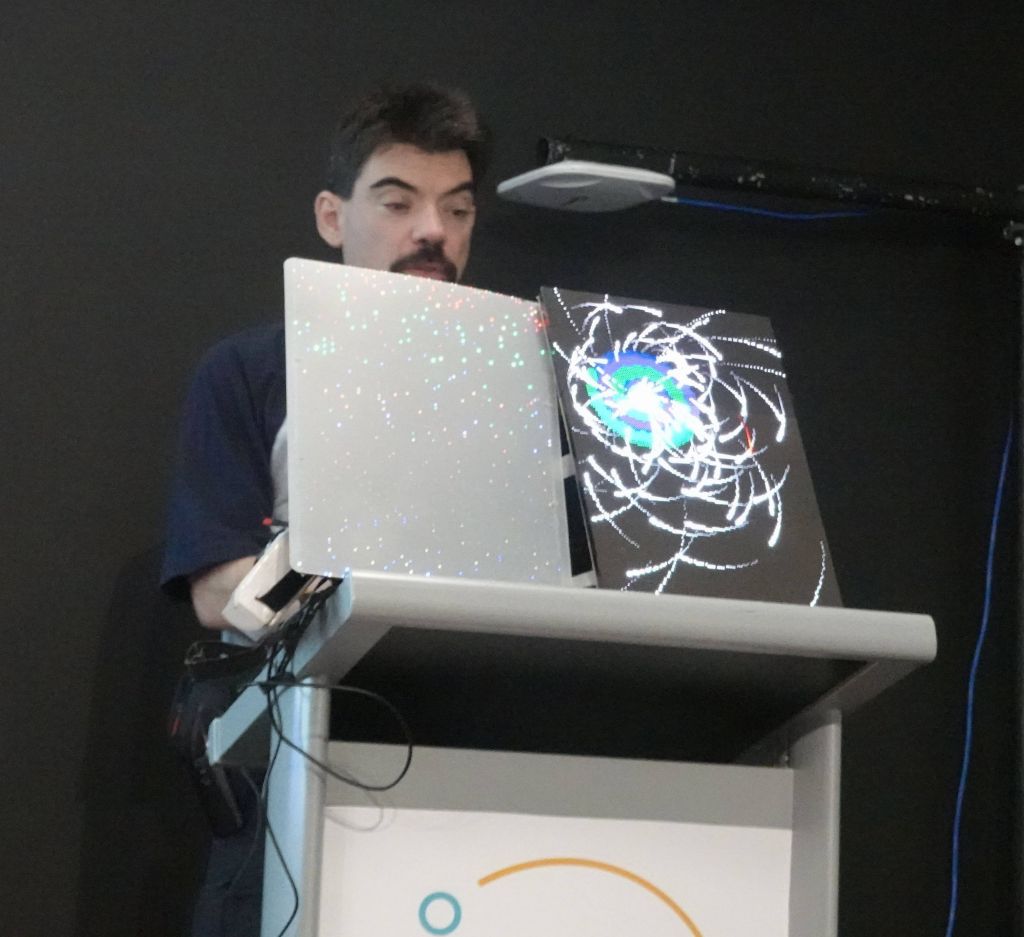
Demo of 64x96 with ESP32 and 128x192 on Rasberry Pi
Talk video below:
![]()
Jon, presenting the miniconf as per how many
![]()
This year's dingo car, controlled by the rPi
![]()
Andy presenting the software side of the car
We then trained our cars' neural network by manually driving them arount the track:
![]()
and before long, I got my car to drive around on its own
Here is a video of my car driving on its own, including how it learned to drive:
During the miniconf, I also gave a talk on my recent LED panel/ESP32 work and brought my recent RGBPanels:
I gave a couple of talks this year:
I also had fun at the Open Hardware Miniconf 2020: Dingo Car with Tensorflow Video Analysis v2
I met Chris and Jon for dinner before the conference:
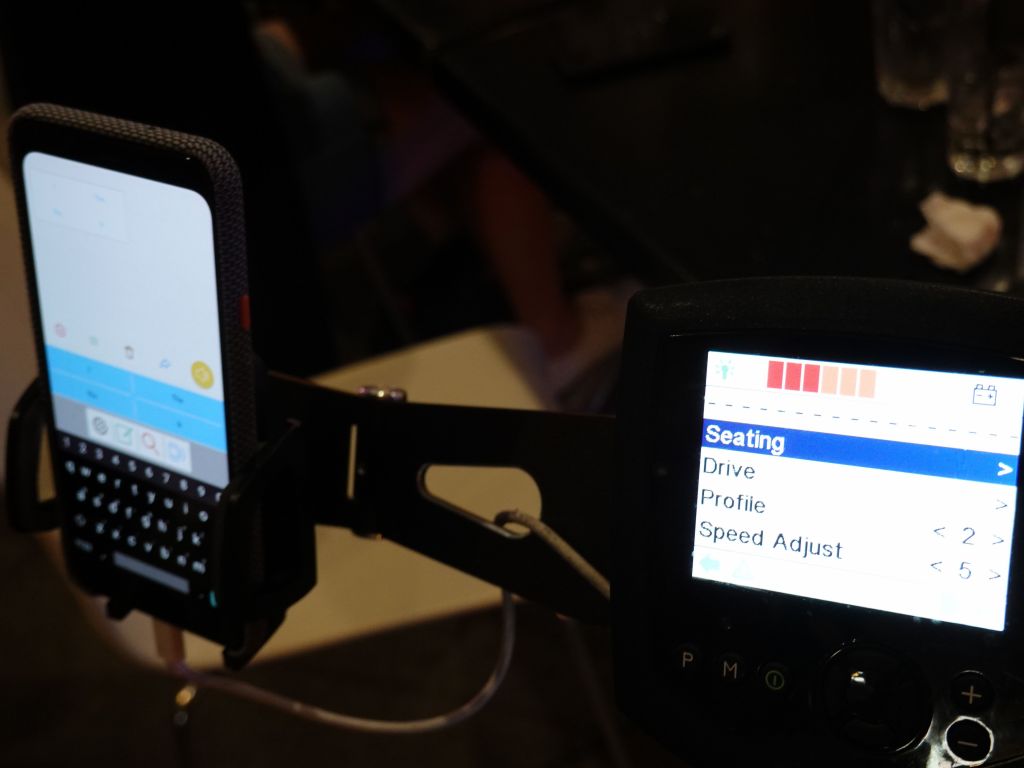
Chris had a fancy wheelchair enhanced with Jon's improvements
Then came time for the conference:
I much enjoyed a very cool talk on emulating old game consoles in an FPGA
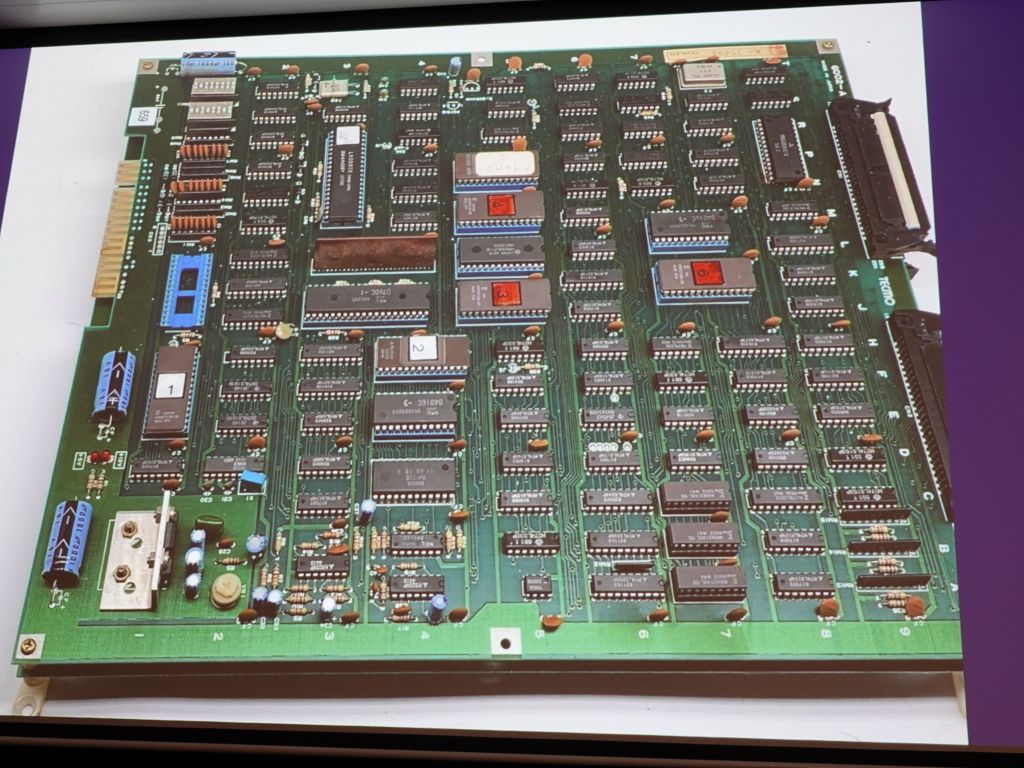
took a lot to run those video consoles back then, lots of it was RAM
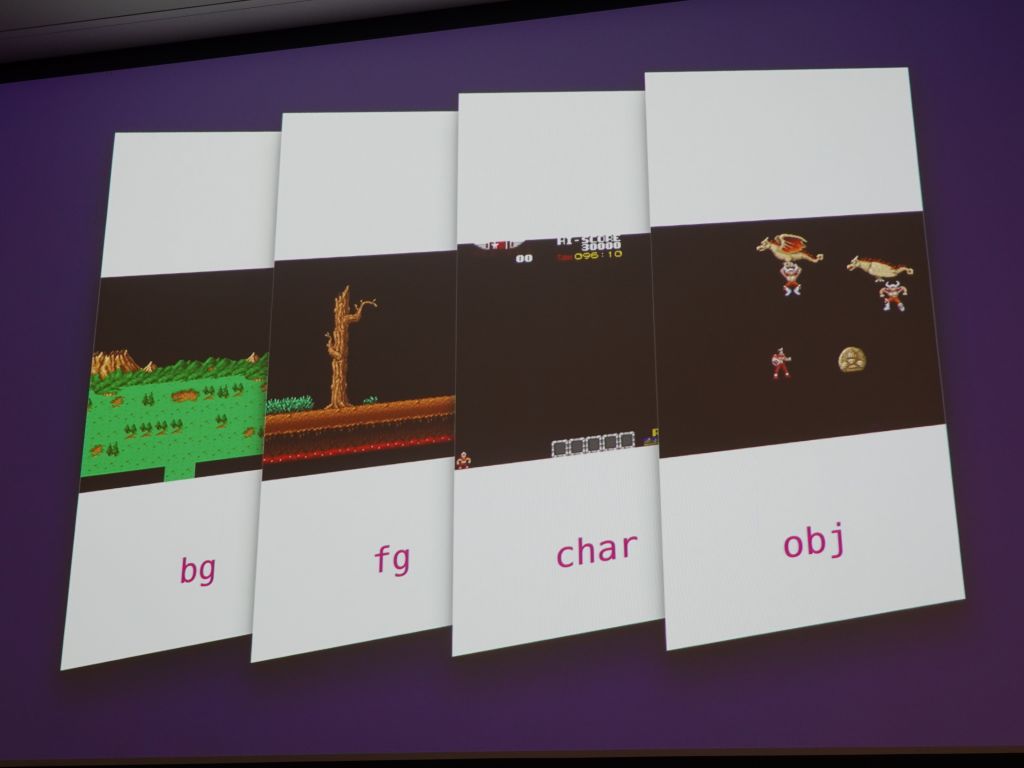
there was no framebuffer, sprites and backgrounds were rendered real time during CRT gun scans
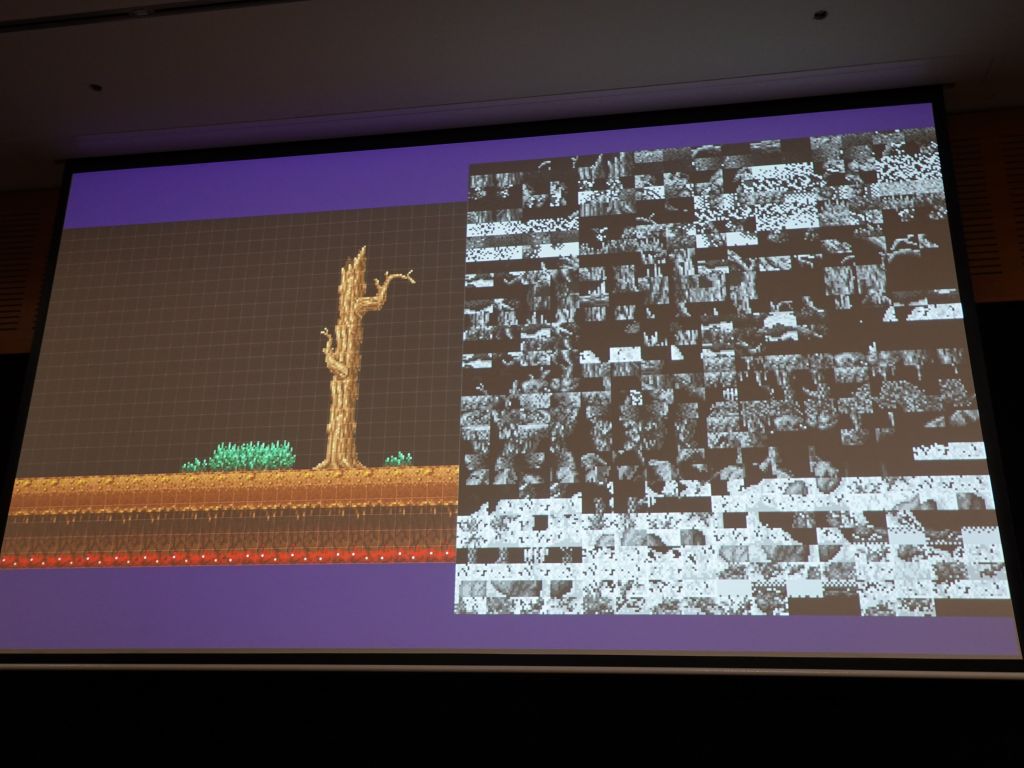
backgrounds were rendered fro a bunch of tiles to same RAM
Random talk slides:
Nice to see the usual people again:
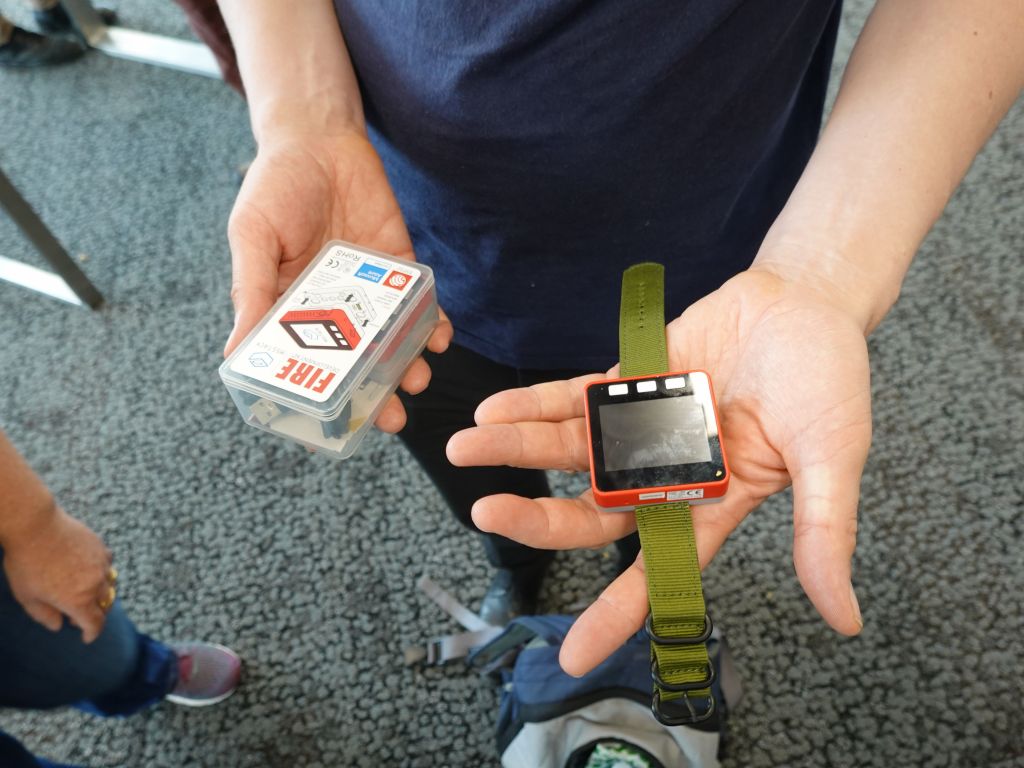
of course I 'need' an ESP32 watch :)
Nice dinners as usual:
And just like this, it was conference close, where we we told to guess where the next conference would be:
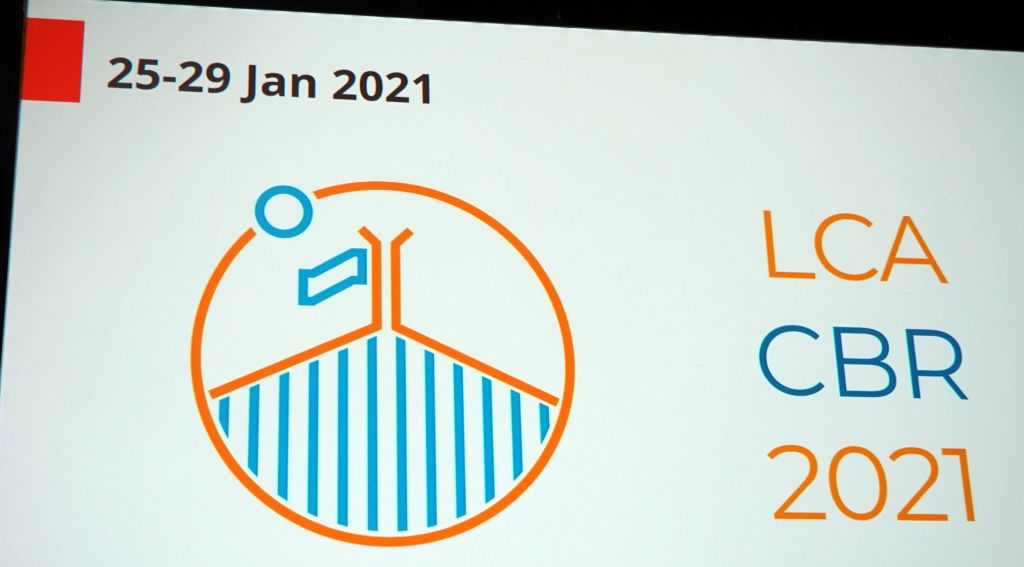
it'll be back in Canberra a 3rd time
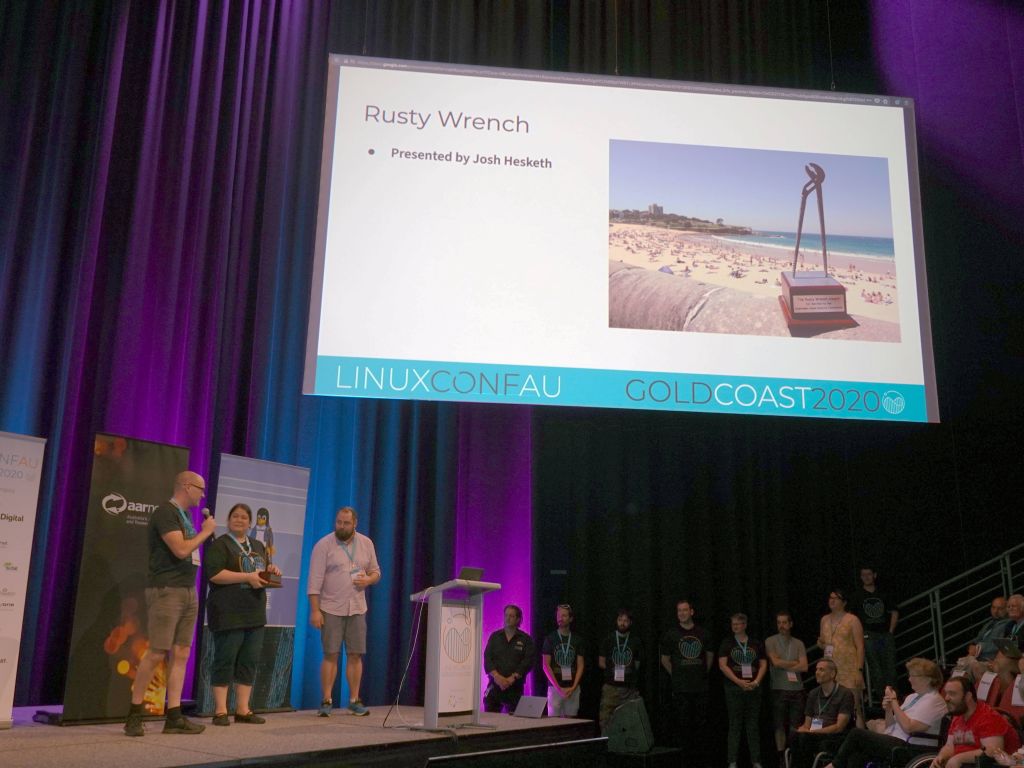
Jon Oxer won the Rusty Wrench award this year, and it was well deserved
After an ice cream social, the conference was over.
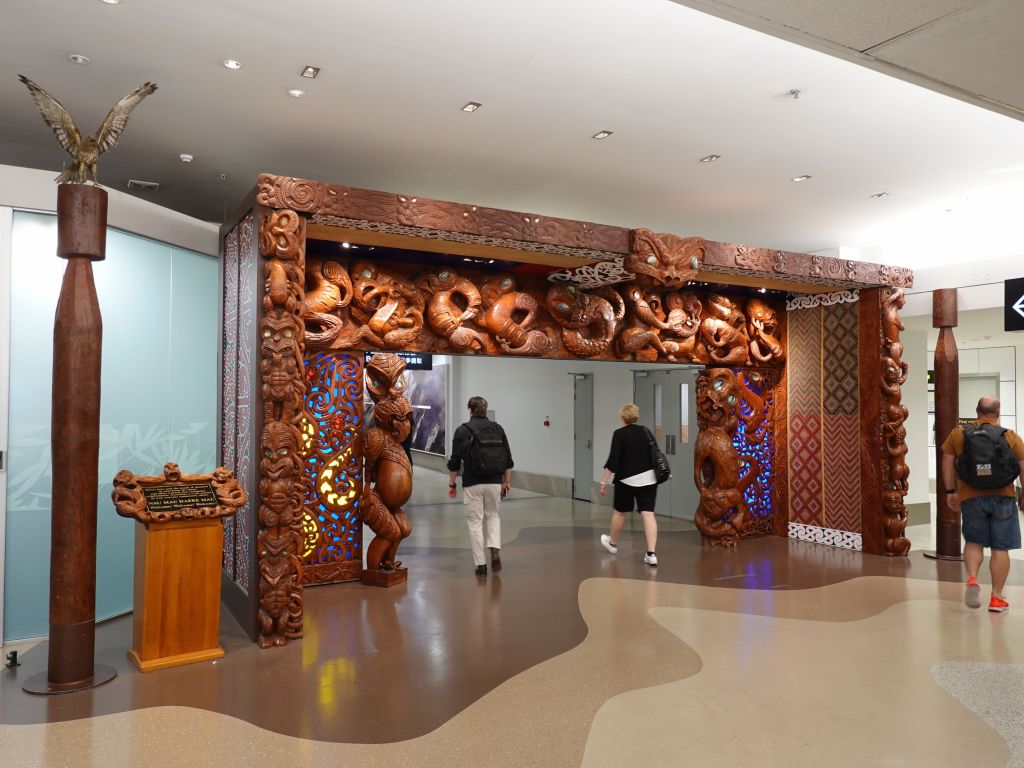
I had to fly through Auckland which nicely made me go back through security and took all my stuff apart needlessly
As soon as I landed, I had a bit of extra time before the the Springbrook NP, so I took my luggage in an uber directly to nearby Currumbin Wildlife Sanctuary to spend a couple of hours. It was my 3rd time there, but still fun to see:
Next, I took my luggage to my Gold Coast hotel and got picked up by my half day Springbrook NP tour. The views were not fantastic due to the light smoke in the air, but the air was actually much better than most of Australia that was being ravaged by fire. Still, the NP was nice:
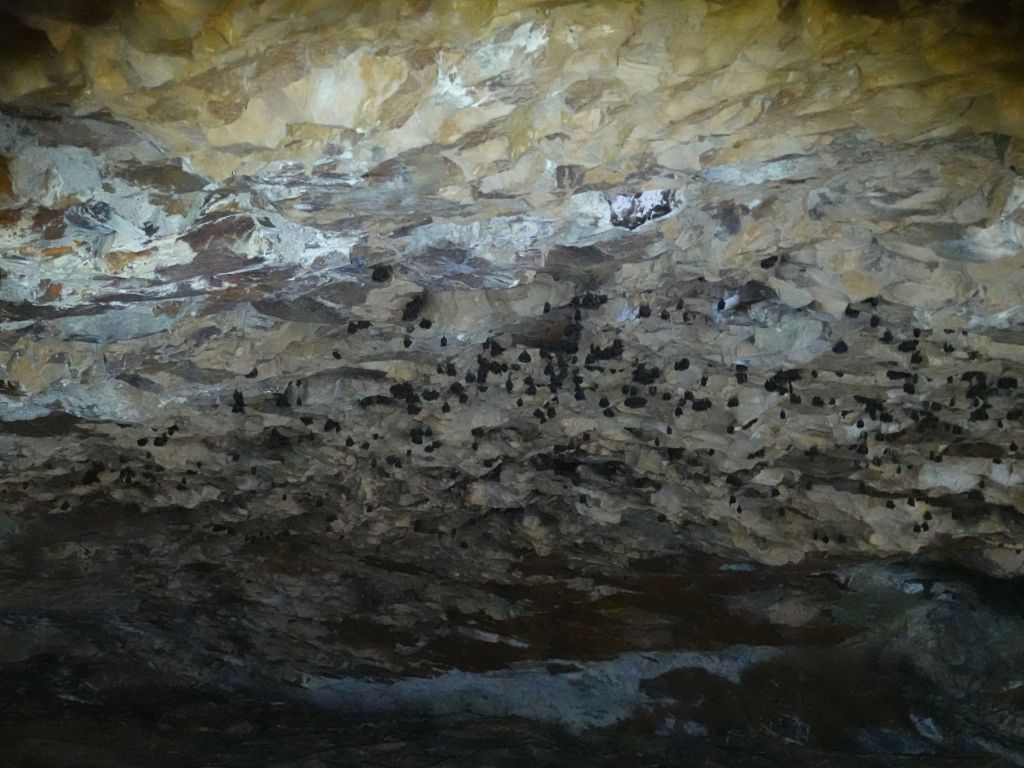
some bats happily sleeping there
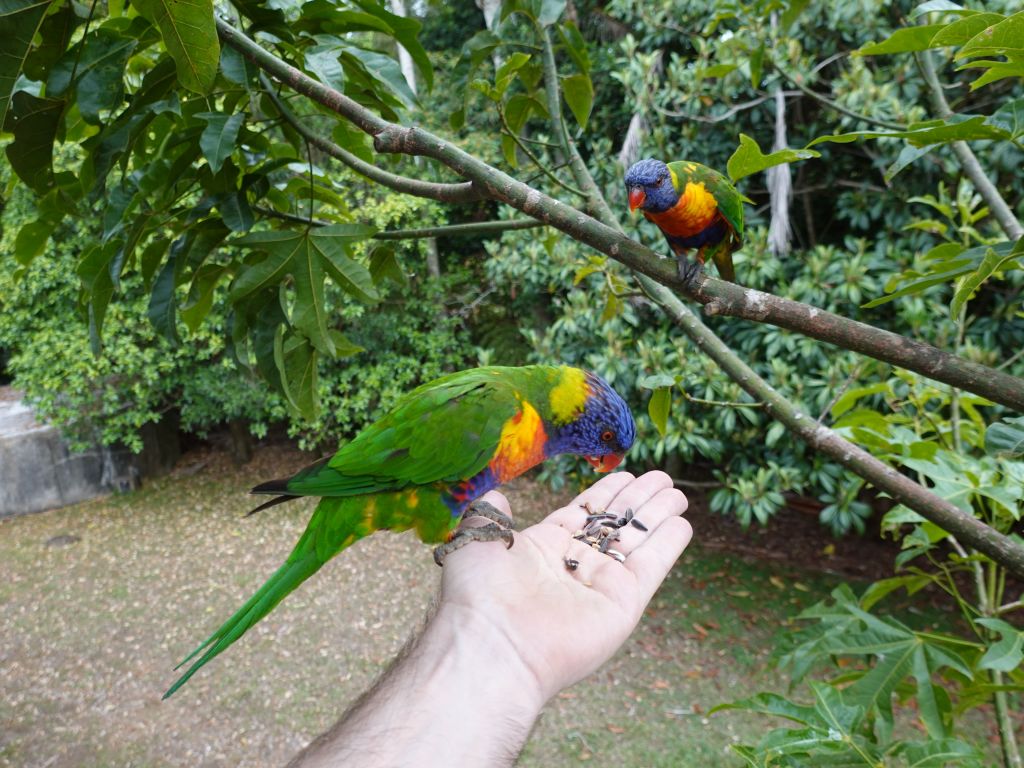
I always carry seeds for a good reason :)
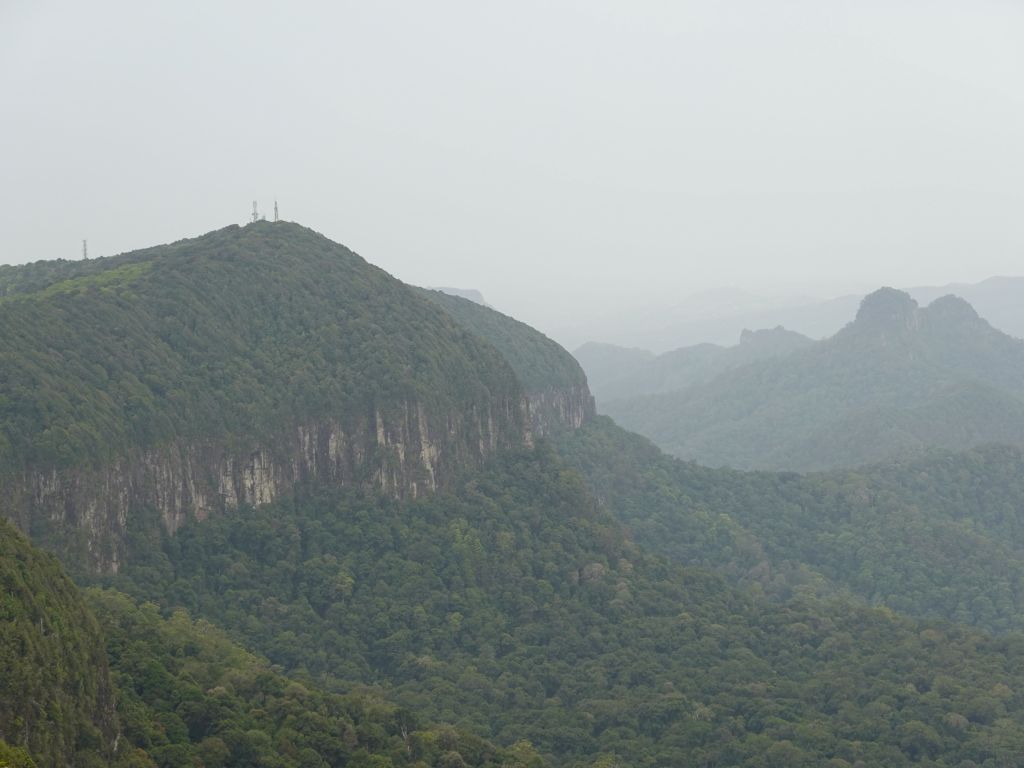
the best viewpoint in the world was not stellar due to the air
The next day, I went to Dreamworld, a combined amusement/water park, which was worth 1.5 days. It's a weird mix of amusement park, animal park, and water park:
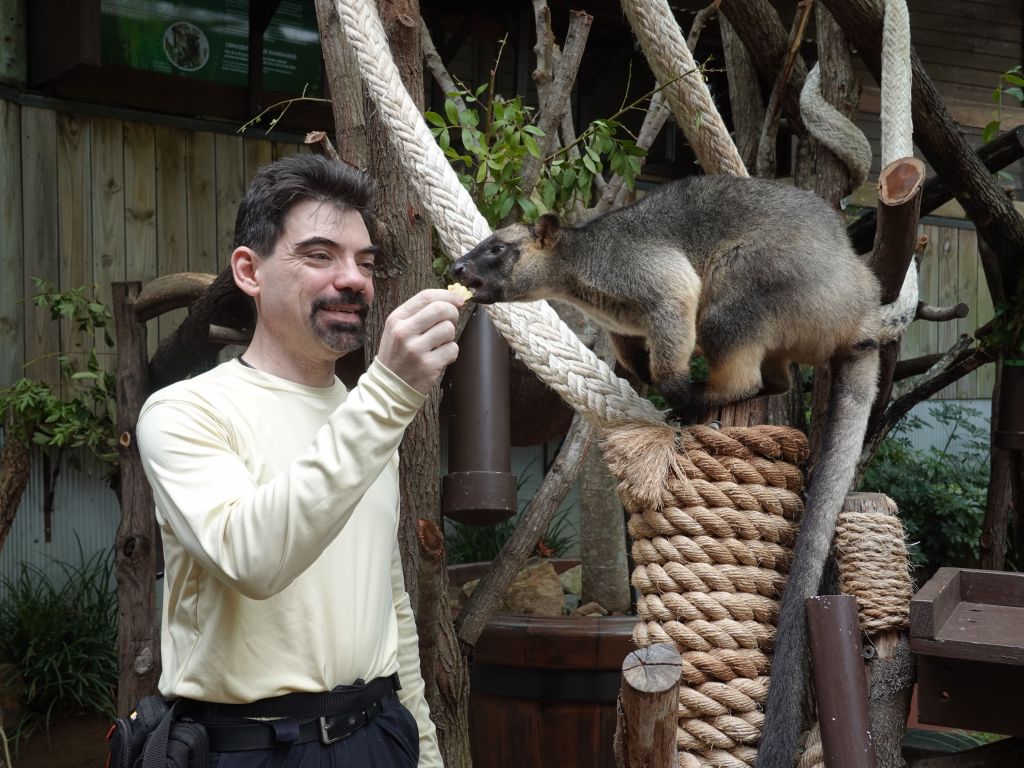
first time with a tree kangaroo, they are normally not very social
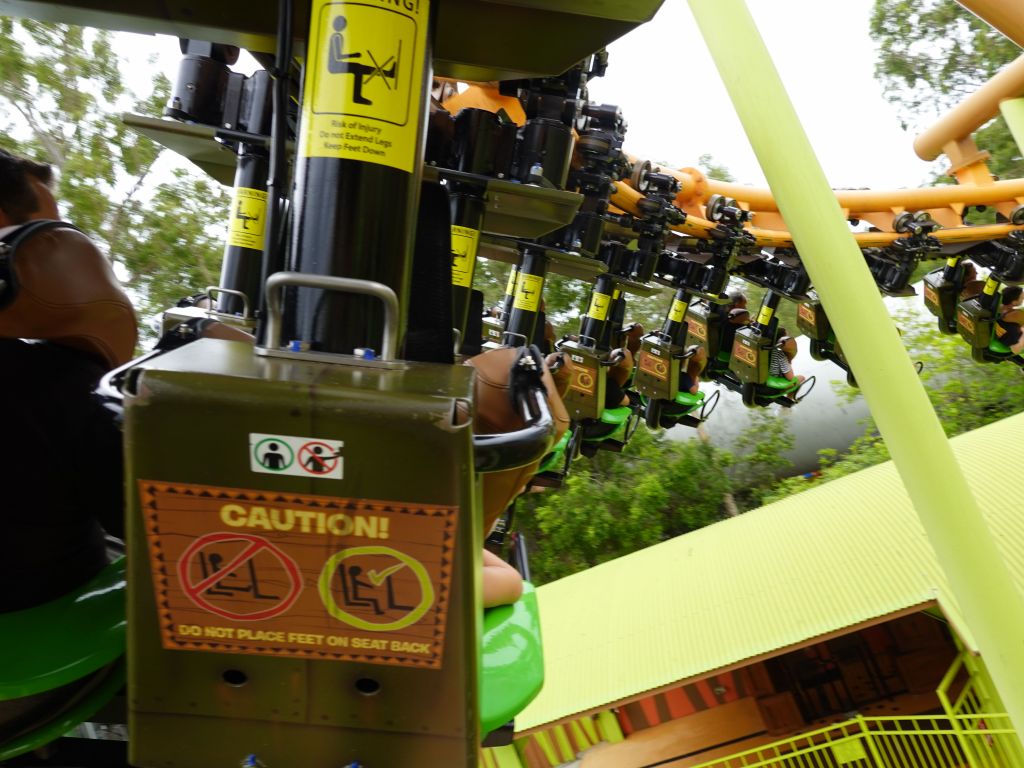
I got copiously yelled at for daring to take/use my camera on this ride

that's a bigger cat than I'd play with myself :)
They had a good section on haborigenes and their cultures:
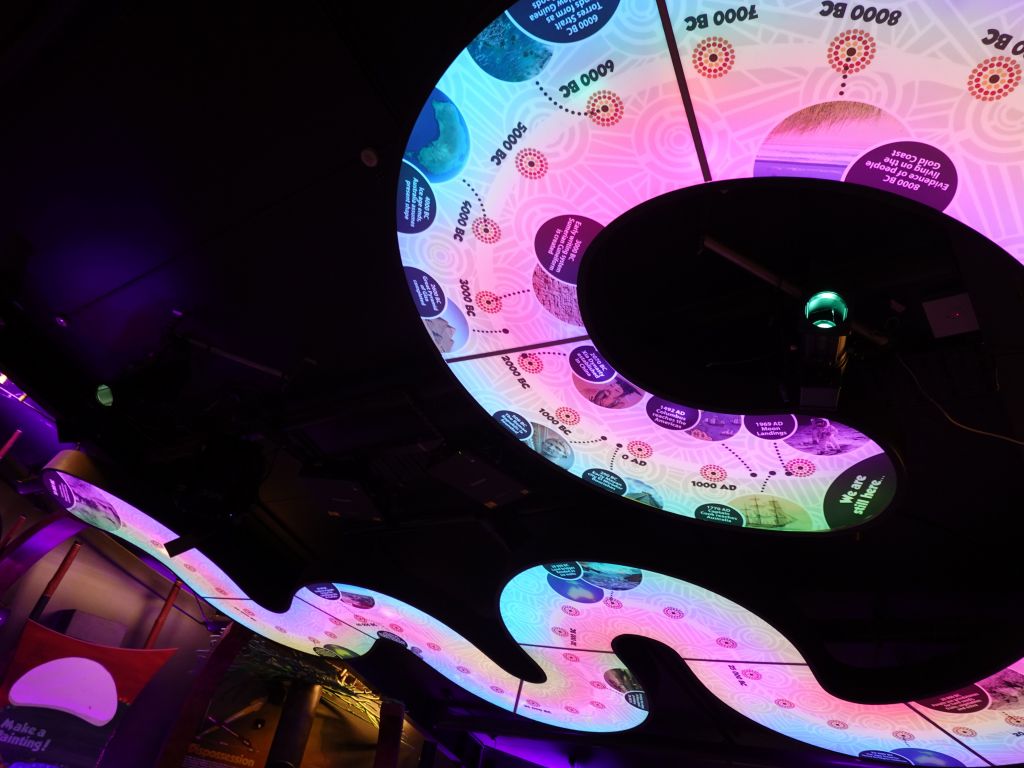
they have a story of a creation snake
The next day, I went back for Whitewater World, the water section of the park, and worked on getting better at the wave thing. It was much harder than it seems, but I got a bit better at it:
The rest of the water park was quite nice too
I had a half day left after the water park, so I went back to Holoverse and tried their other games:
We had been to the gold coast twice already, so there wasn't too much that I hadn't seen yet:
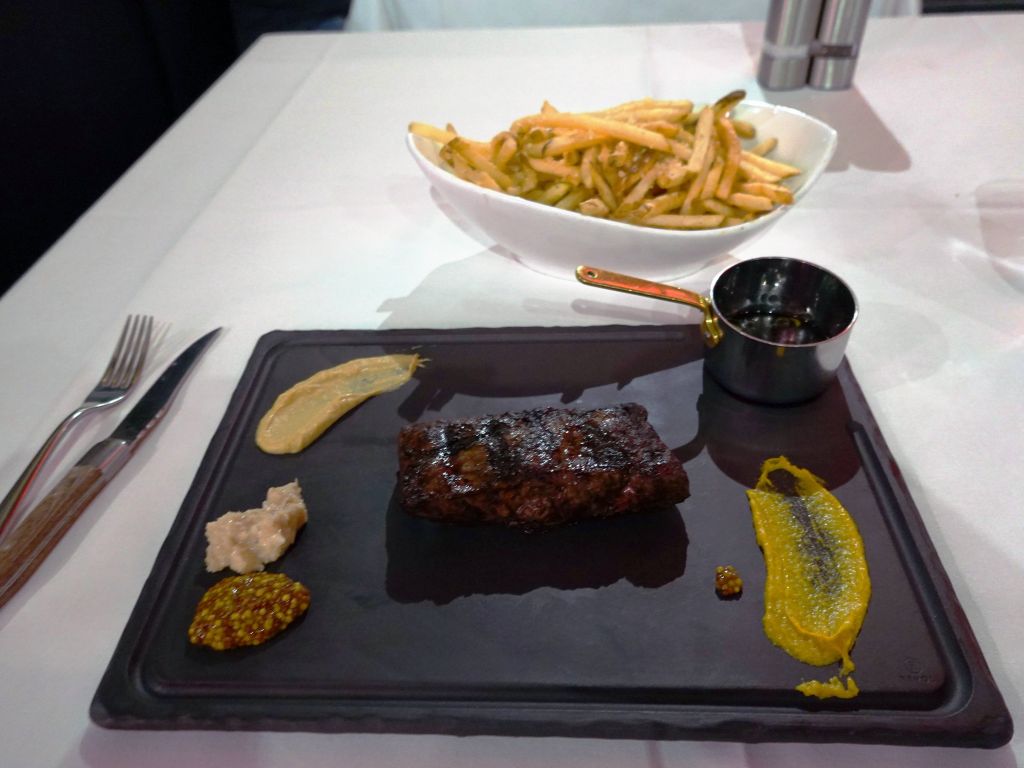
I tried expensive wagyu in a highly rated steak restaurant, and it was not melt in your mouth despite the very steep price
Just like last time, they have a little street market, which I went to visit:
I had a free ticket to go to the observatory again, so I did:
When we found that out, we spent 1.5 days going through all the presentations they had during the Xmas holidays, and we saw most but not all of the static exhibits:
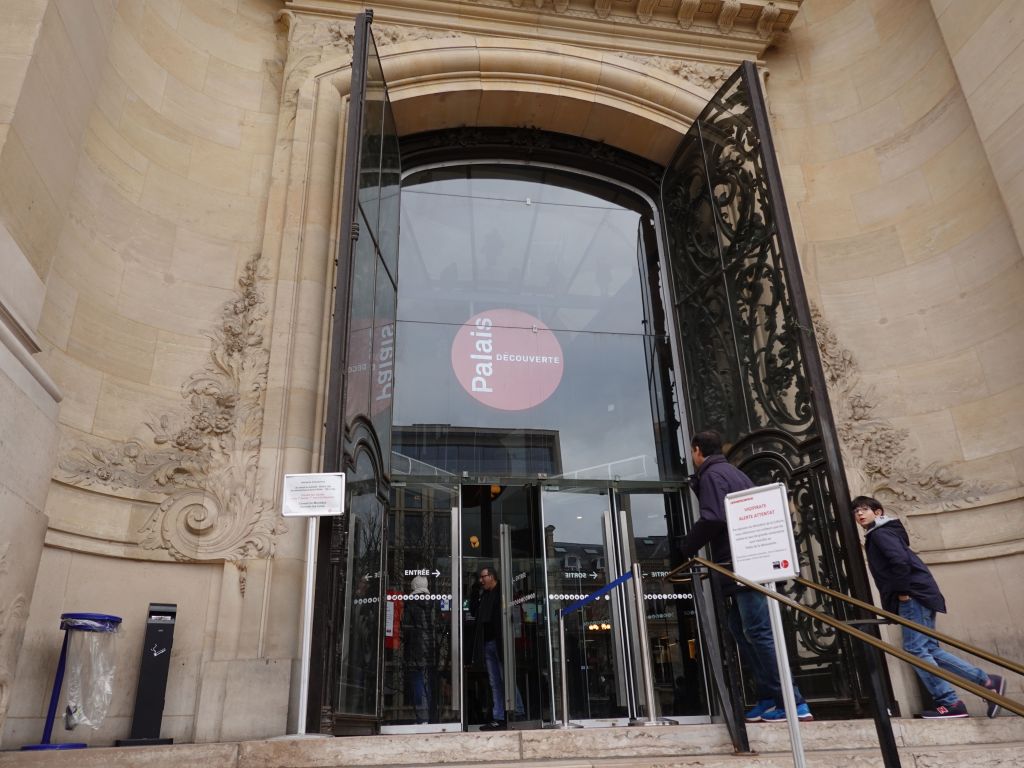
it is located at the back of the grand palais, an iconic building in Paris
The different presentations were definitely a highlight:
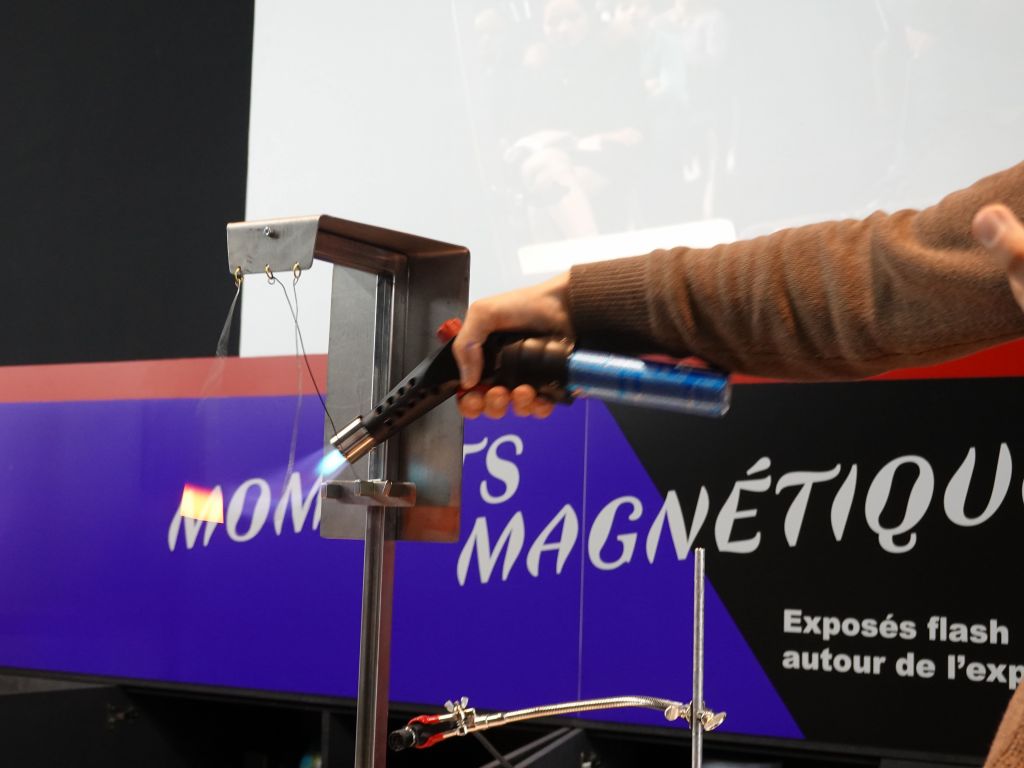
exhibits on magnetism, showing magnets lose their properties when they are too warm
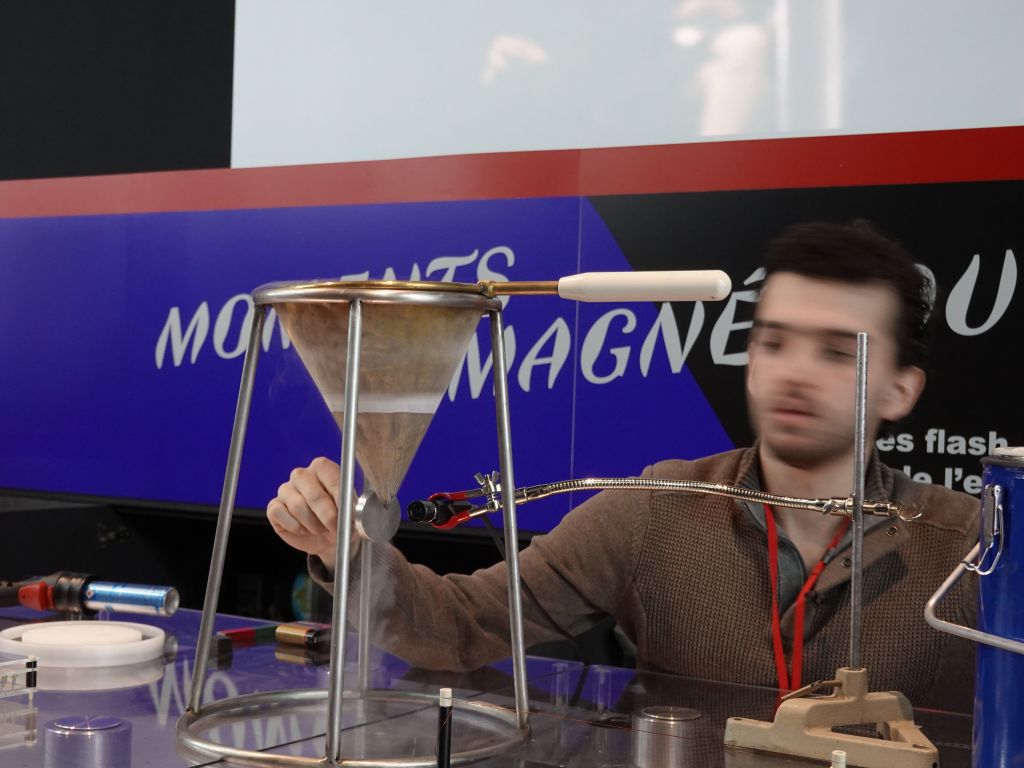
more interesting: stream of liquid gas is susceptible to magnetism
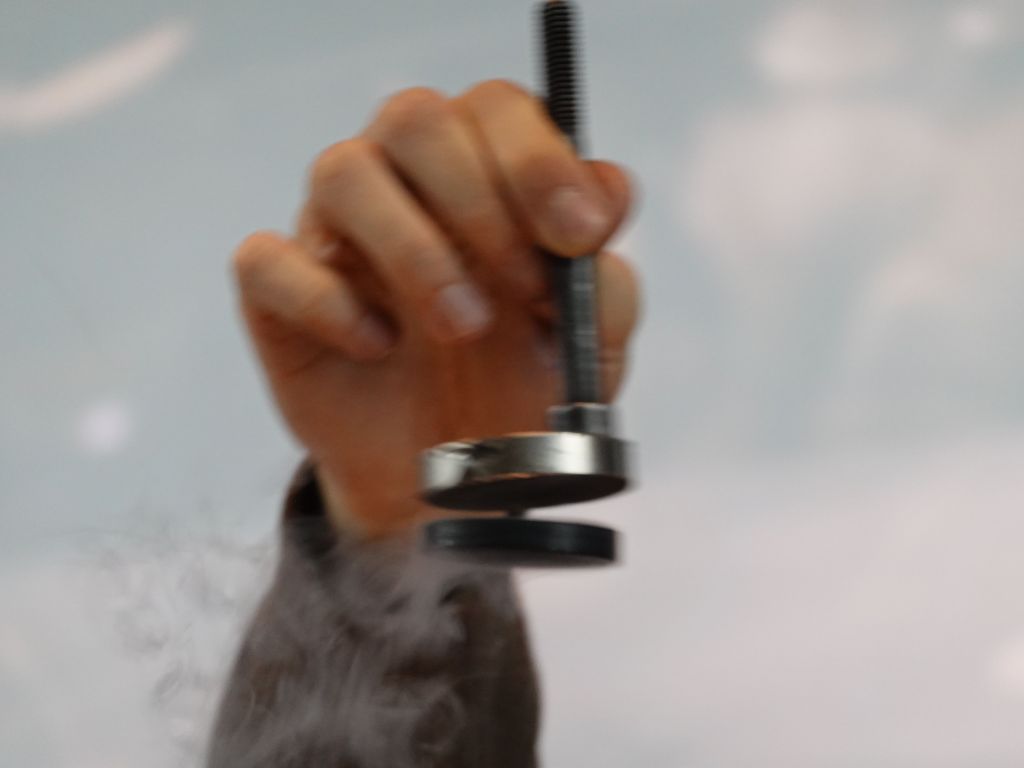
supraconductive material, when cooled sufficiently will stay in a magnetic equilibrium
The museum's high power experiments (static electricity and electro magnets) have been there forever and are always a favourite:
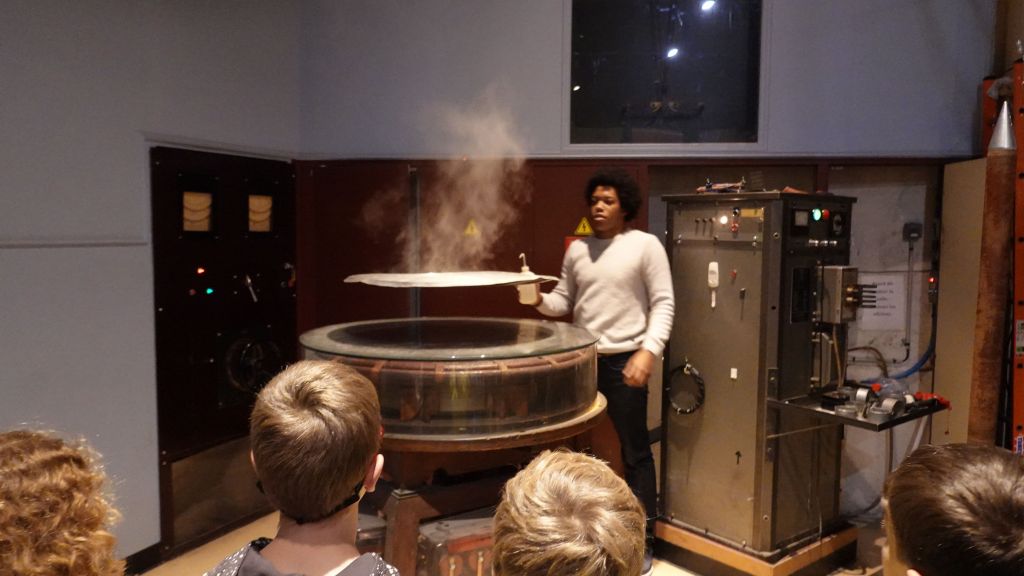
induced electric currents from magnetism allow for levitation, and it's hot
There were lots of other exhibit of course:
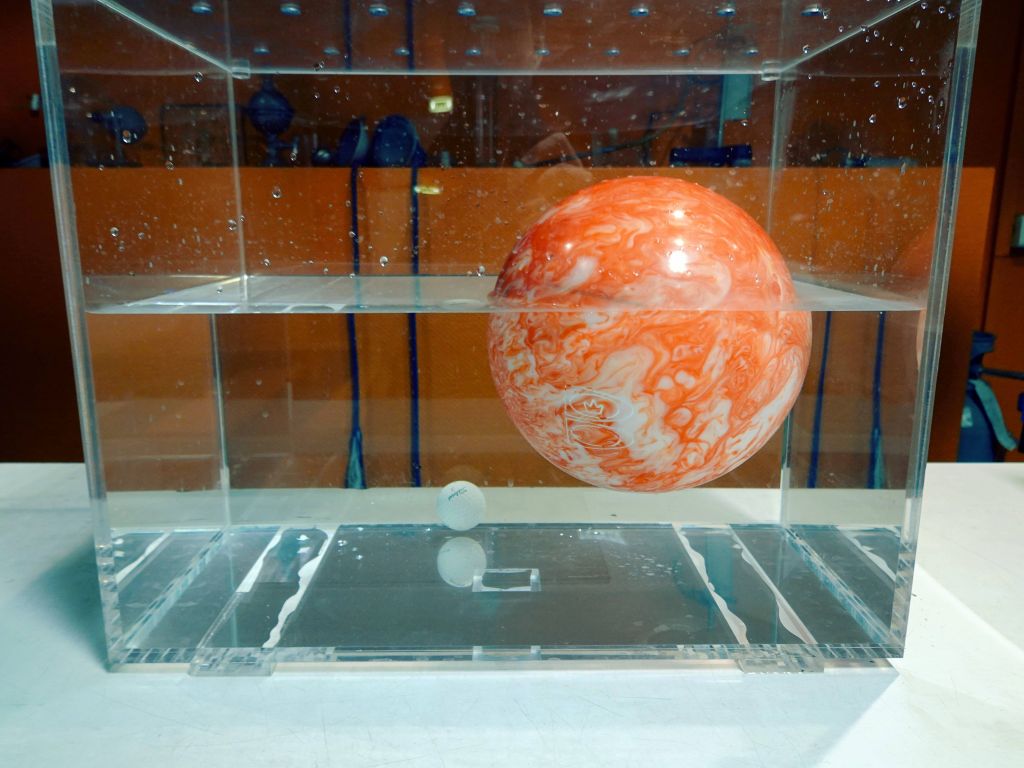
it's all about density, yes this is real water and a real bowling ball
Multiple sections on animals
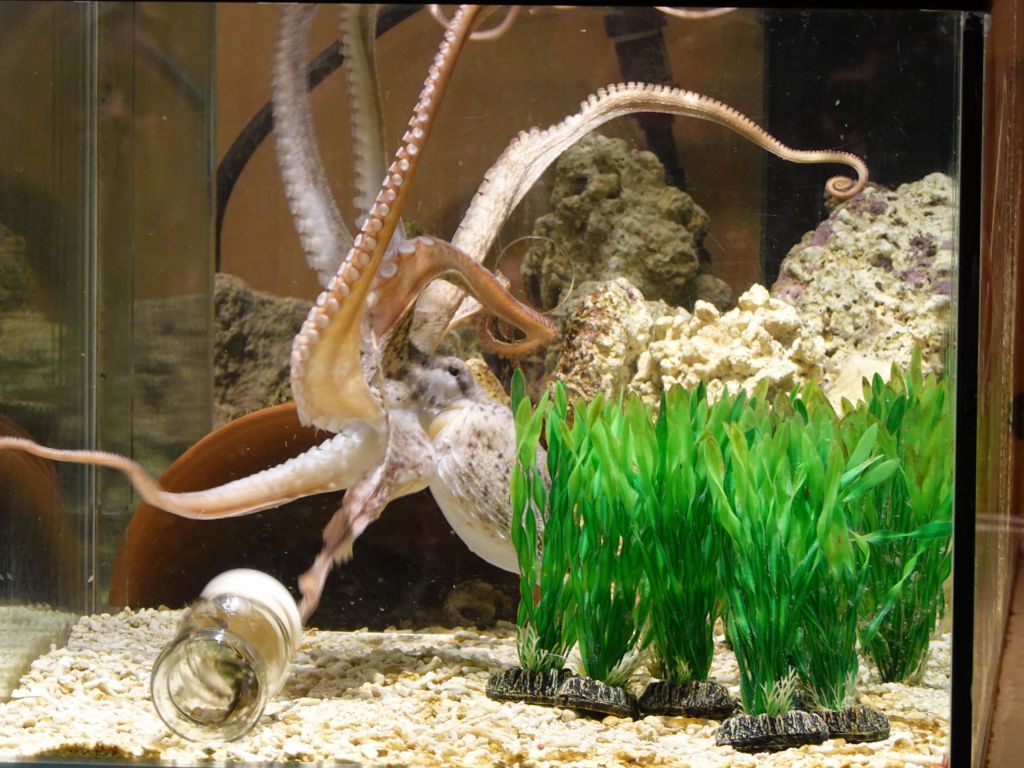
it gets to open a jar with a crab inside
The 2nd day, we came at opening time to see some static exhibits before the presentations started:
We then went to see the excellent supraconductivity:
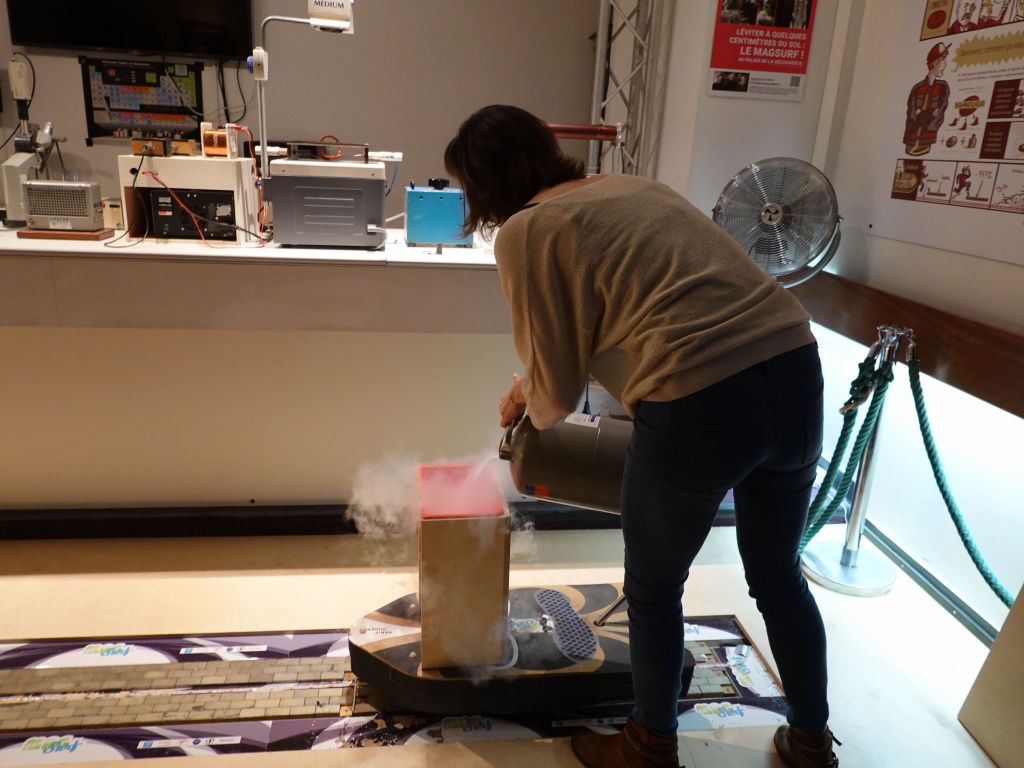
and then came the time for the full scale maglev demo
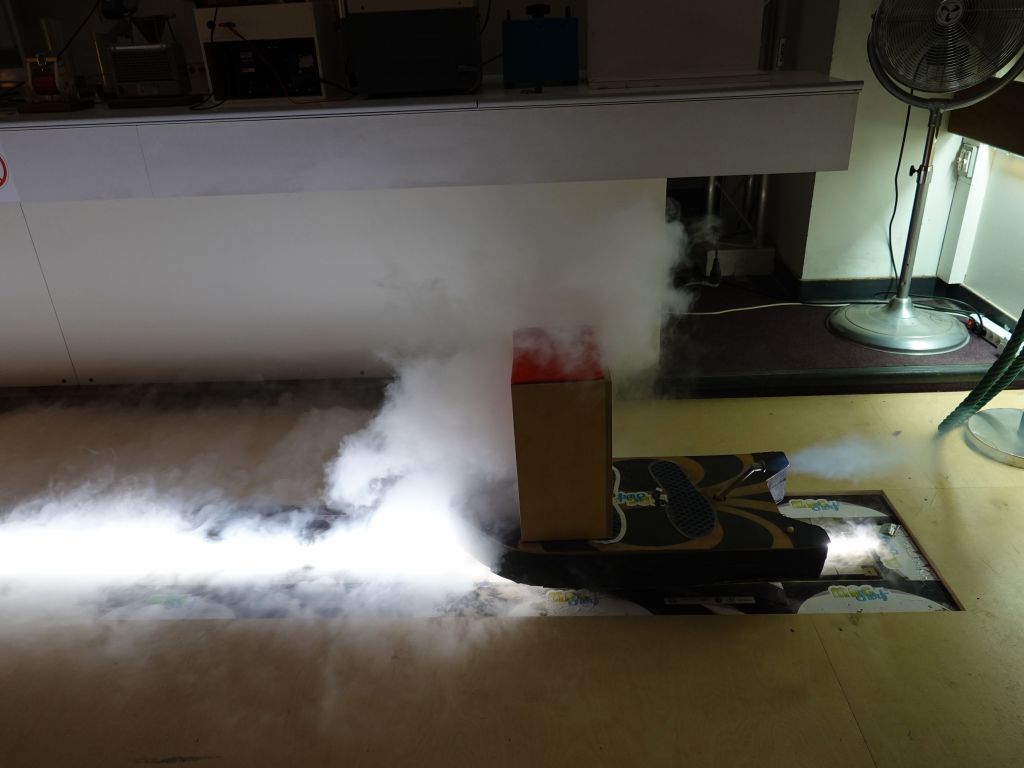
a bit of time to cool down the supraconductive magnets
and then it was Jennifer's turn:
There plenty of other presentations:
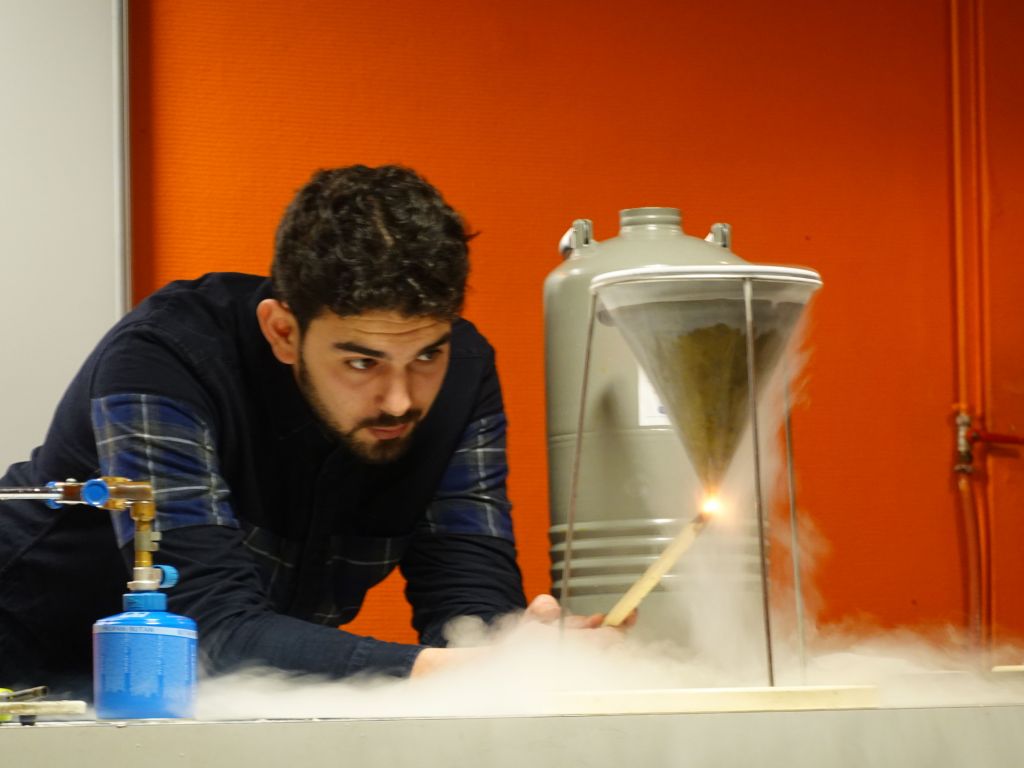
oxygen in the air liquefies first, and causes flammable liquid
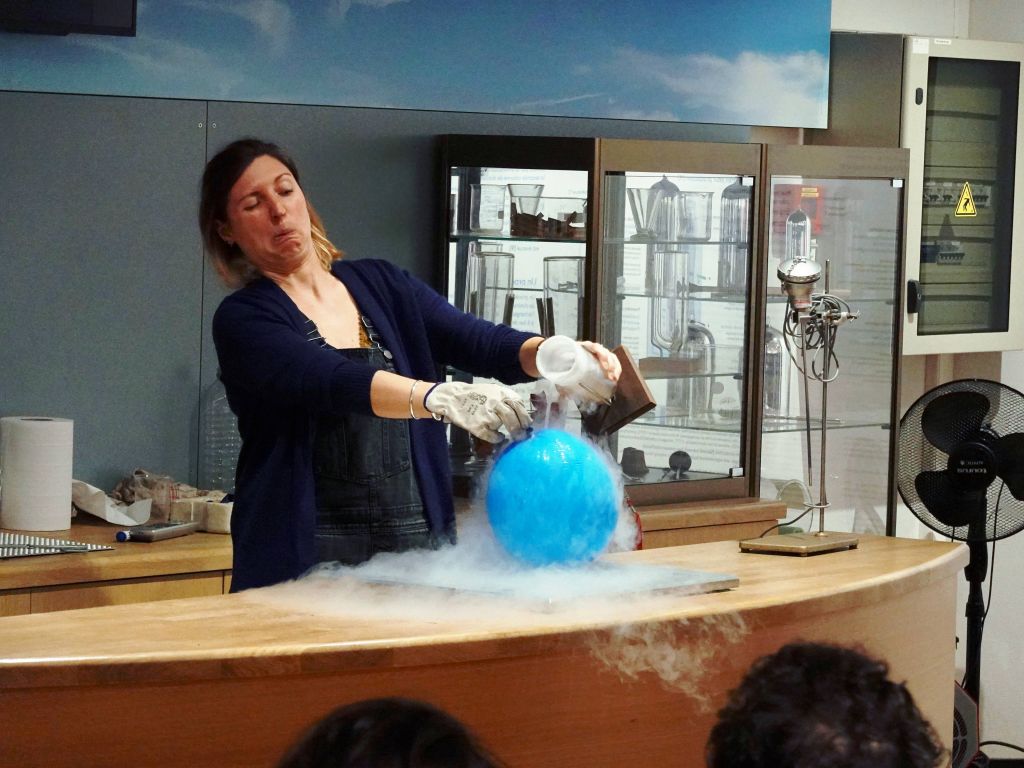
safety goggles are for other people :)
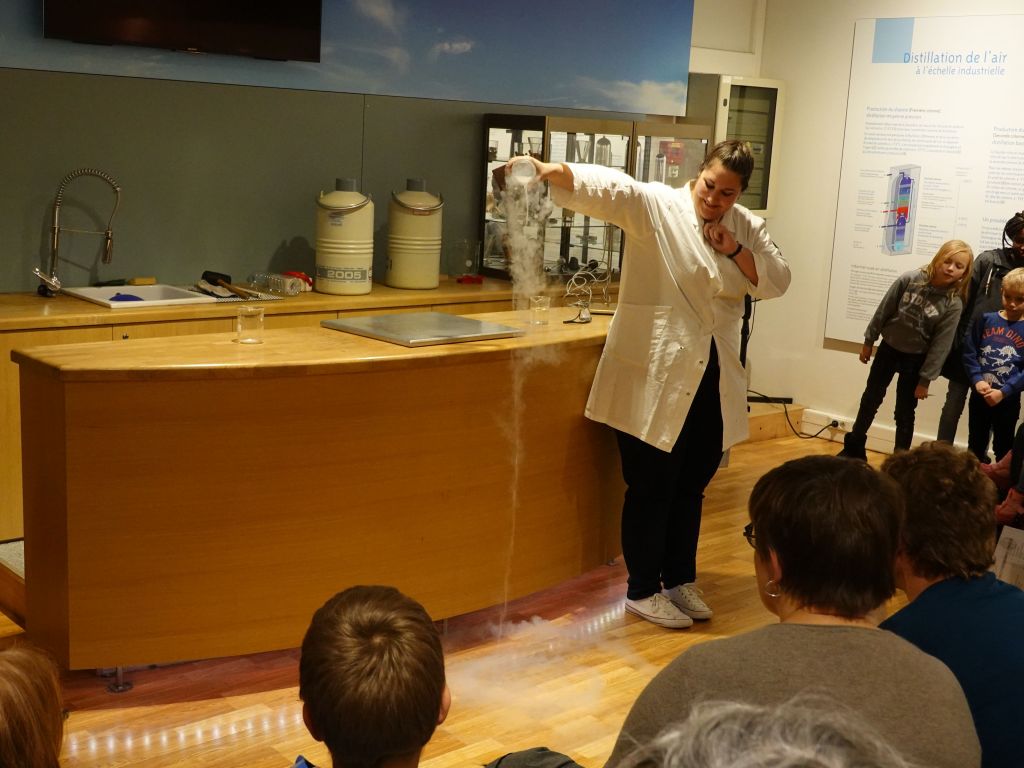
they had bucket fulls of liquid gas to play with
After 1.5 days, we didn't quite get the time to see it all, but we made a good dent. The staff and demonstrator were awesome. I'm really sad that this museum will close forever in less tha na year.
Another issue is that SmartMatrix, while better than all the other libraries on arduino, doesn't support all kind of weird panels out there, specifically the AB and AC panels that you often end up getting when you get higher resolutions like 128x64.
Using Neopixels would work better of course, but they caan't reasonably be had in less than P5 (0.5cm/LED) while RGBPanels go down to P2. Also, neopixels are about 10X more expensive per pixel, if not more.
So, the solution is to use a rPi to drive RGBPanels of size 128x128 and larger (a single Pi with 3 parallel channels can reasonably run up to 256x256. After that it gets harder and you need multiple microcontrollers).
This is where the excellent https://github.com/hzeller/rpi-rgb-led-matrix driver comes in. It's the most feature complete RGBPanel driver for microcontrollers
Ok, but you have all this arduino code, maybe written for a FastLED::NeoMatrix or Adafruit::NeoMatrix array using the Adafruit::GFX API. Or maybe, you used the FastLED API with an XY mapping function, or maybe even you're using the LEDMatrix API for FastLED. None of those work on rPi, and you don't want to change/rewrite your code.
Well, there is good news: you can use https://github.com/ChrisMicro/ArduinoOnPc to run arduino code on PCs, and therefore also rPi. It is however designed to display in an X11 windows, which is not what you'd want. So, instead, I forked it for you and wrote a rPi glue driver for my FrameBuffer::GFX base class: https://github.com/marcmerlin/ArduinoOnPc-FastLED-GFX-LEDMatrix
You therefore end up getting access to those 3 arduino graphics APIs, and you can render on rPi using a much faster and the more feature complete https://github.com/hzeller/rpi-rgb-led-matrix driver
And this is what the end result, looks like with a cool resolution of 128x192 with 3 panels of 128x64 run in parallel with the active-3 board from https://github.com/hzeller/rpi-rgb-led-matrix/tree/master/adapter/active-3
By using these driver options, I get about 400Hz refresh rate on rPi3, lowering the amount of pwm bits:
~/rpi-rgb-led-matrix/examples-api-use/demo --led-gpio-mapping=regular --led-rows=64 --led-cols=128 --led-row-addr-type=0 --led-chain=1 --led-show-refresh --led-slowdown-gpio=1 --led-parallel=3 --led-pwm-dither-bits=1 --led-pwm-bits=7 --led-panel-type=FM6126A -D0
Those variables are assigned when you create "rgb_matrix::Canvas *canvas", which is fed into matrix->setCanvas(). See this example code:
With rPi, especially with the active-3 board you can drive resolutions of at least 256x256. Here is an example of 128x192, 4 times bigger than the highest resolution I was ever able to drive on ESP32 (64x96). Here is a video natively playing on rPi:
Well, actually 2 months later, I was able to get to the probably max achieveable resolution, 384x256, see RGB Panels, from 192x80, to 384x192, to 384x256 and maybe not much beyond