In in herited a Bixler2 at the Baylands swap meet, and figured it would be a nice ardupilot/FPV test platform instead of that expensive and harder to fix BFG2600.
I used the opportunity to try a smaller pixhawk: the pixfalcon, and a different Broversity OpenLRS receiver: Brotronics PowerTowerRX
Pixfalcon Review for an RC plane: small but bad wiring
Let's start with the pixfalcon and its accessories. I bought it to try it out because it was small. Long story short, it's a good value for size and money, but the wiring and plugs are really bad. Quite a shame :(
It's a nice shrunk pixhawk. It offers almost all the pixhawk functionality but:
it's lacking the AUX1-5 outputs
speaker is internal. It works but it's not loud
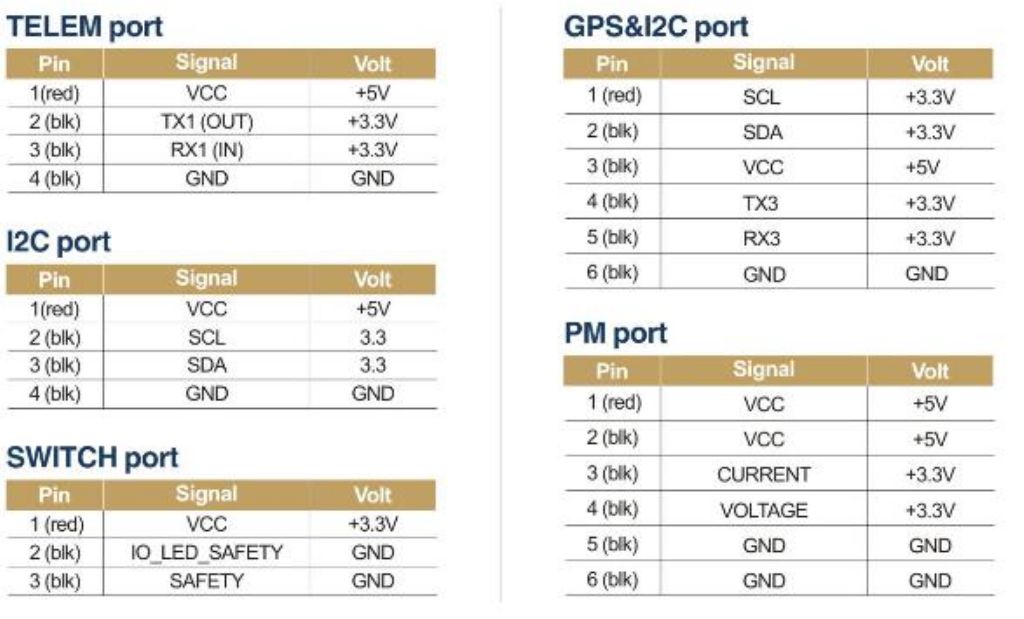
the very worst thing about it are its connectors. The DF13 connectors on the pixhawk aren't big, so they should have worked, but the pixfalcon uses yet another smaller connector. This part really sucks because I have lots of DF13 cables and none of this new connector that really didn't need to exist. As a result I wasted time splicing cables because as soon as you want to connect to a regular pixhawk accessory, you need a hybrid cable with one type of plug on each side.
A somewhat worrying this is that my pixfalcon does not get powered by voltage on the servo rail. This means that it's only powered by its power module, making it single powered. This does not fill me with joy.
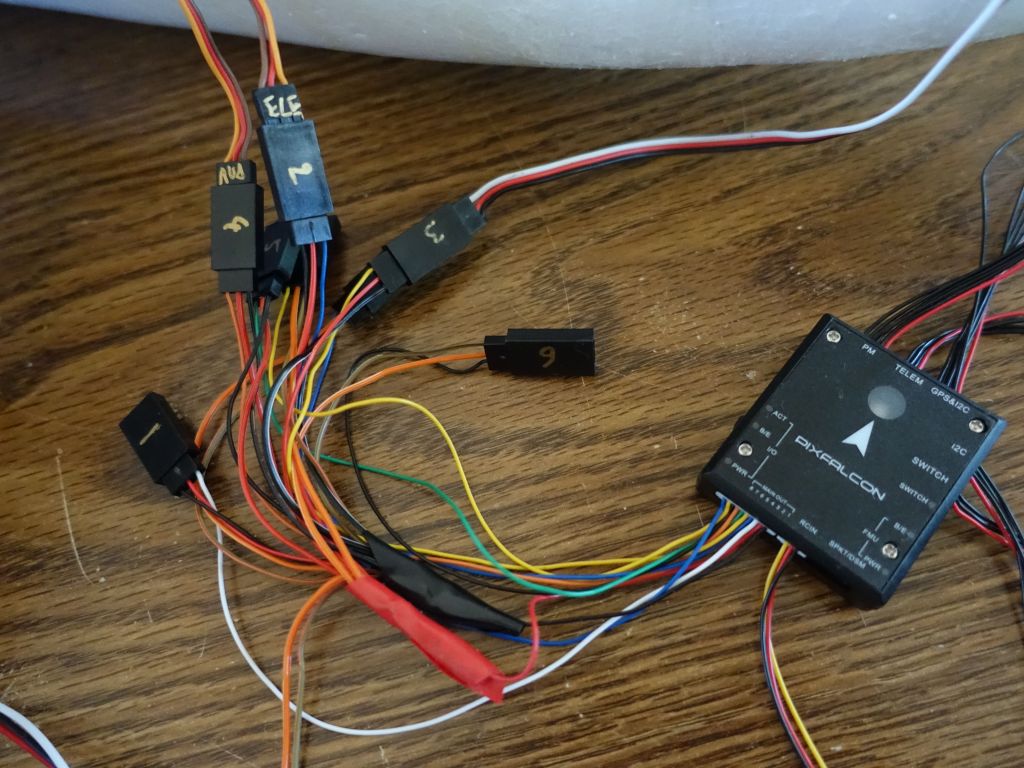
speaking about wasted time, the next problem is that the pixfalcon assumes that its 8 outputs are getting connected to ESCs for a multirotor. As a result, only the first one comes with VCC and GND, and the other ones do not, they only come with a single signal wire. Come on, now I had to waste more time adding the missing pins in the plugs and wire them all with VCC and GND so that I could plug them into normal servos. This is likely the most anoying thing in that kit, although it would also be the easiest one to fix.
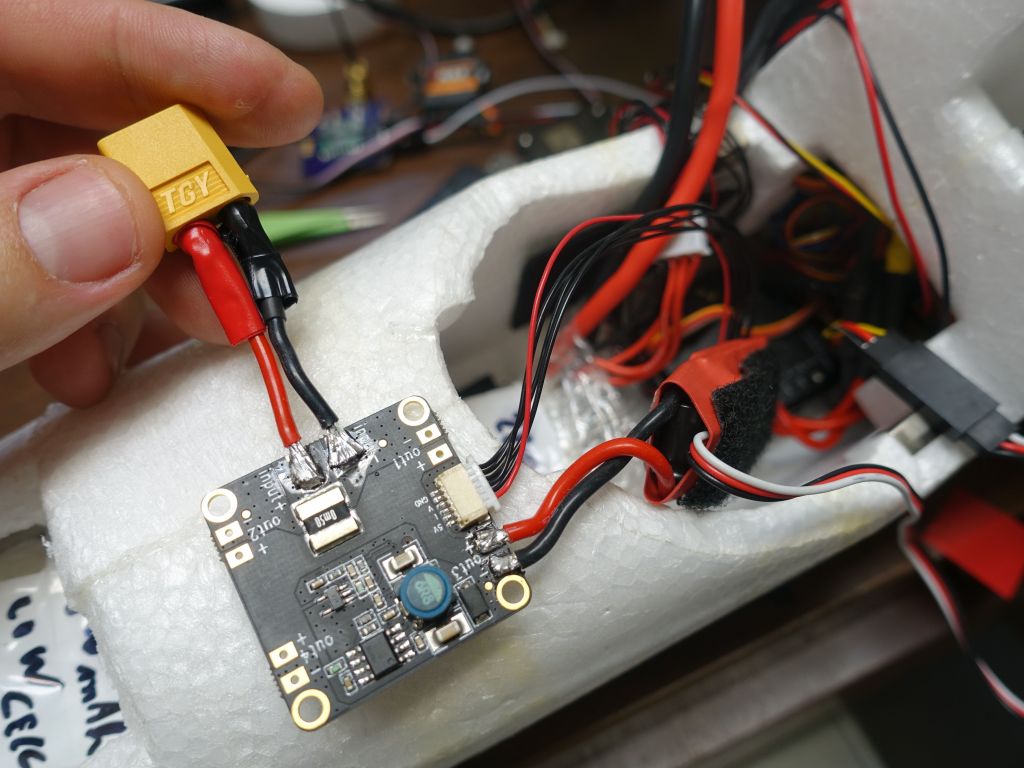
the power module also feels inadequate if you're not using a multirotor. It's much bigger than it needs to be, but because of the non DF13 plug that needs to bring power to the pixfalcon, I ended up using it so that I could use the power cable with power plug. And the current sensor on it is pretty inaccurate below 3A, that's not good :(
speaking about those silly cables, they can also be too short. The GPS one was definitely too short and I had to splice 2 cables together to get enough length. Good thing the kit at least came with a spare
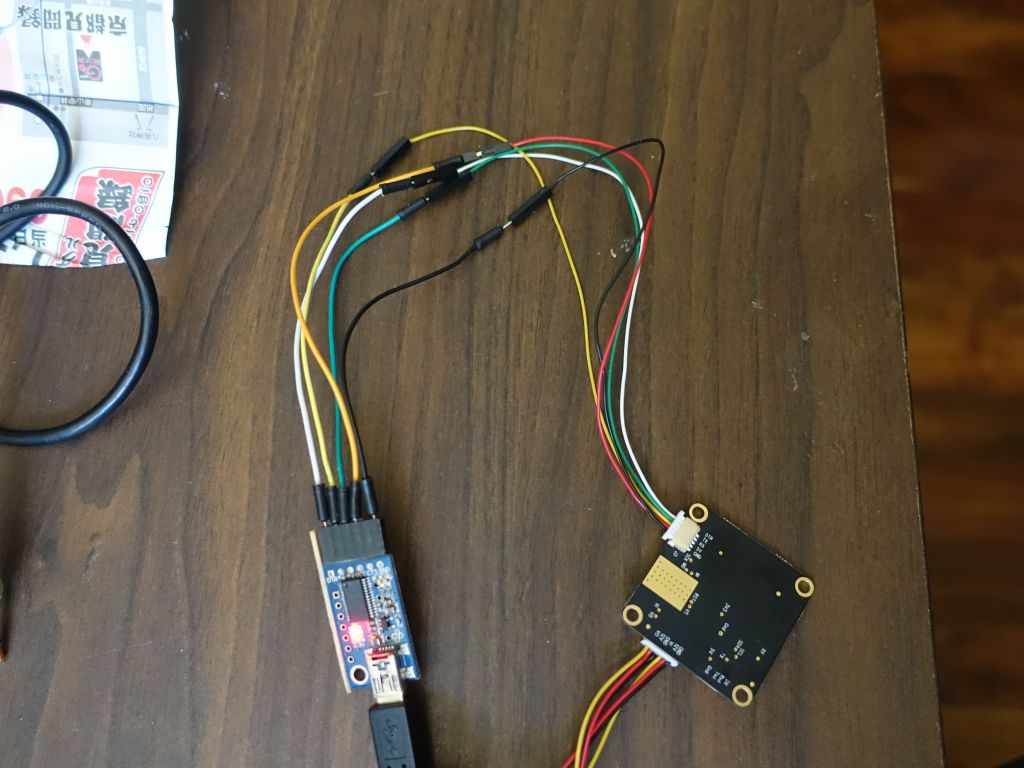
This then brings us to the Micro HKPilot Telemetry Radio Module with OSD. Another piece of hardware with 0 info, it wasn't quite clear if the serial port would be connected to the radio, or the OSD, or both. Turns out it's only connected to the OSD, so you use that to flash the OSD, and the radio, you connect to through the pixfalcon as a passthrough. I'm not sure if you can flash the radio that way, but at least I was able to configure it. All in all it's a cute little design, but I regret that the antenna is built on the board and that there is no connector for an external antenna. Range is probably 1km at best with a very good receiving antenna on your ground station.
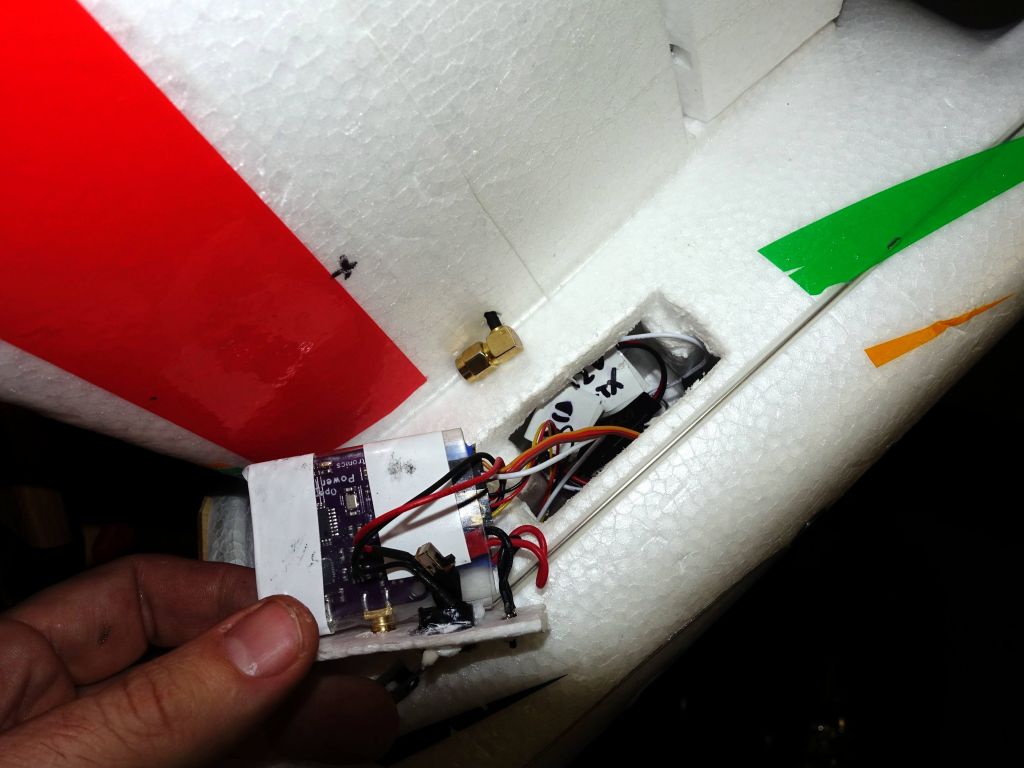
I shrink wrapped it so that it doesn't short inside my plane
Oh yeah, another problem with that very unfortunate use of those very small connectors is that the 6 pin cable that goes into the OSD board has wires that are too small and cannot carry enough current to bridge 5V from the video in to video out side. As a a result, I was feeding 5V from the video out side, and the voltage drop was too high and not able to power the cameras properly (like a couple of mobius, using 1A between the 2 of them combined). I had to dual wire 5V to be on both sides of the OSD board video port and ride on thicker wires.
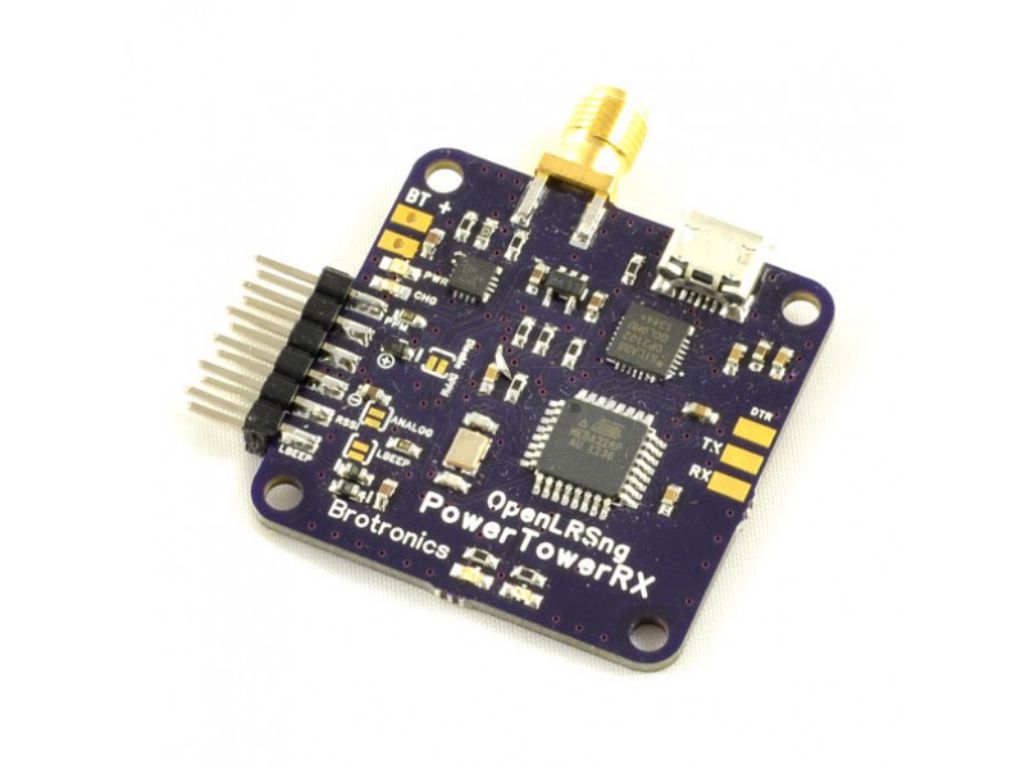
Brotronics PowerTowerRX review
The Brotronics PowerTowerRX is a cheaper version of the Broversity module (without the diversity). It's actually not really smaller but it's a bit cheaper and offers 1S lipo backup to sound a find me buzzer and send a find me signal after a crash where your main battery got disconnected (actually that's very common):
My review of the Brotronics PowerTowerRX:
lipo backup is a must. That's the main reason why I bought it
Generally wiring isn't great due to lack of pins if you're hoping to get more than 1 PWM output (you have to double the ground and power pins and make your own 3 pin servo cables). You can get 2 more PWM outputs if you repurpose the RX/TX pins. One of the outputs (#5) doesn't seem to be wired at all on the board. Strangely the lipo pins are not soldered on the board, and I'd think it would be silly to use this board with backup lipo and then not have a buzzer connected so that you can find your aircraft after a crash and after the main battery has been disconnected.
So, this board is really meant for multirotors where you probably only ever care about PPM output, but it can be used as a slightly simpler board with backup lipo and crash buzzer if you don't want to spend more for the Brodiversity RX, and you don't mind the small wiring issues.
Bixler2 (re)build and fixes
I had a few things to fix on the airframe first, the ailerons and flaps weren't really tuned right, and didn't have enough throw. Also, I use differential flaps where 80% of the servo travel makes the flap go down (I'd use 100% but the foam cutout did not allow for this). This gives better results for crow flaps.
the motor is enough to fly the plane with my extra gear, but not enough power to fly against heavy wind
As far as tuning is concerned, my BFG2600 needs elevator down on throttle up, otherwise the plane pitches up too much on full power, all the way to a stall. Interestingly on this plane it pitches down a lot on full power, so I have to give it a lot of elevator up on throttle up. My CG is also off (too much weight in the front with the 2 cameras), so I have a fair amount of nose up trim for level flight.
Speaking of cameras, I started with a JooVuu X for 3K video (better than the 2K from a mobius) I wanted to try out, but unfortunately it's pretty big compared to a mobius, and it does not support detachable lens yet. Also I don't yet have the analog out cable for FPV, so I had to add a 2nd analog camera:
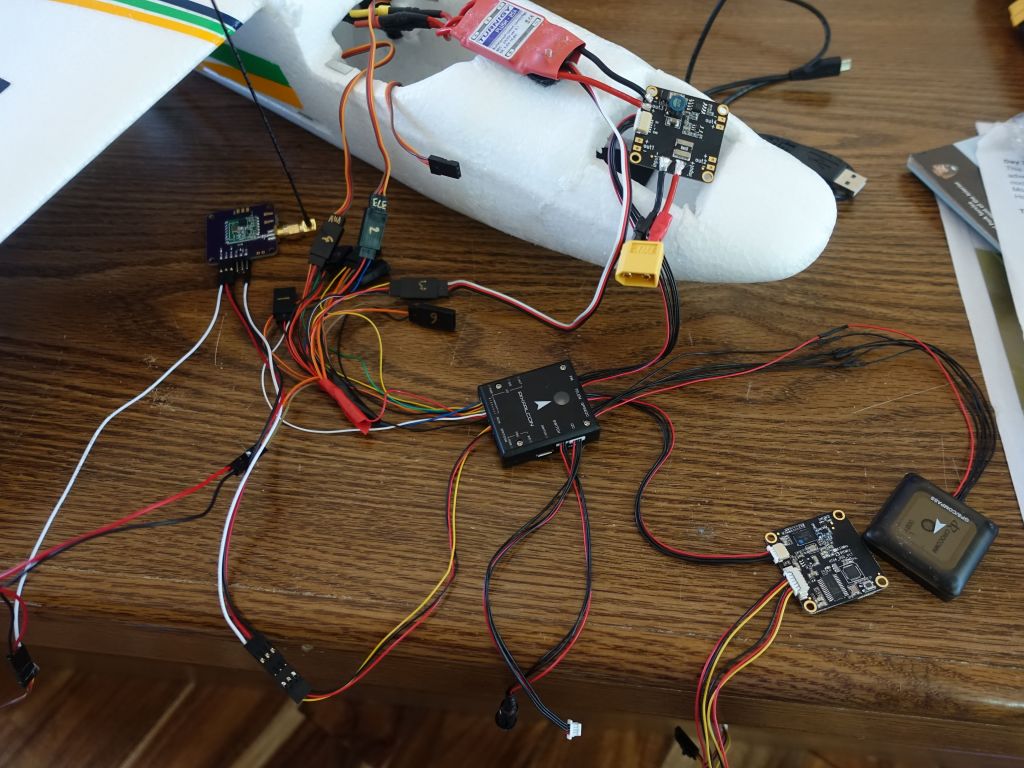
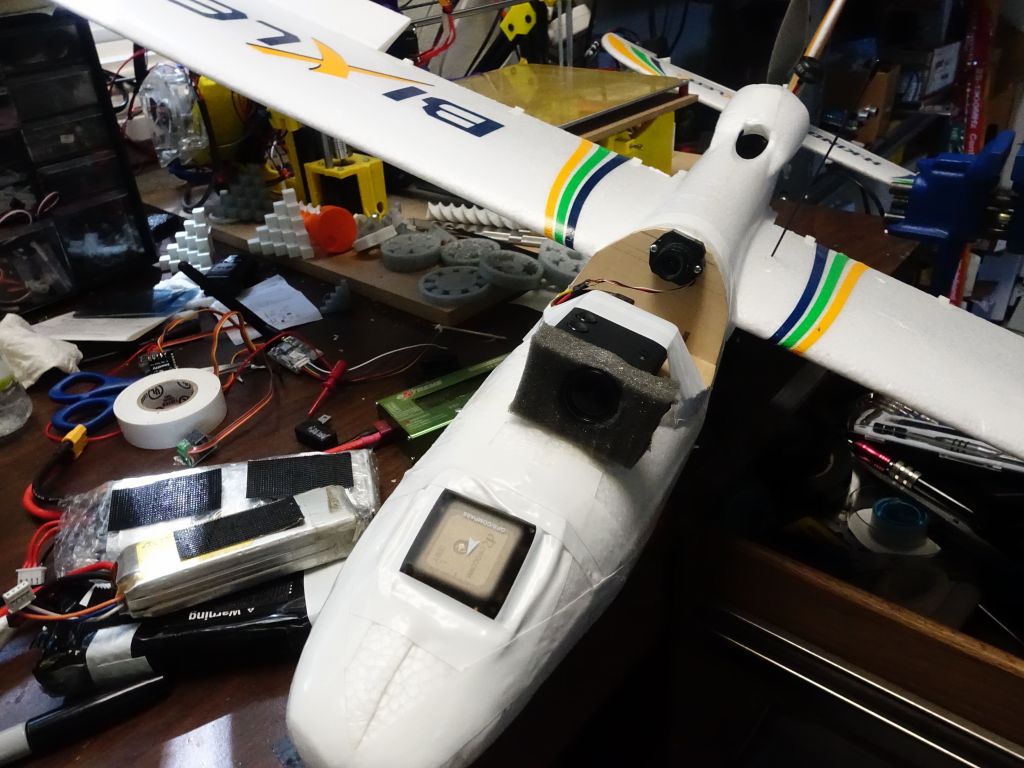
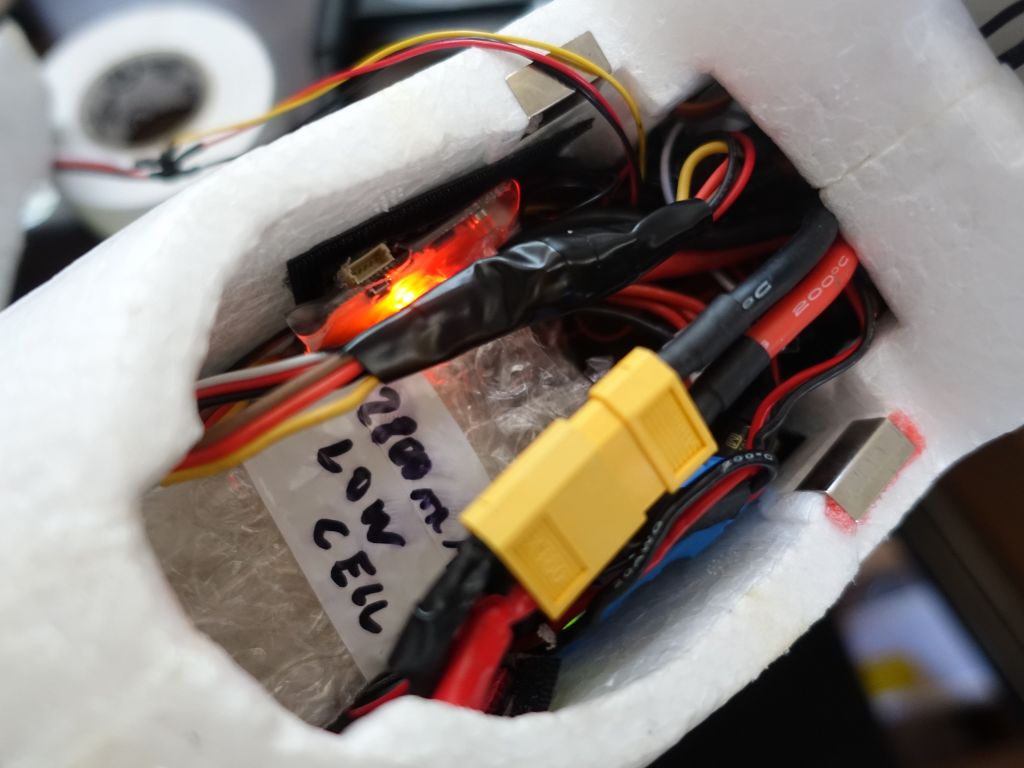
The end result is a plane that is pretty packed, and it's definitely a challenge to avoid interference between the multiple radios, but I think I managed:
But this was a quick hack, this top FPV had much of its view blocked, making it hard to see the ground or if I was heading towards a tree. I ended up using a mobius with detachable lens and put the lens all the way in the front nose, for a great view, but the 2 cameras combined do upset the CG a fair amount:
mobius is leaky and damages RF signals, so I made a small faraday cage for it
So I can put it in the canope without it messing with the radios around it
this is how it looks: front lens from mobius inside, and JooVuu X on top
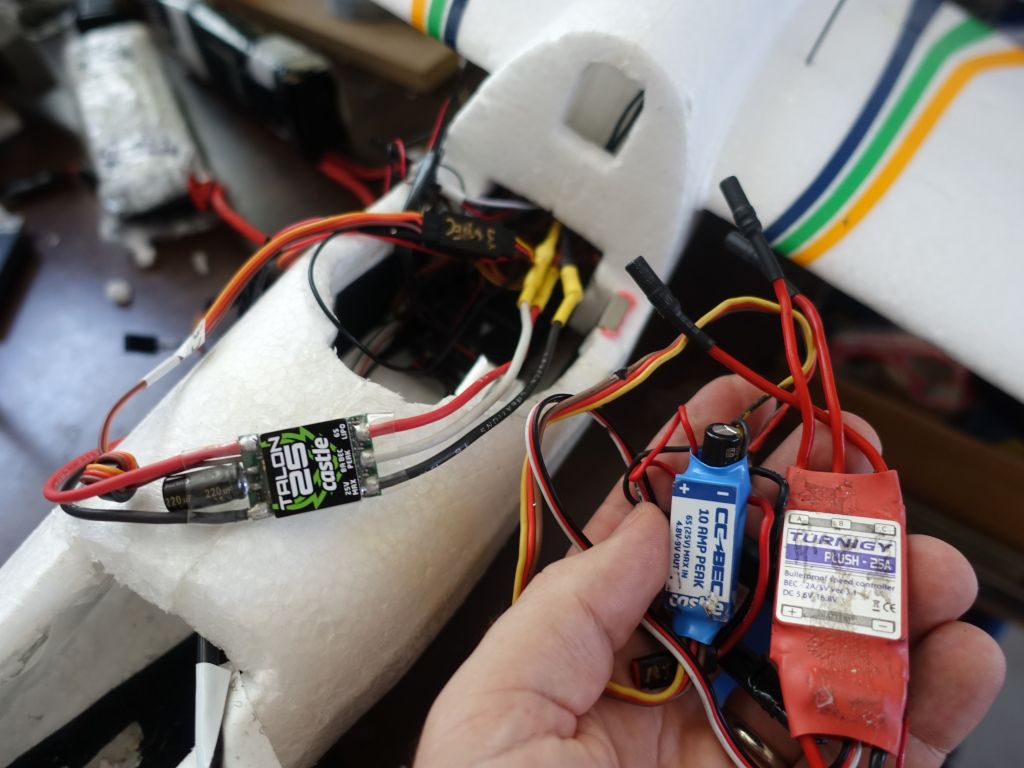
The 25A turningy ESC that came with the plane was utter crap. Its 2A BEC was overheating and likely to fail quickly, so I replaced it with a BEC, but the 2 combined were a bit big and I was able to replace them with a nice Castle Talon 25 with up to 8A capacity on the BEC (sadly the Talon outputs 5.5V instead of 5V, which the mobius doesn't quite like):
All in all, I like the plane, but the stock motor while frugal in power (10A at full power on 3S) does give a generous 25mn of flight at full throttle, doesn't fly faster than 50kph or so, which caused me to almost lose the plane when I was in very heavy wind that prevented it from flying back: