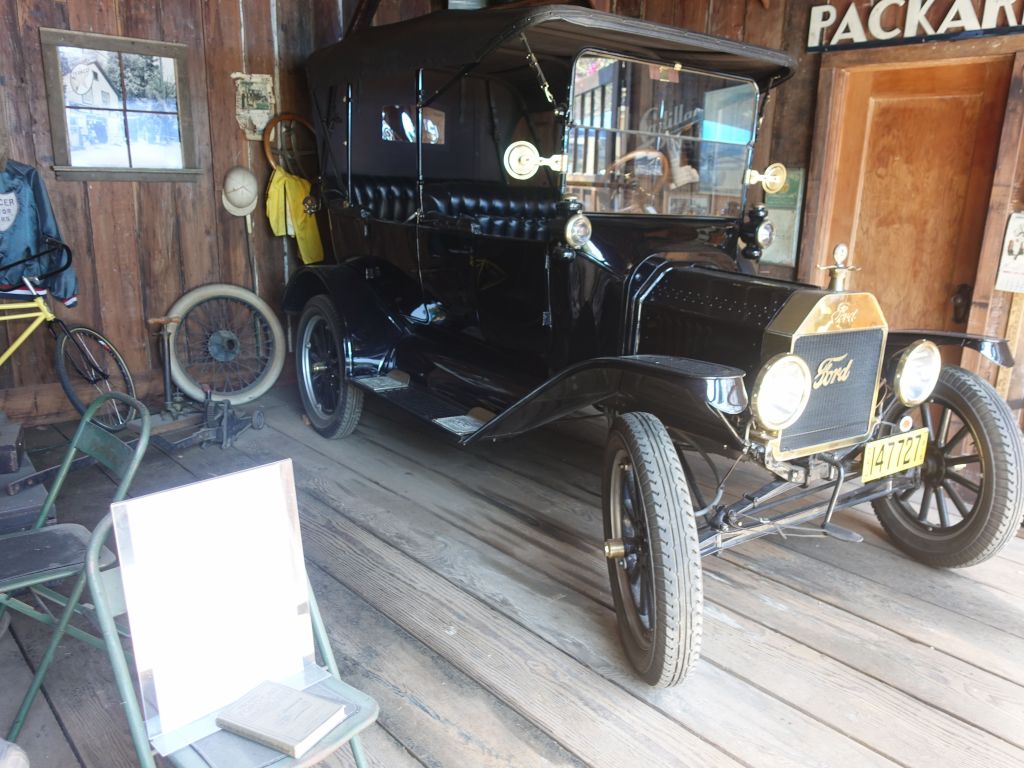
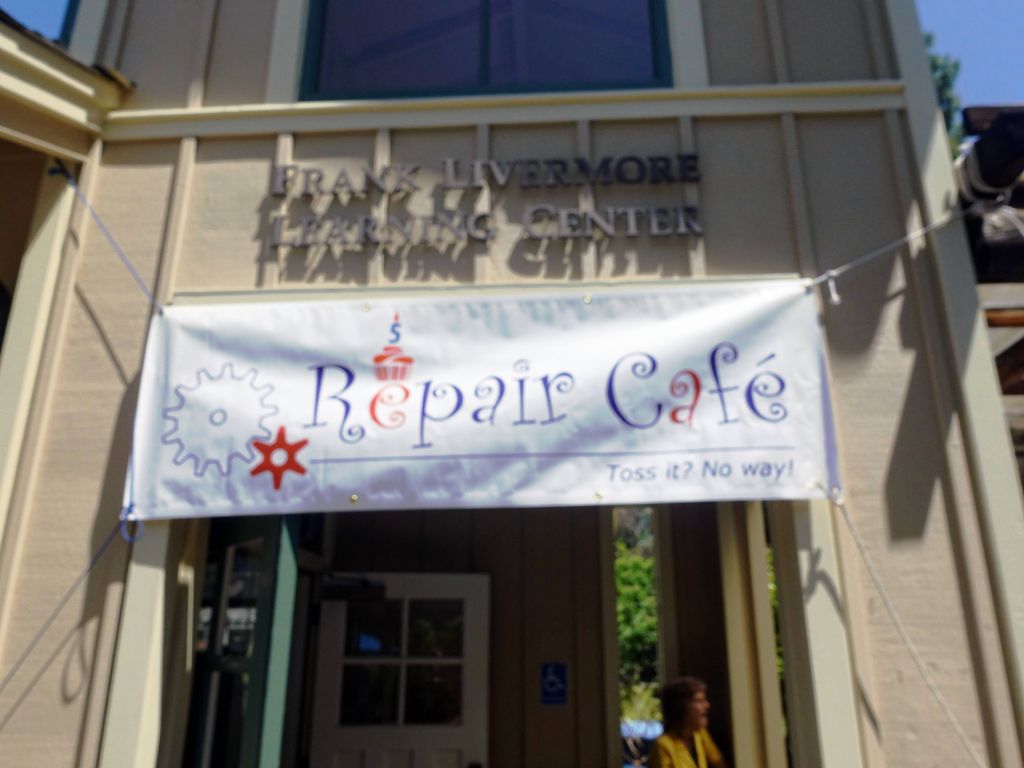
After trying to fix her expresso machine (which she ended up managing in the end, and it was no small feat), Jennifer found out about repair cafés, and after going to one in Mountain View, we went to the one it was based after and that is in Palo Alto: Repair Cafe Palo Alto
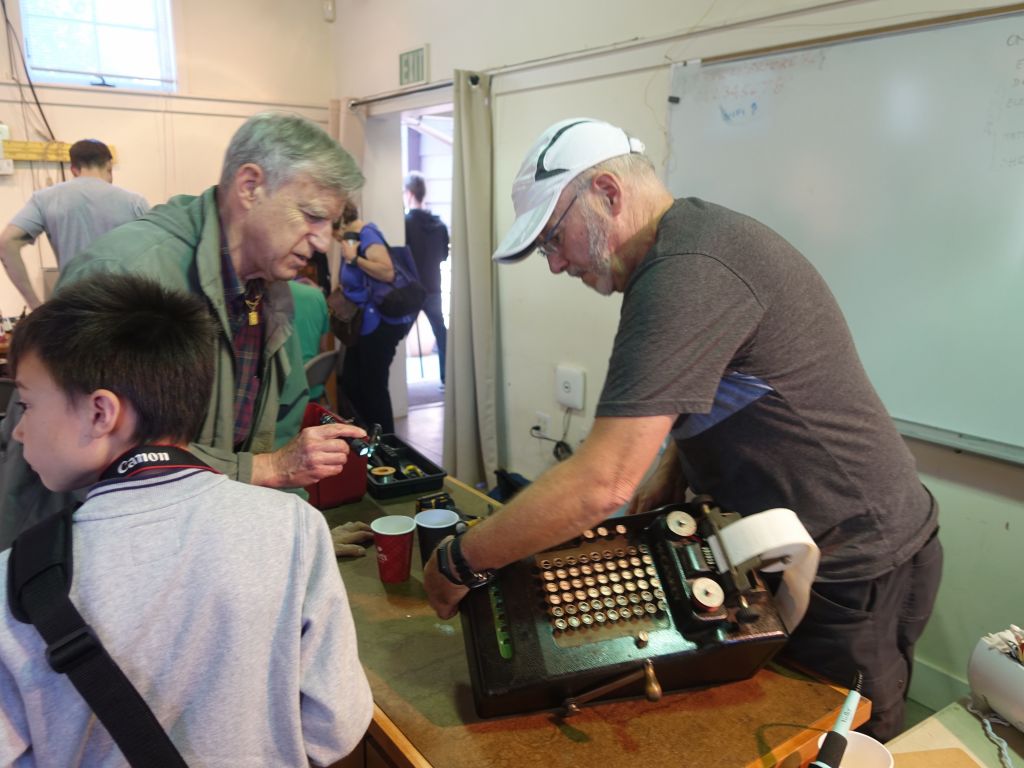
They had lots of volunteers helping to try and fix a bunch of things. Some were harder than others. They were surprisingly well equipped and went from fixing weed wackers to clothes:
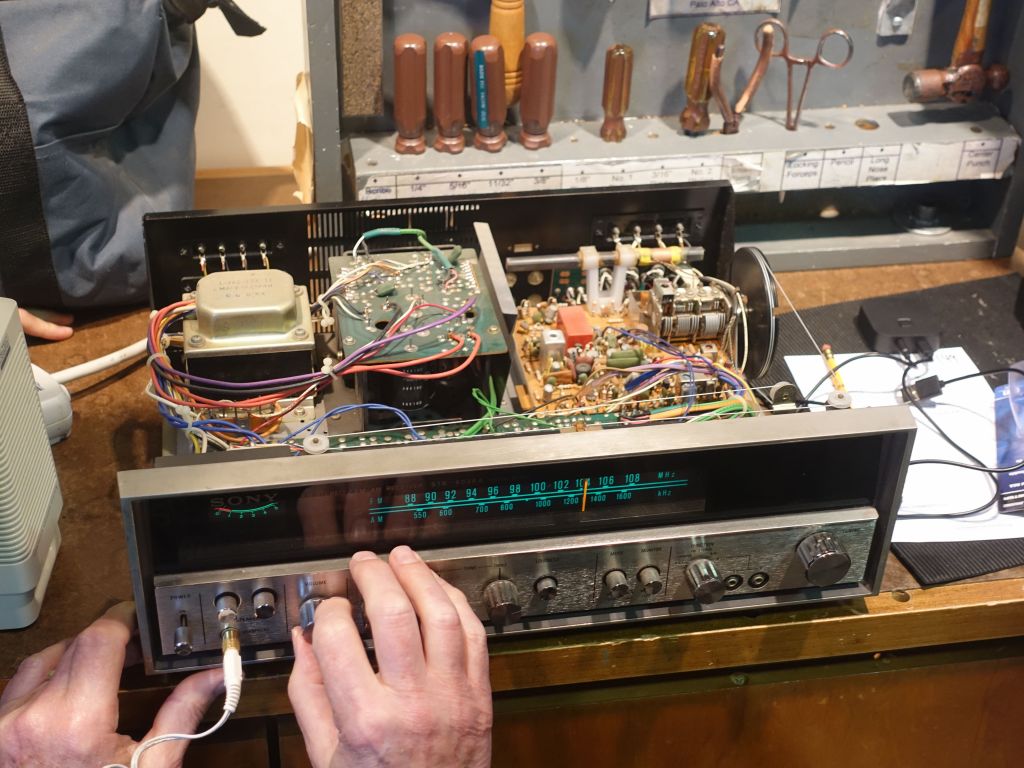
we tried the CD player we had and that skips sometimes. Sadly it was nothing obvious, so we didn't succeed
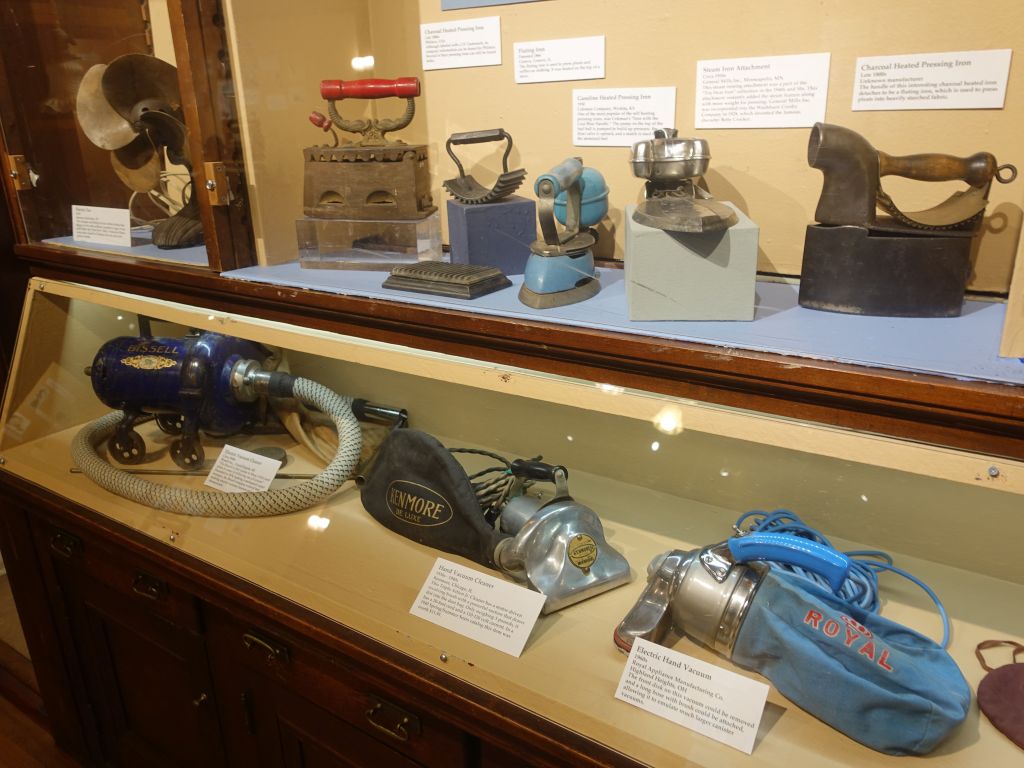
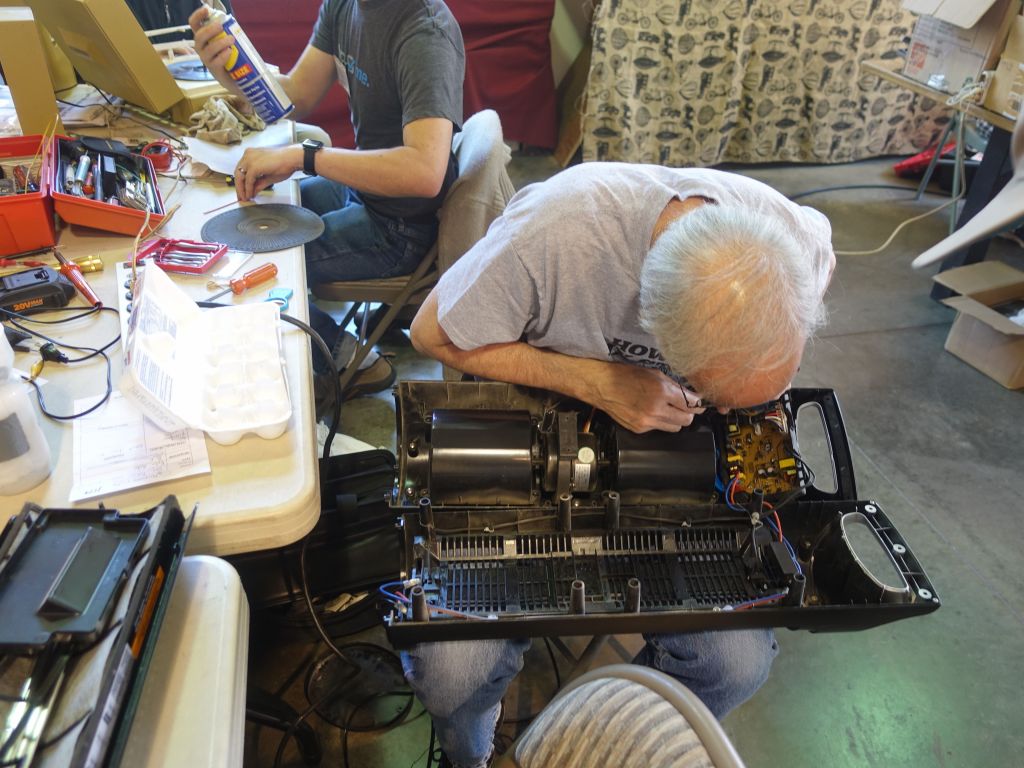
fans are more of my league
multiple typewriters
other volunteers helped with clothes
and of course bikes
It was nice to see all those volunteers being able to help people out.
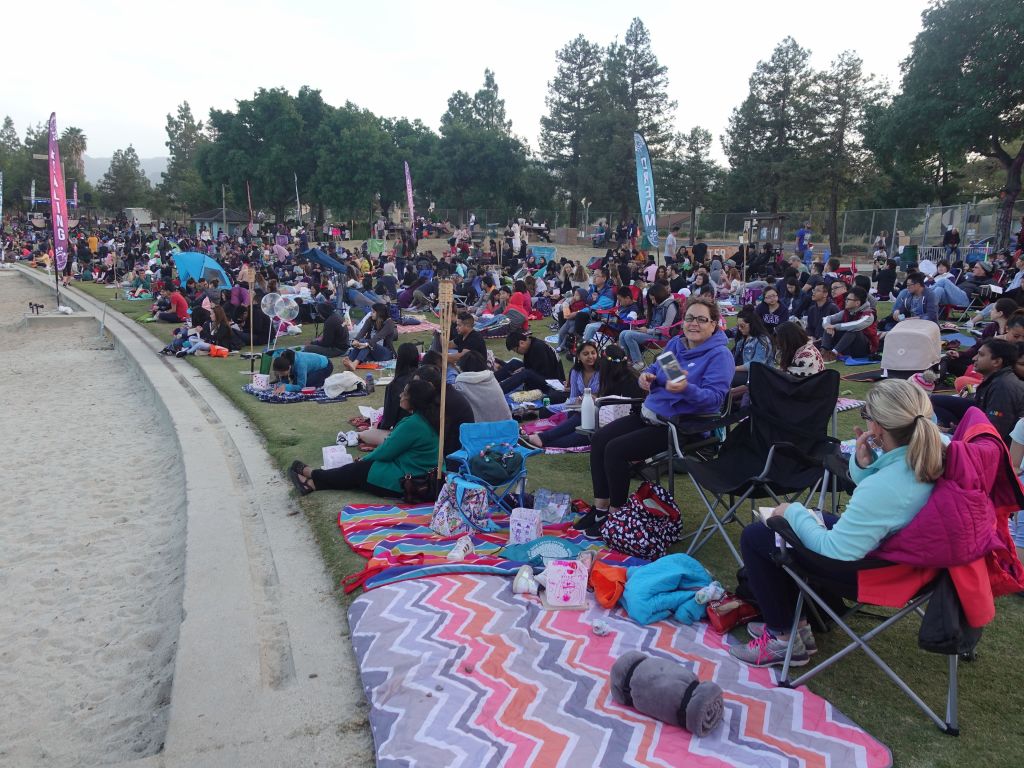
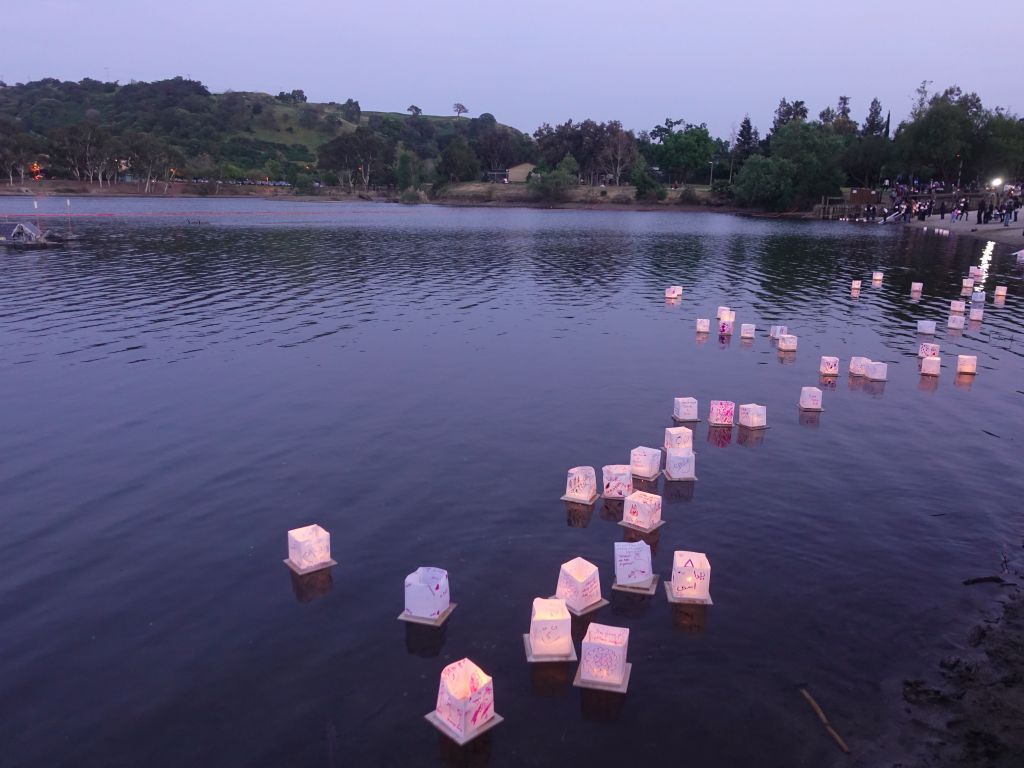
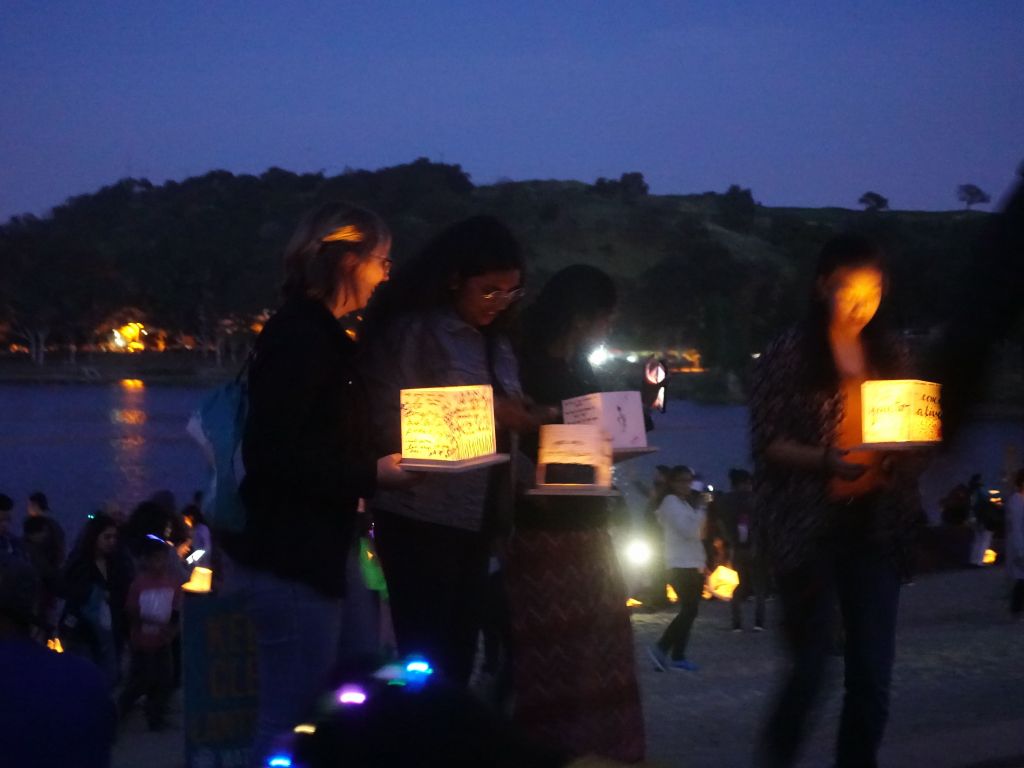
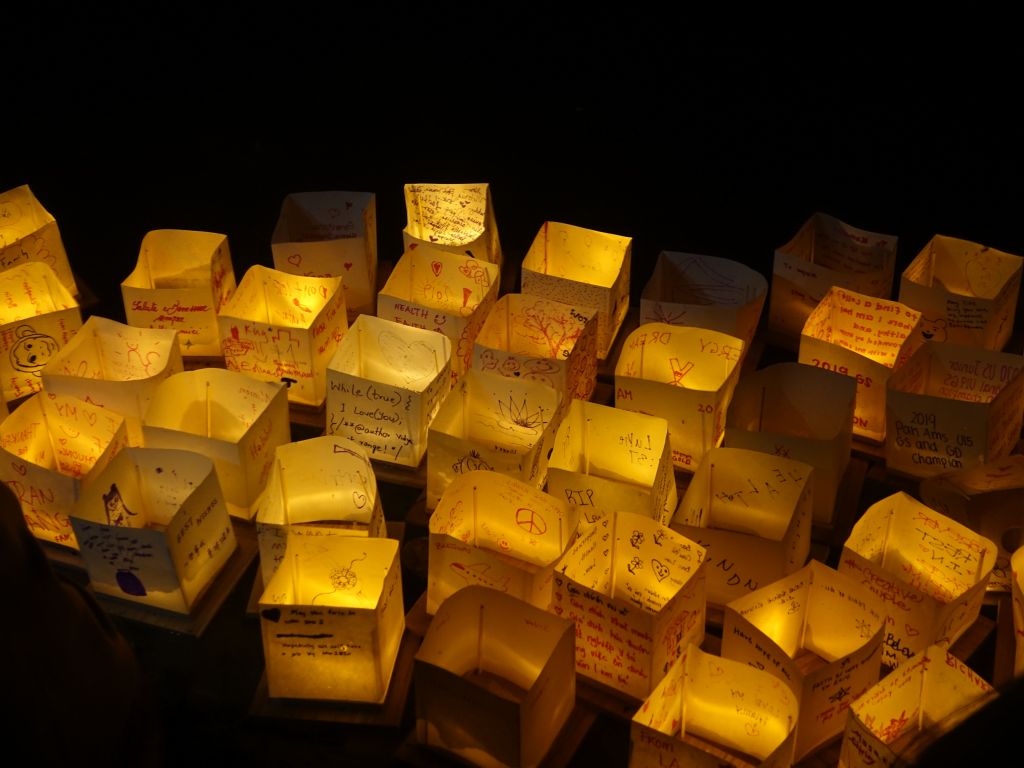
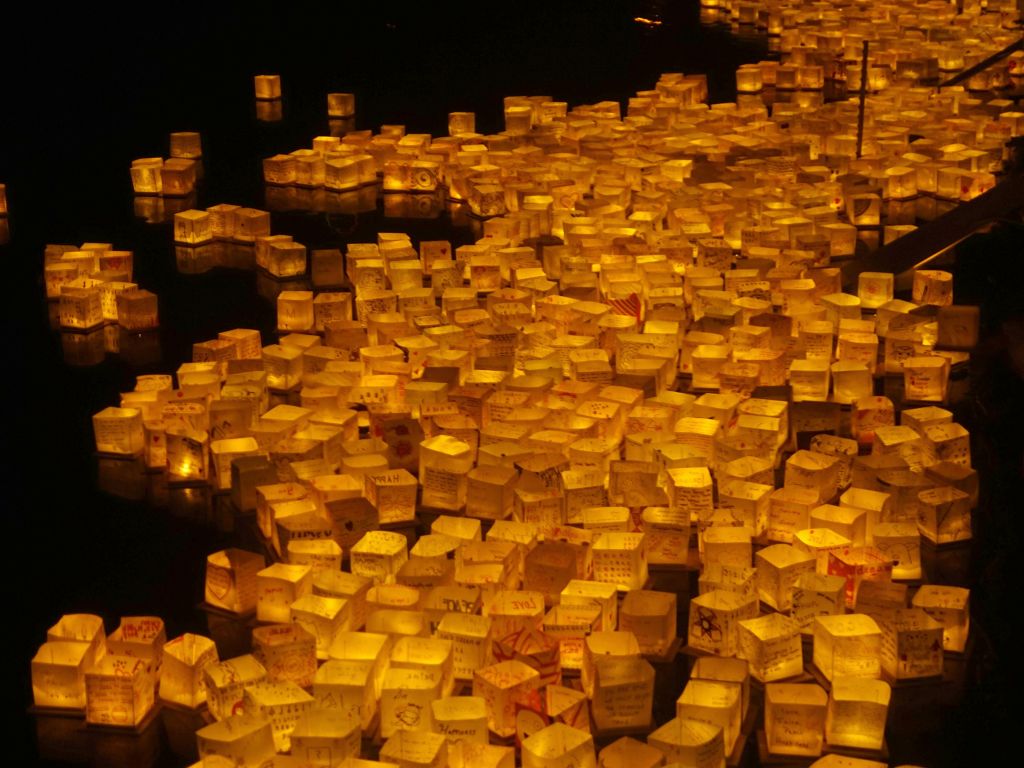
Jennifer found the water lantern festival, which is a floating version of the chinese lantern festival where flying lanterns can cause a problem in airspace with planes everywhere.
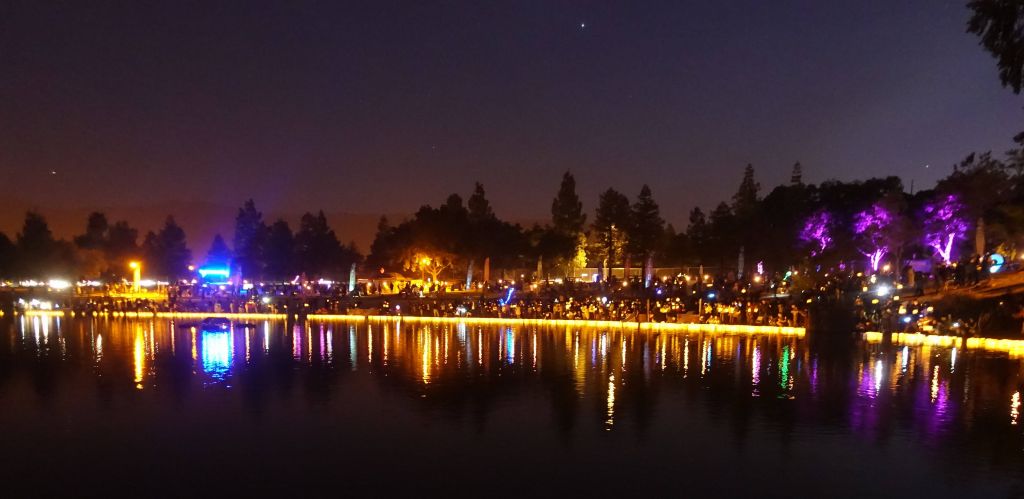
It wasn't a bad idea per se, but sadly the organizers didn't seem to have a clue about wind and picked a place with the launch area south of the lake. Unsurprisingly, everyone put their lanterns and they didn't go anyhwere. It was quite underwhelming...
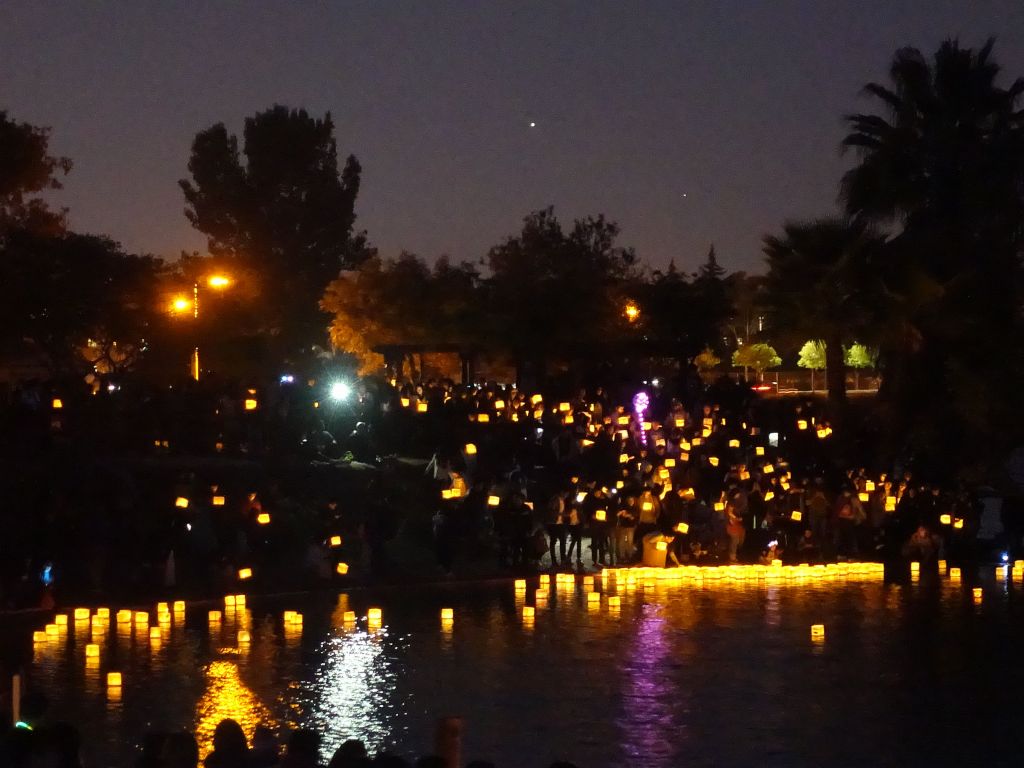
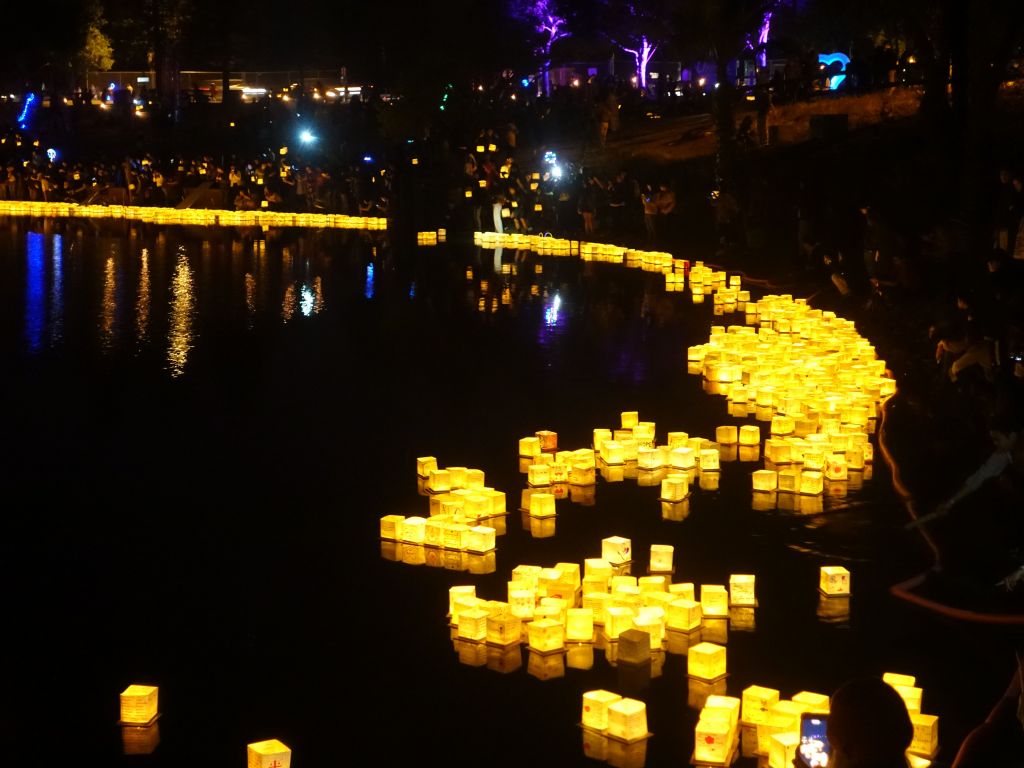
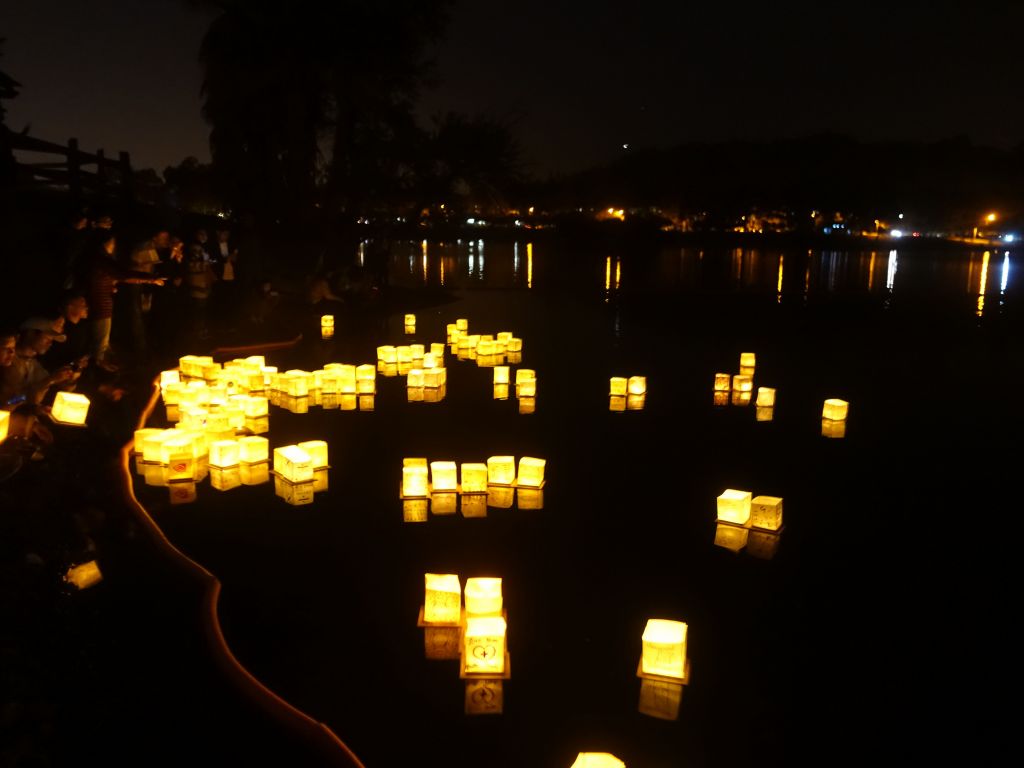
Given the wind, people went to a dicy slope to try and launch from the side of the lake. It made things a little bit better, but it was still mostly against the wind:
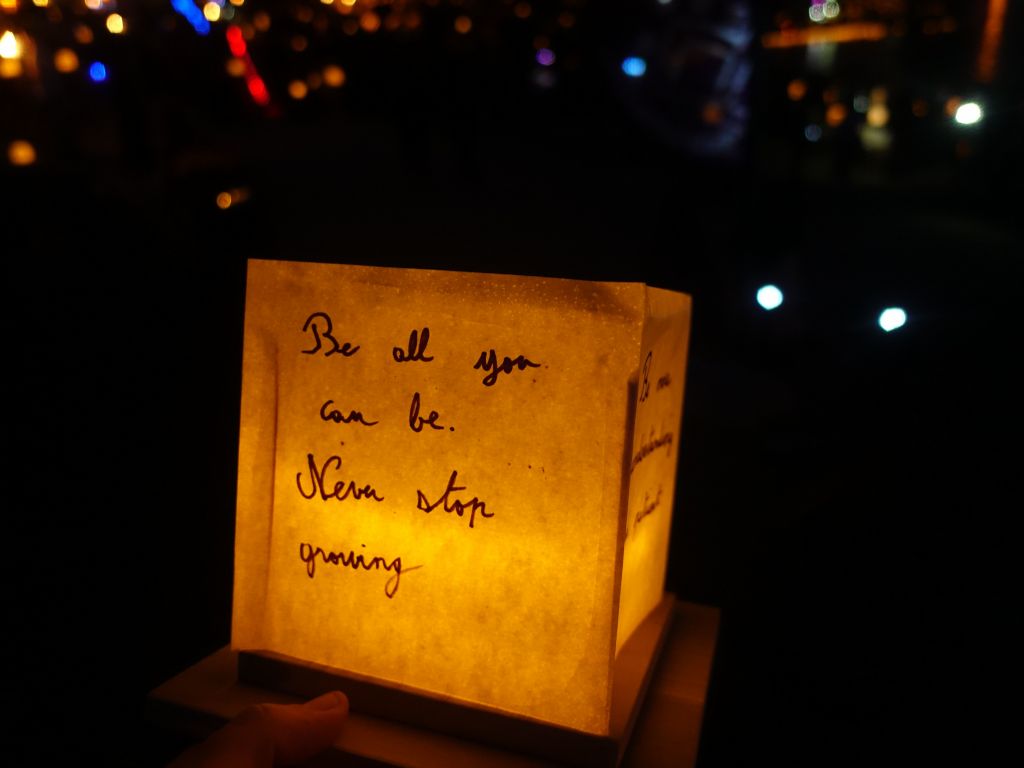
Most lanterns were stuck at the launching point, how silly:
RGBPanels do use less power even when corrected for amount of brightness generated (my estimate is at least 3 times less), they can be a lot more dense, they're cheaper, but they're a pain in the ass to drive since they require constant refreshes at high speed. That being said, as long as you don't exceed 128x64, which is more or less the practical limit on teensy 3.6 and ESP32 due to memory limits due to how SmartMatrix works (a different implementation could push things to at least 128x128 by sacrificing quality for memory use).
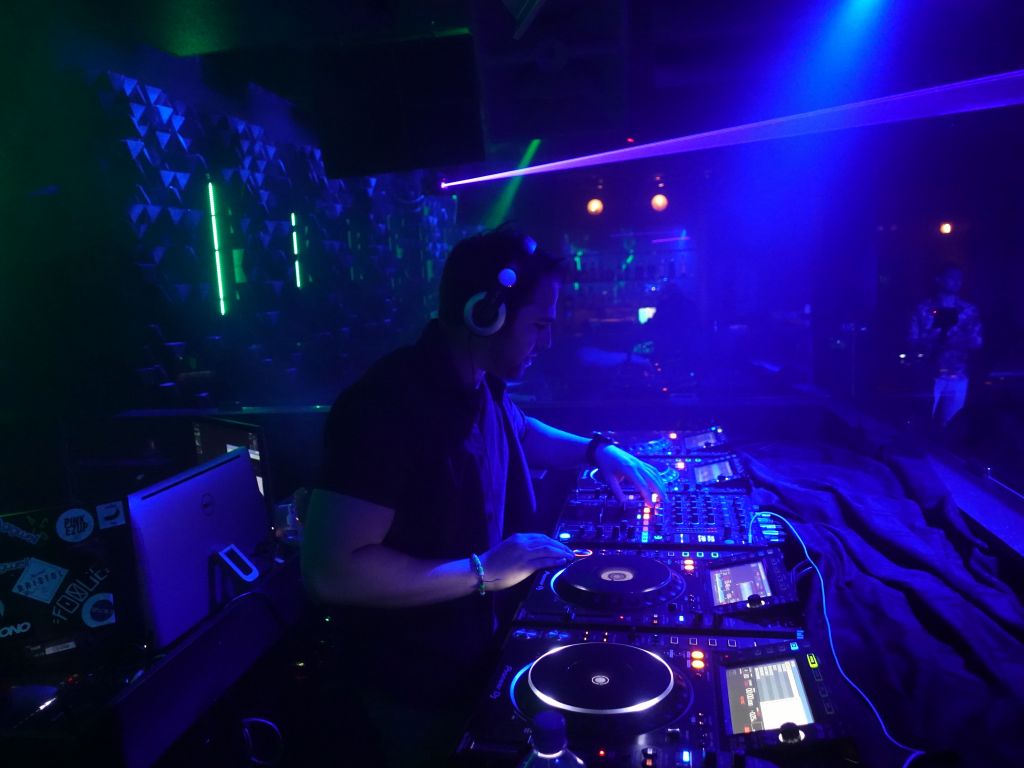
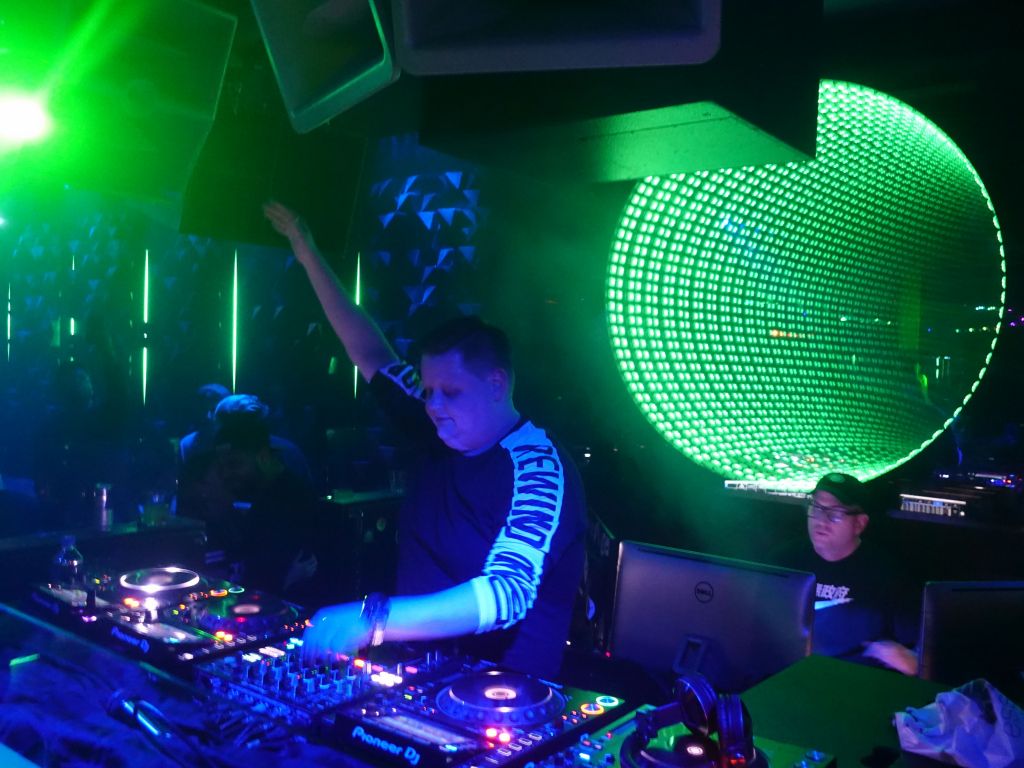
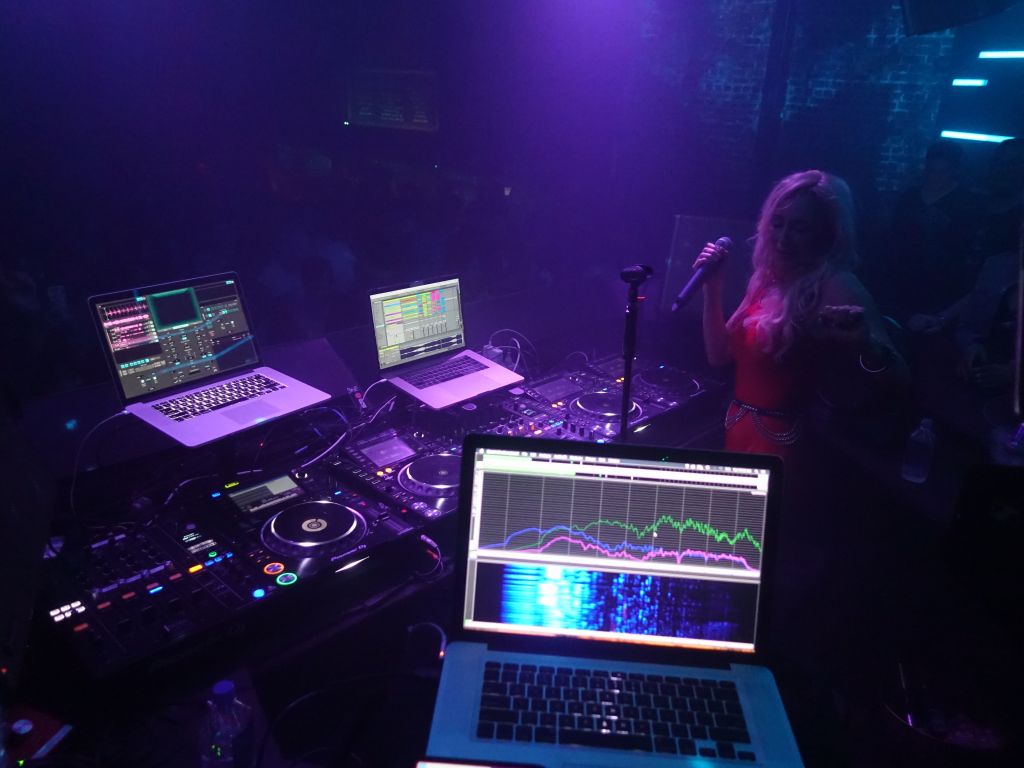
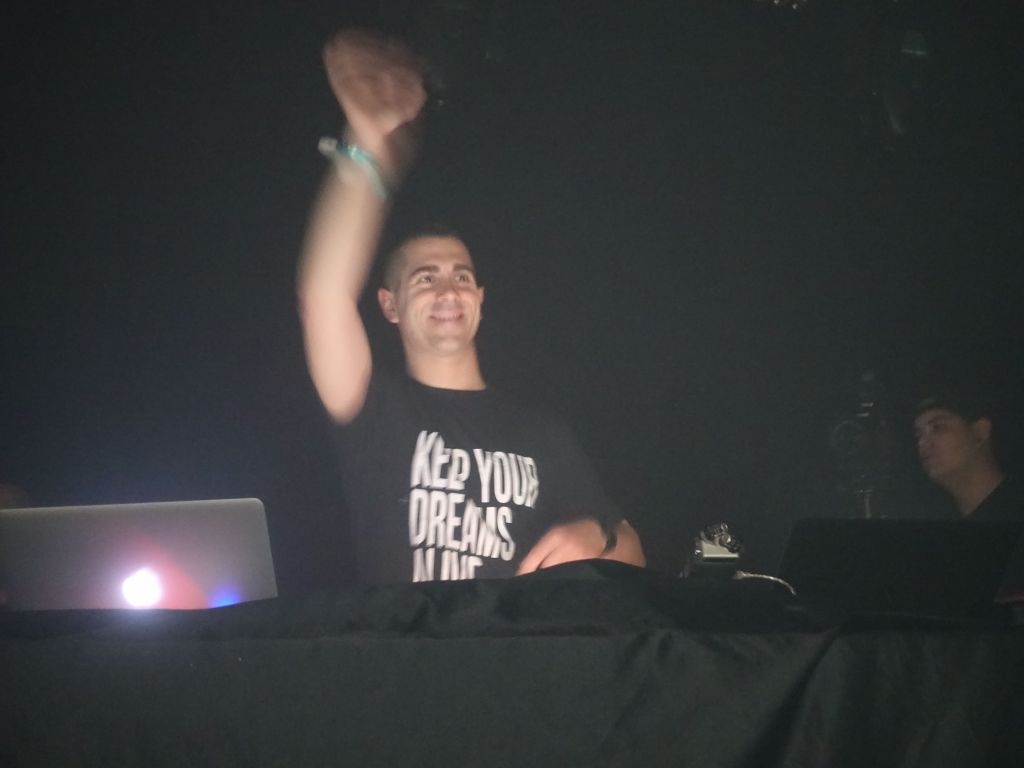
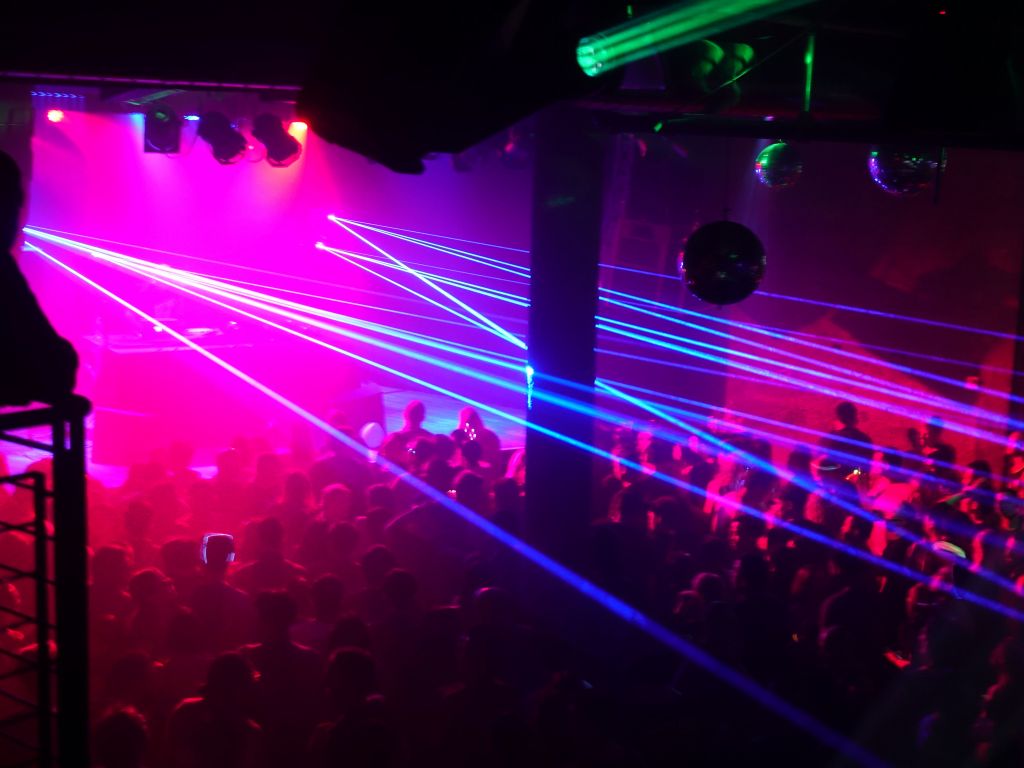
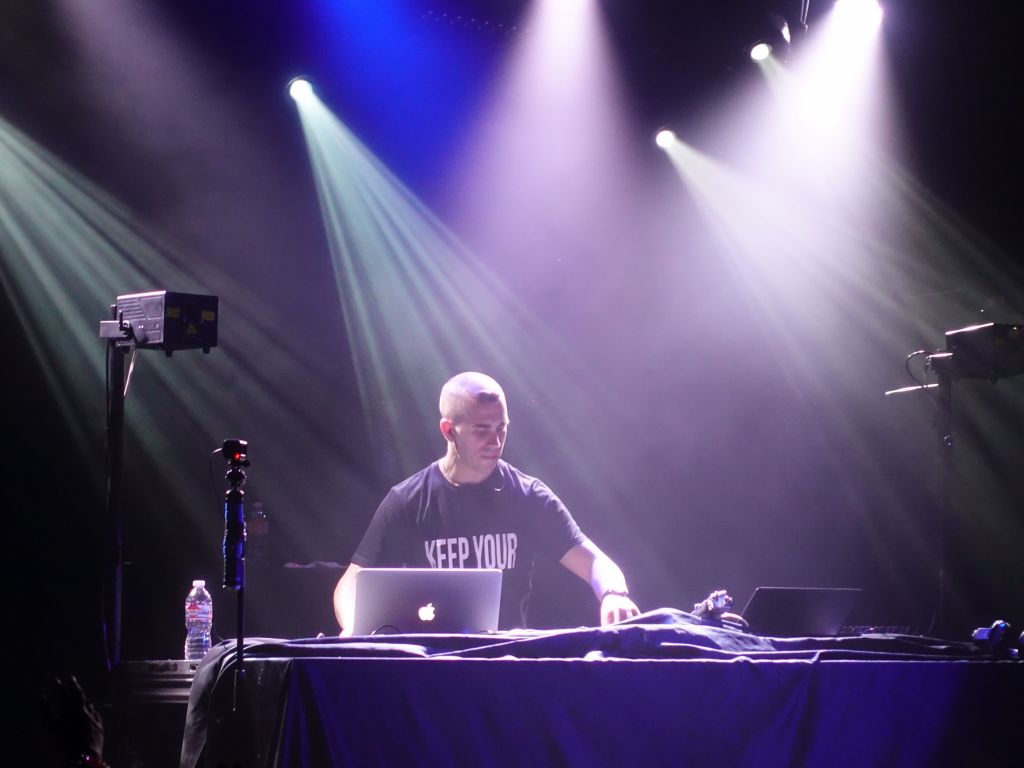
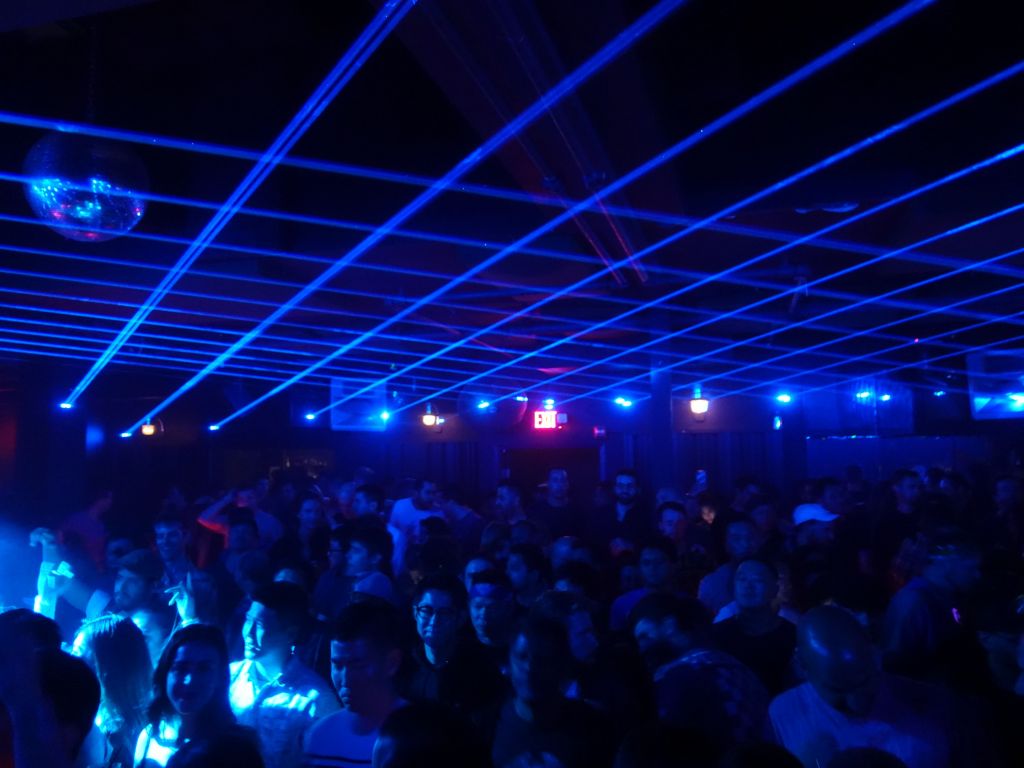
IT had been a while since I saw Orjan. He's a solid trance DJ I had seen in a festival at shoreline years back, and hadn't seen since then. It was great to see that he was visiting SF, even if it happened to be on a thursday night. So, I decided to go.
AudioSF, however, continued its trend of not bothering to post any set times, or even who the opening DJ was going to be, because I guess it's not important for them to tell us?
Sadly, the opening DJ, was... well, I try not to say bad things about DJs in general, because even if they're not great or I happen not to enjoy the music they're playing, they're still DJs, and I'm not, so that's probably enough of a reason that I can STFU :)
But I'll say at least that AudioSF needs to get a clue and use opening DJs that remotely play the same genre than the same DJ.
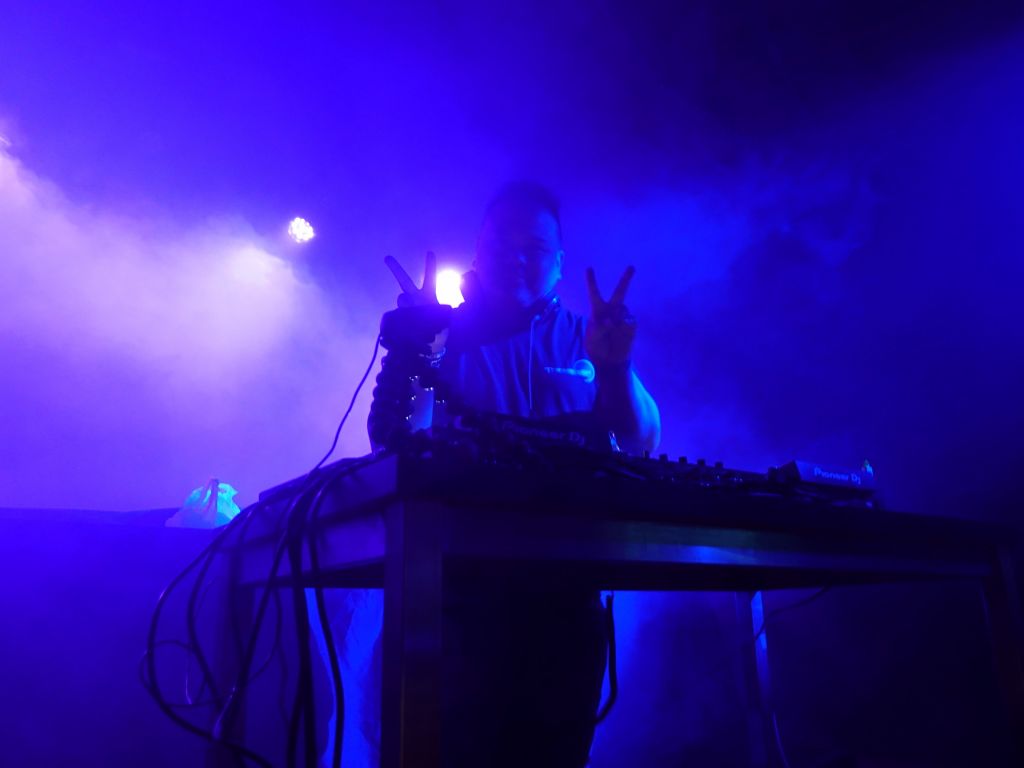
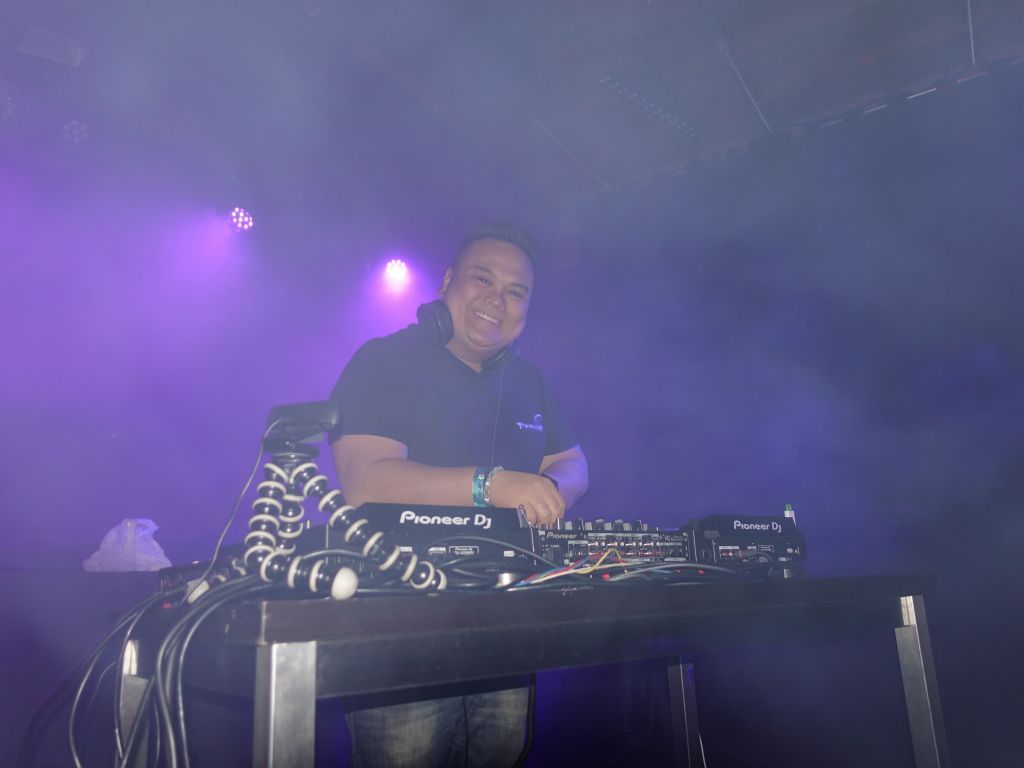
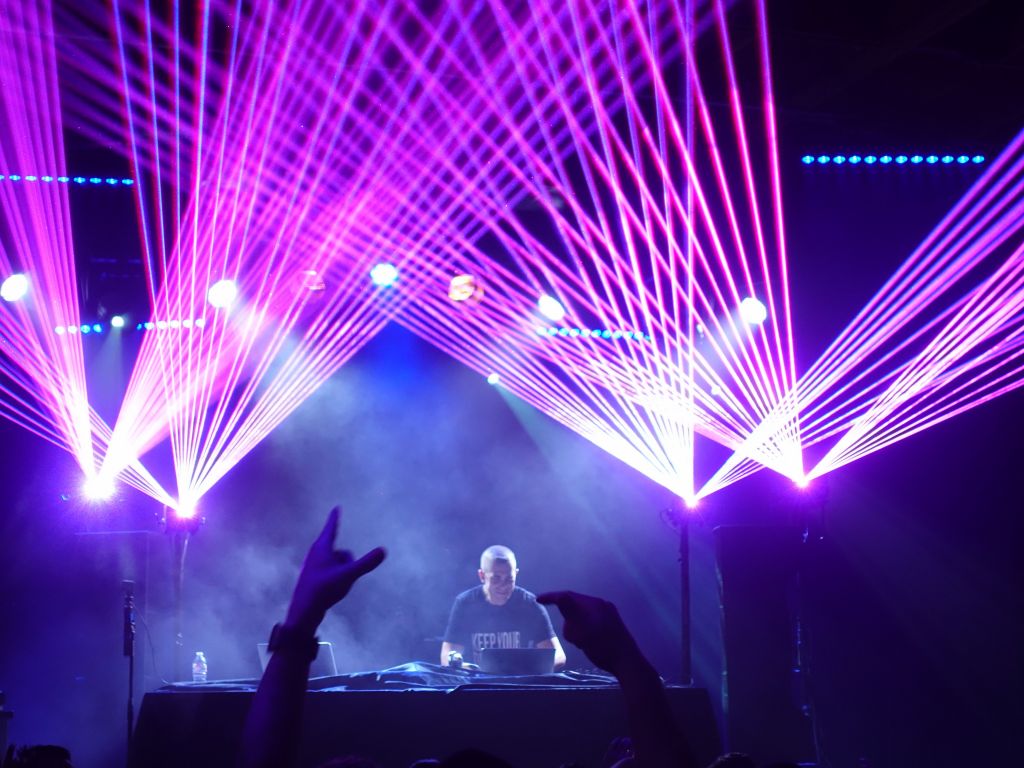
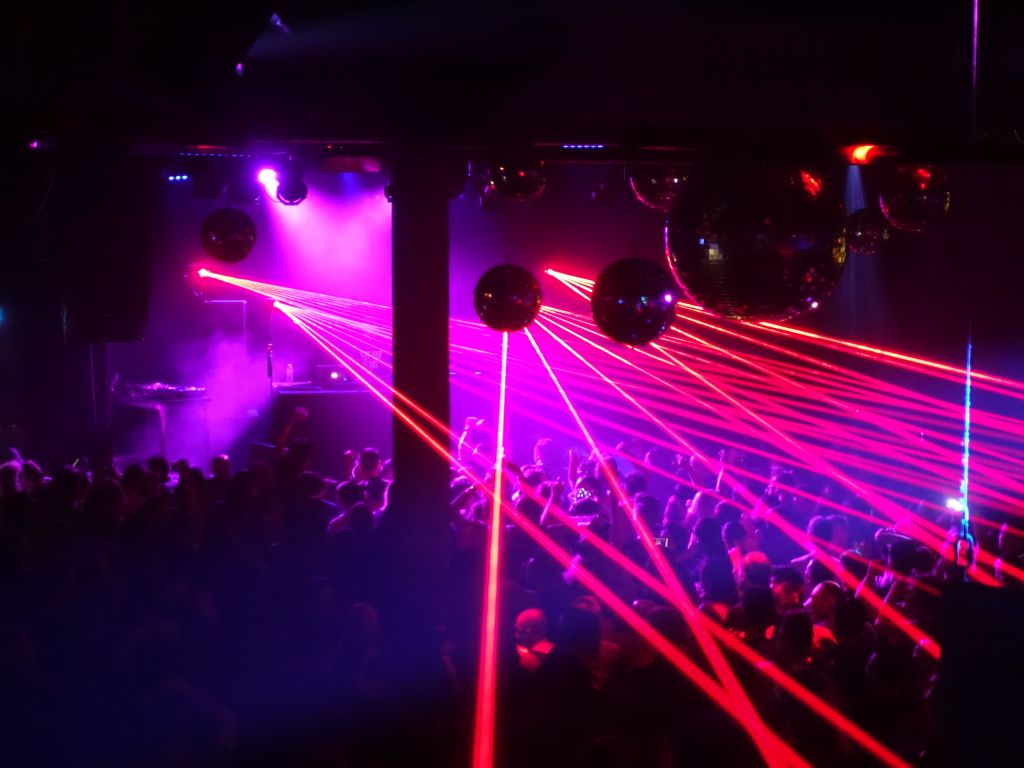
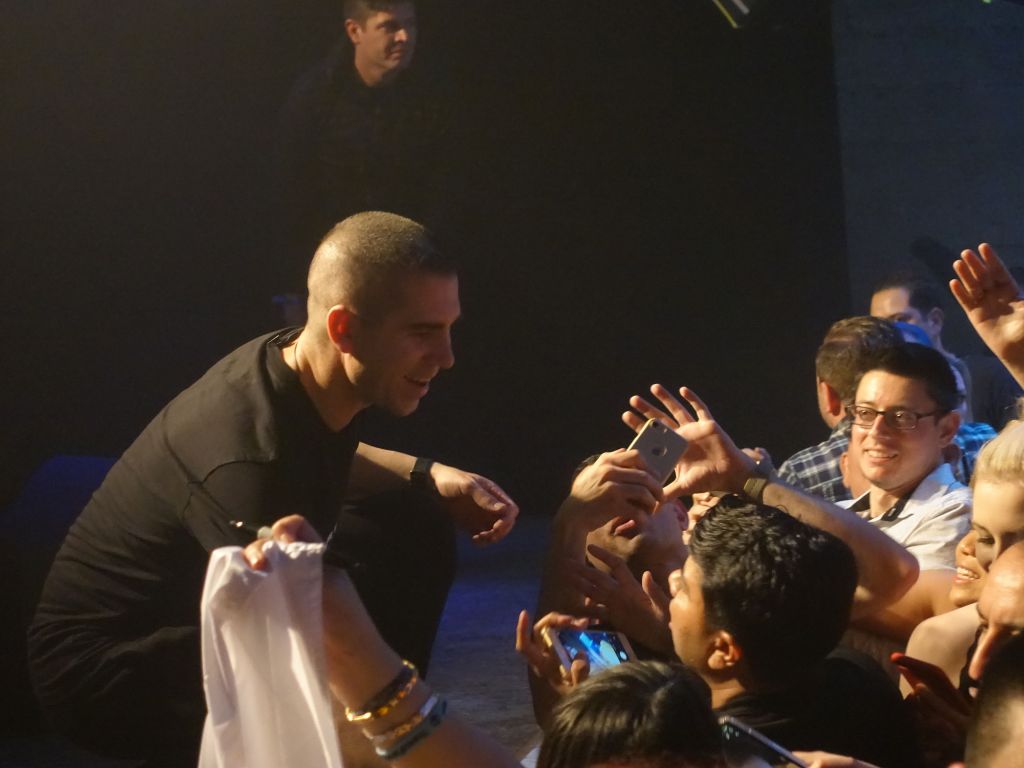
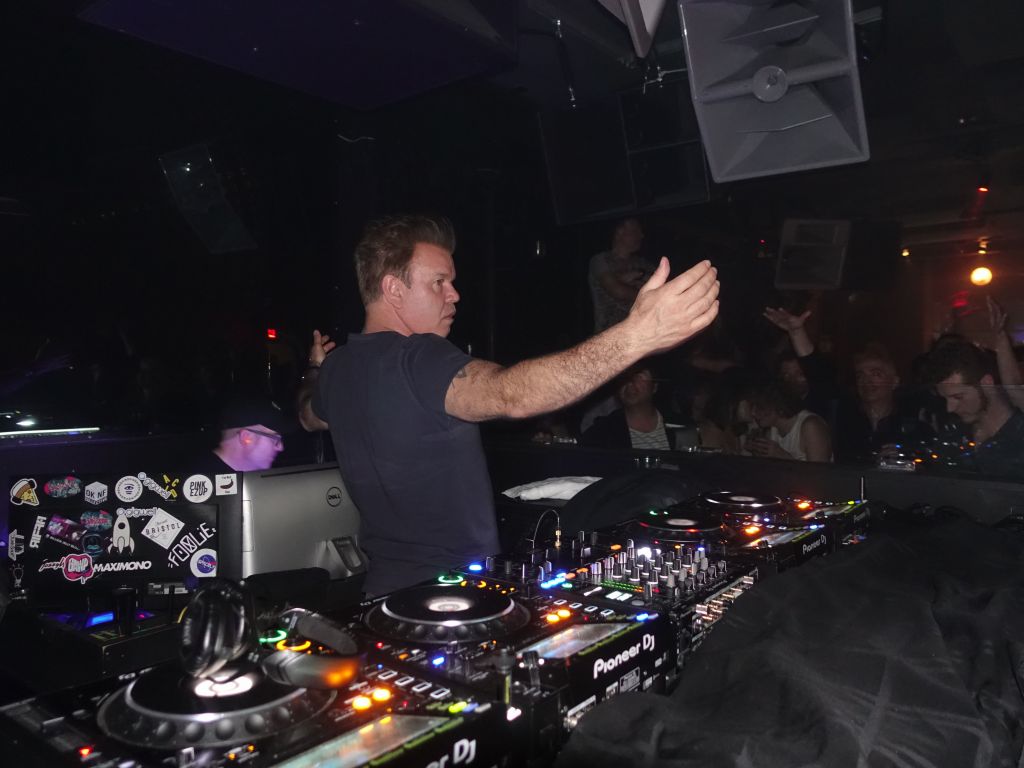
Poor Orjan had to work hard to bring the room back to Trance, which in theory was supposed to be the point of that night. Thankfully he did, and good time was had after that.
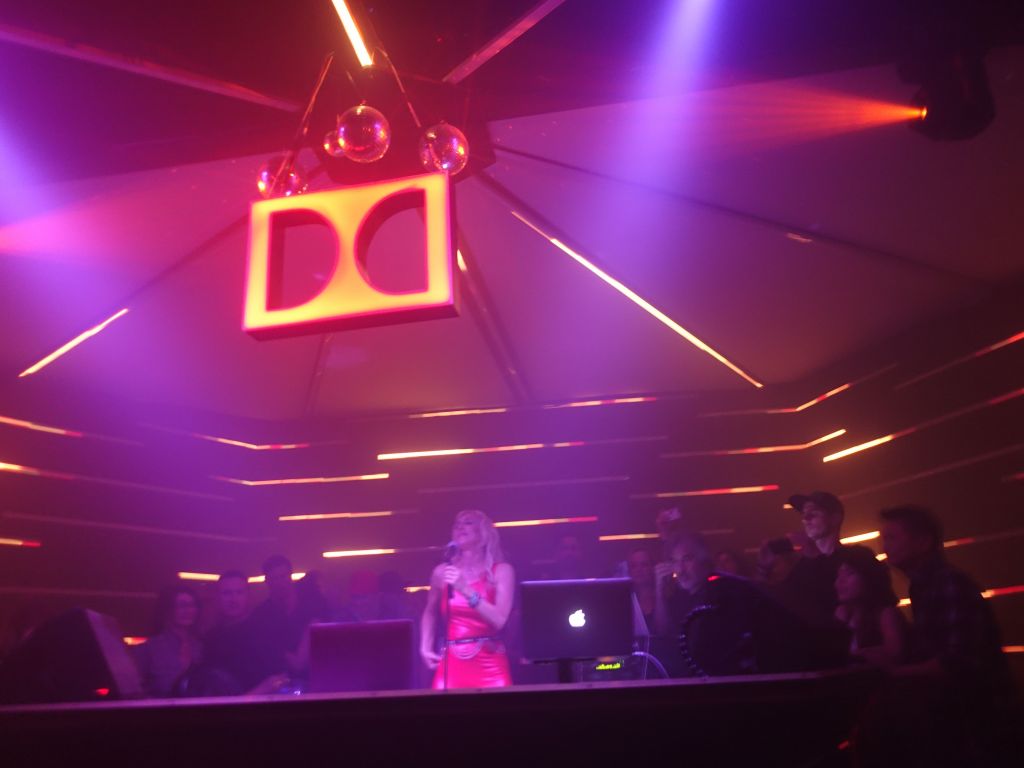
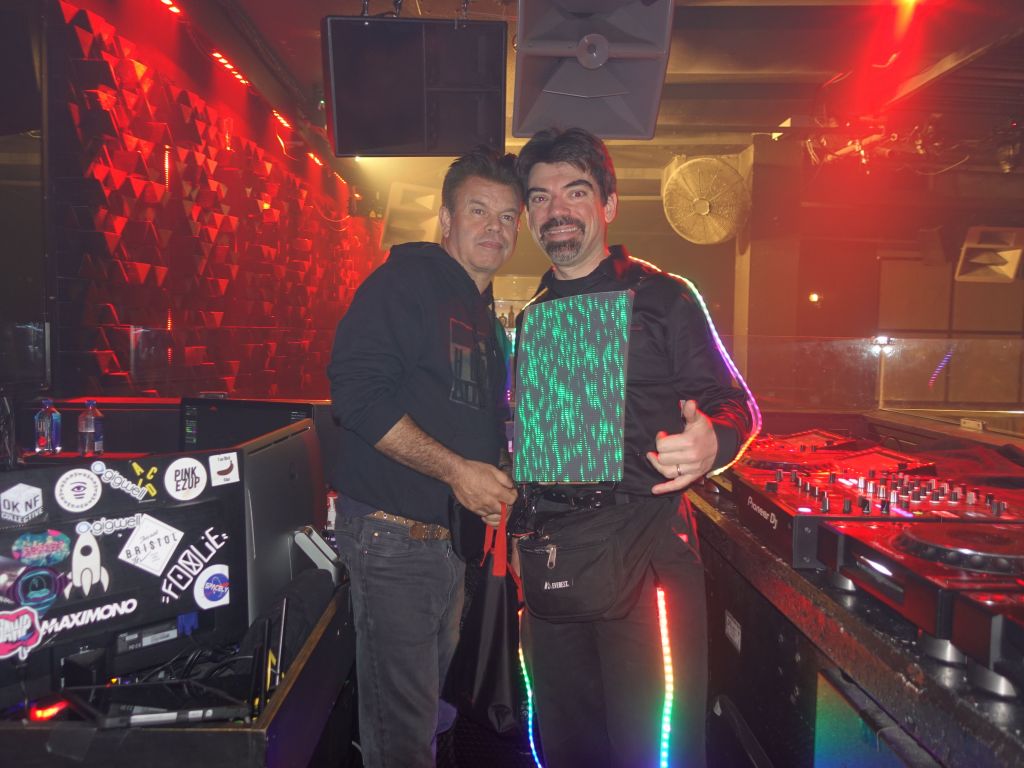
he was super nice and posed for a lot of pictures that night. Thanks Orjan
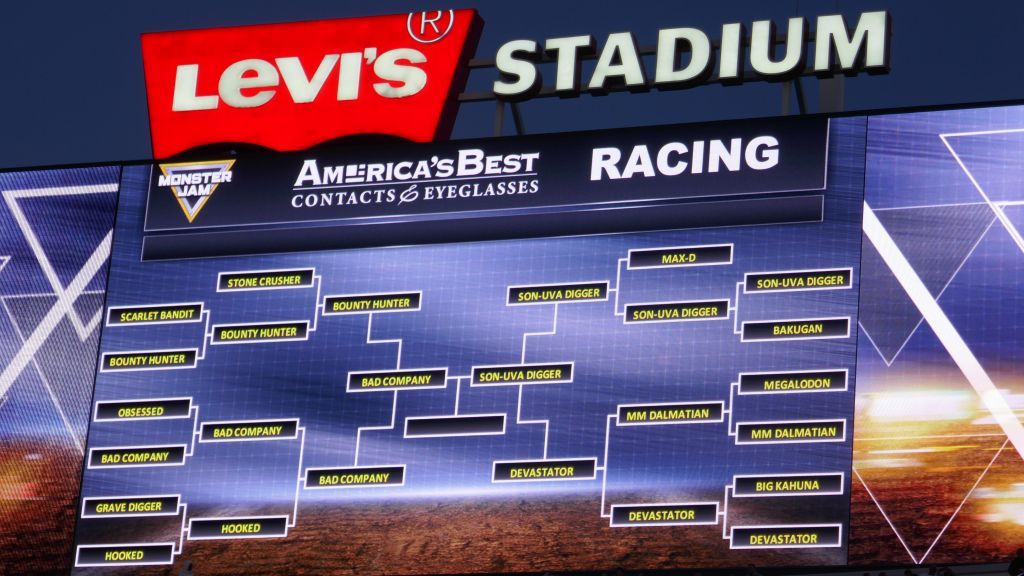
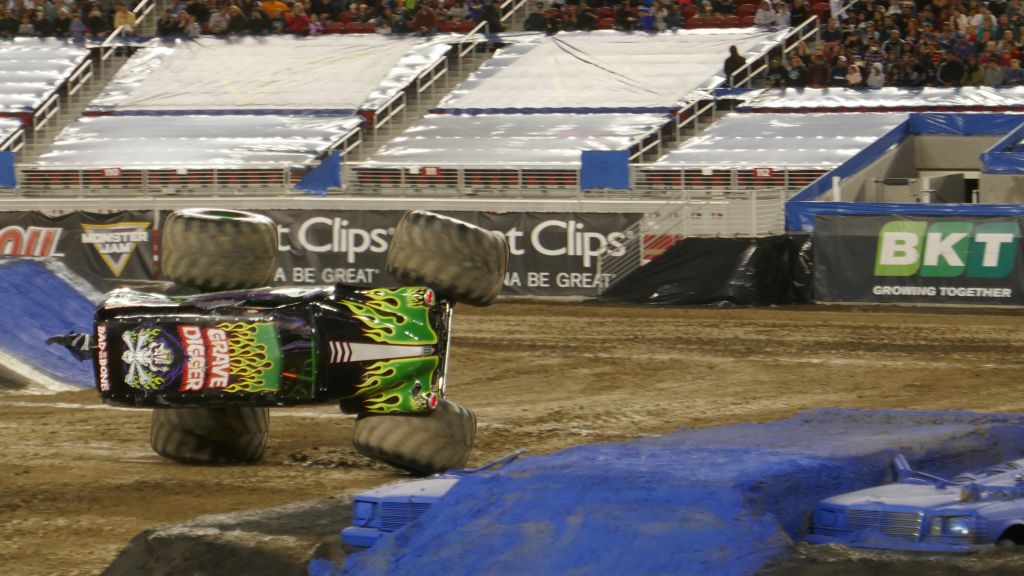
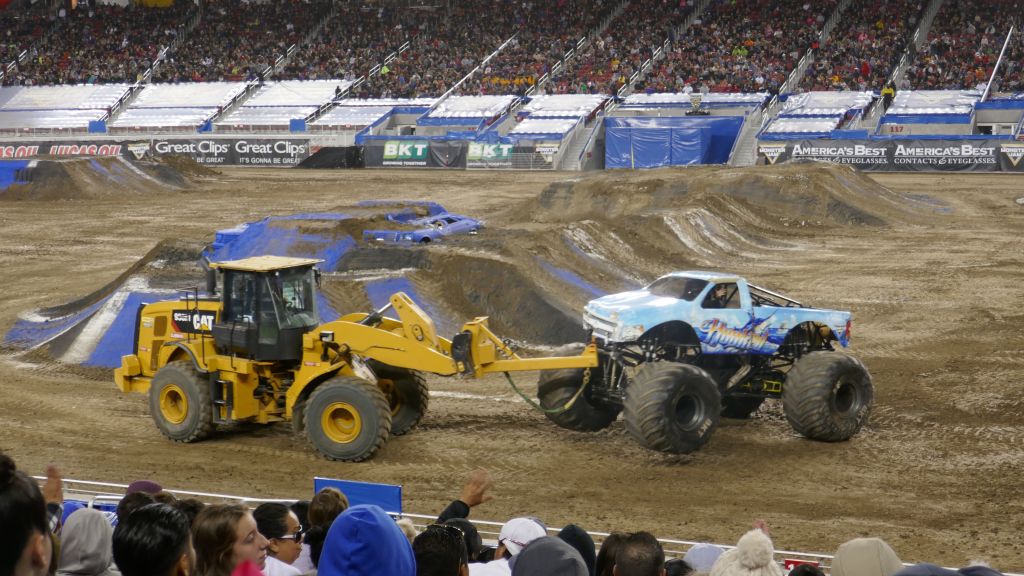
We had never seen Monster Trucks in real life, so when I heard they were coming close to home, I figured it would be fun to go check it out.
It was impressive and fun to watch.
had never been to levi's stadium before
it's both small and big
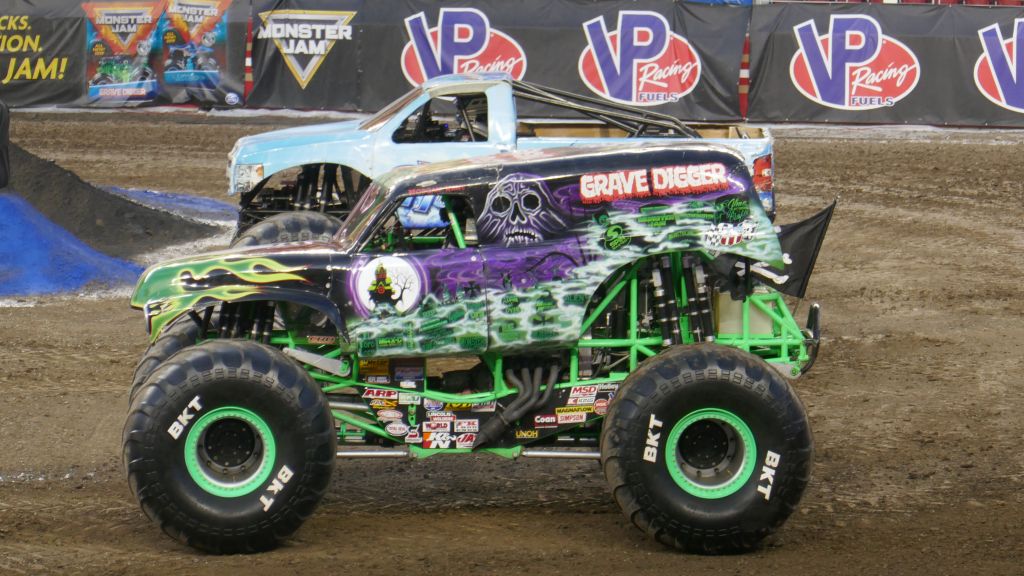
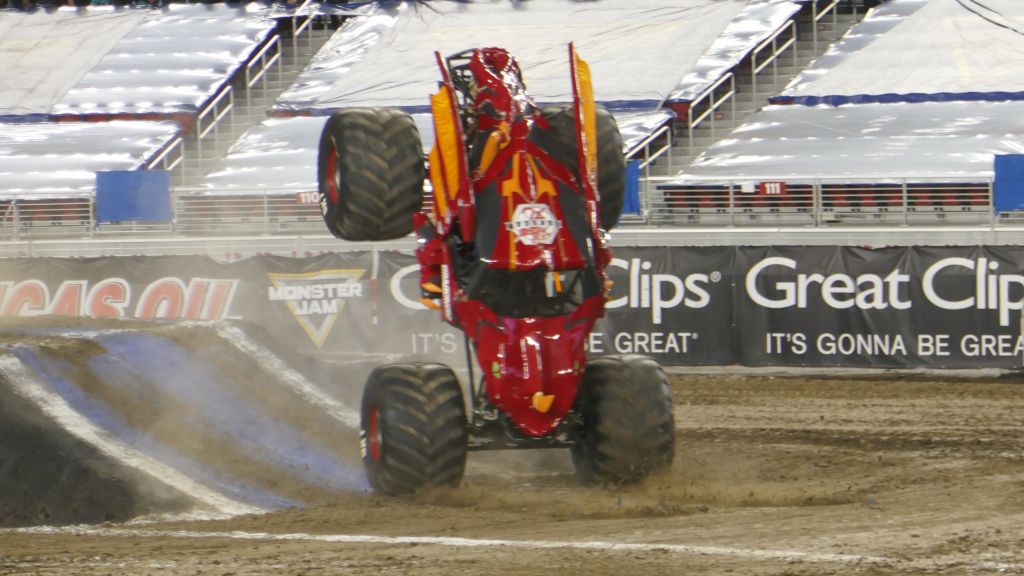
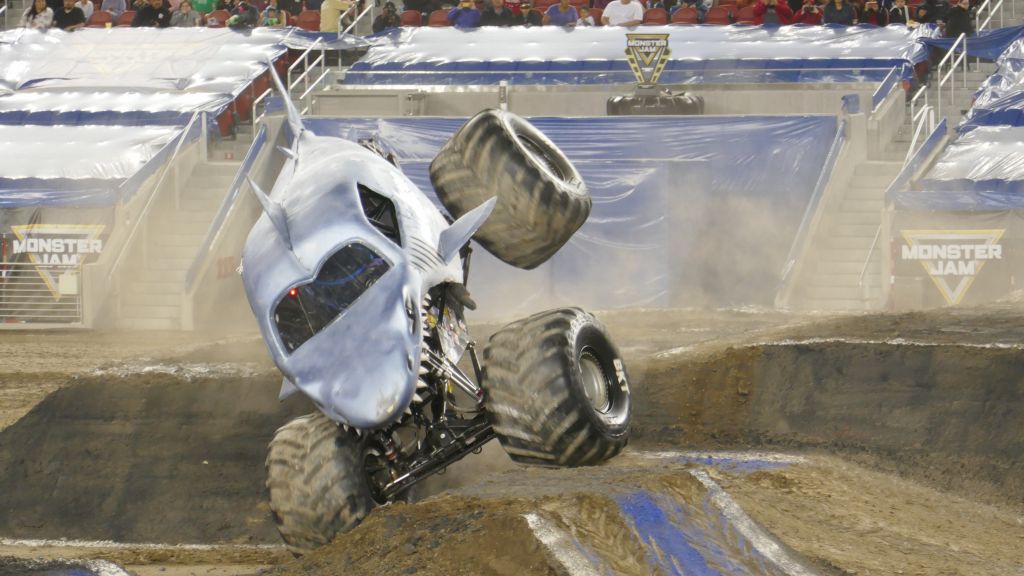
the trucks had fun shells
a bunch of them
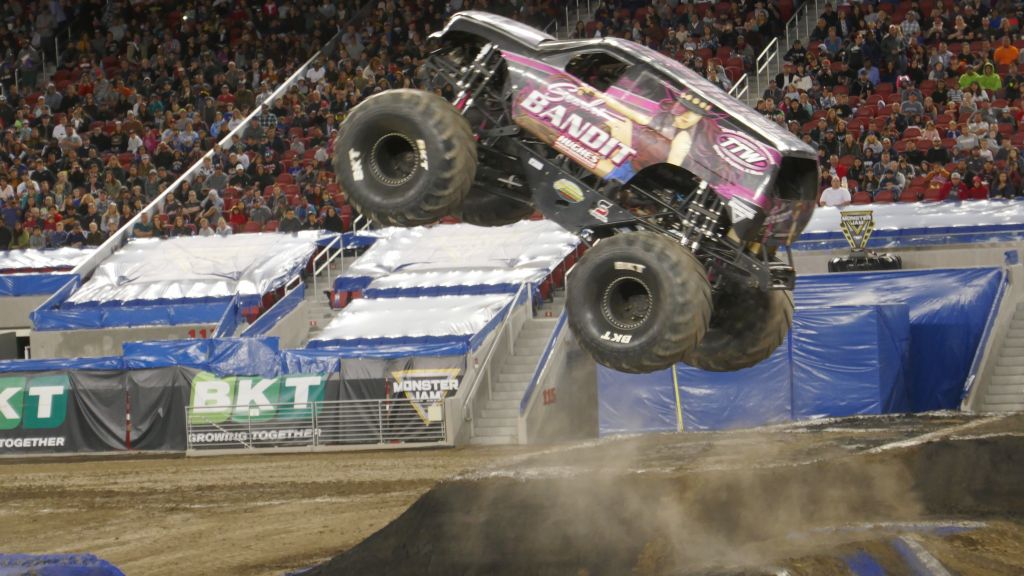
They had those 3 events:
Head to head races, which were maybe fixed a bit, or not
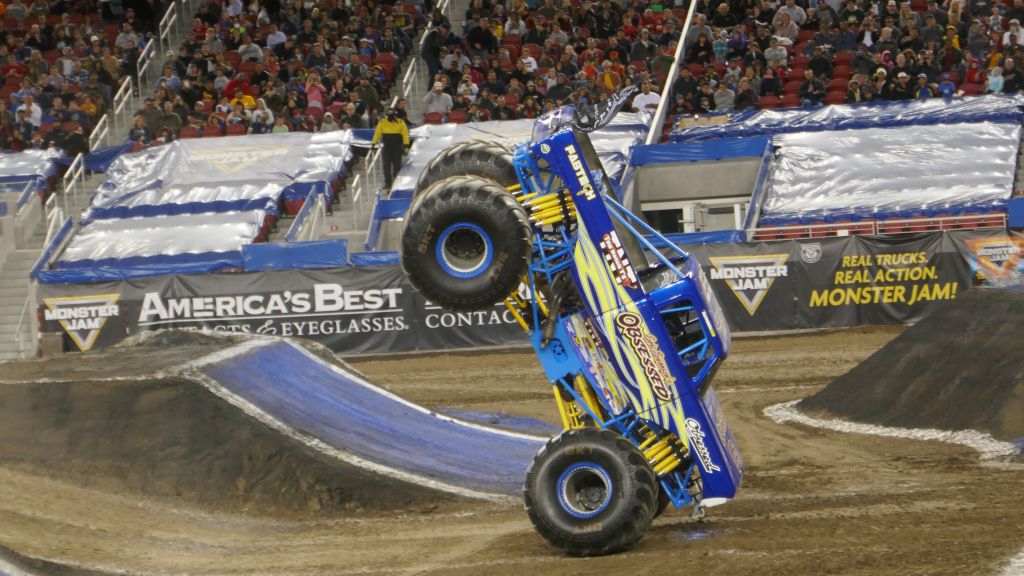
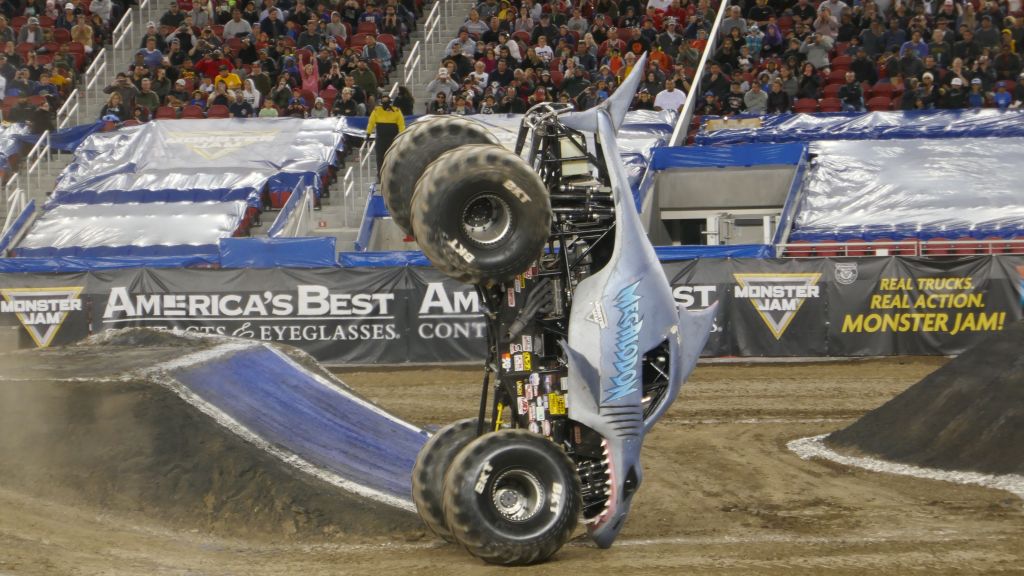
2 wheel balancing for points
Freestyle for points
For freestyle, they just went all out, including backflips until they ended up stuck on their back, or with a flat tire:
too much fun = flat tire
It was definitely worth going once, although by the end, we felt like we got it, and probably don't need to go back. Still, we enjoyed it (outside of the cold wind for Jennifer).
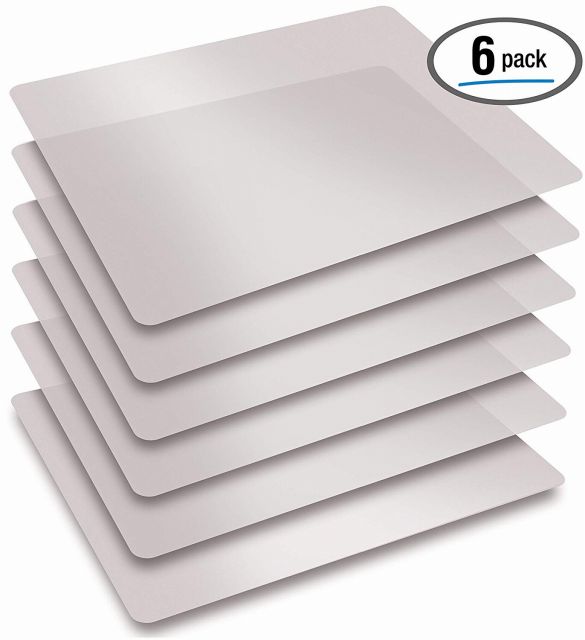
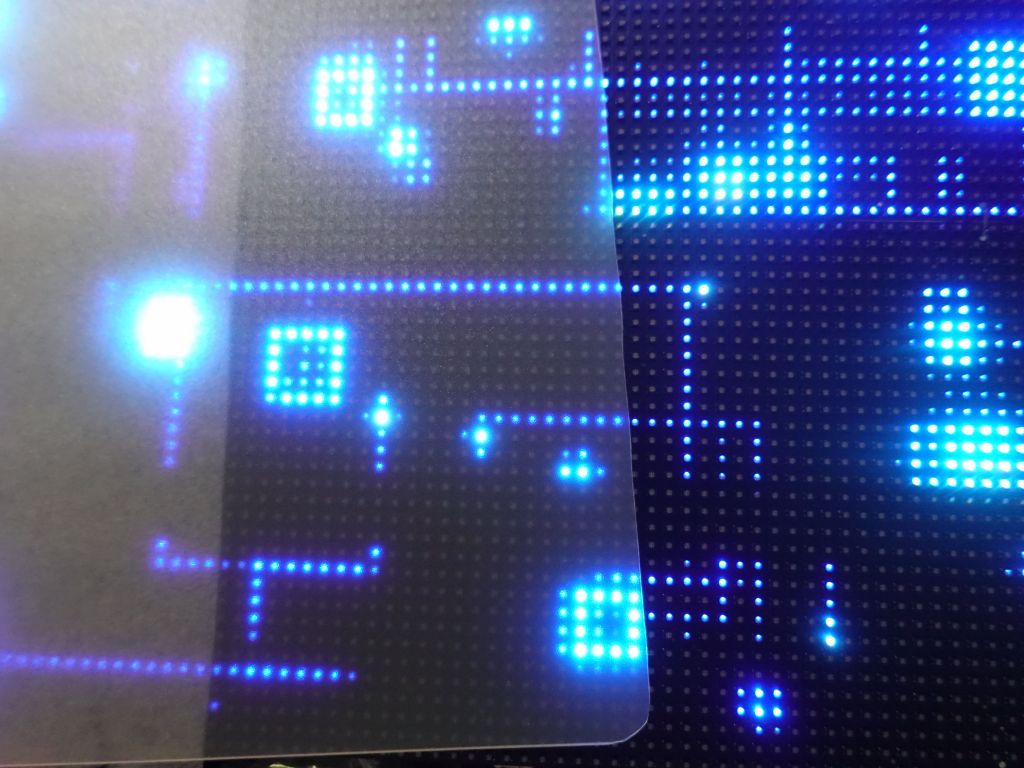
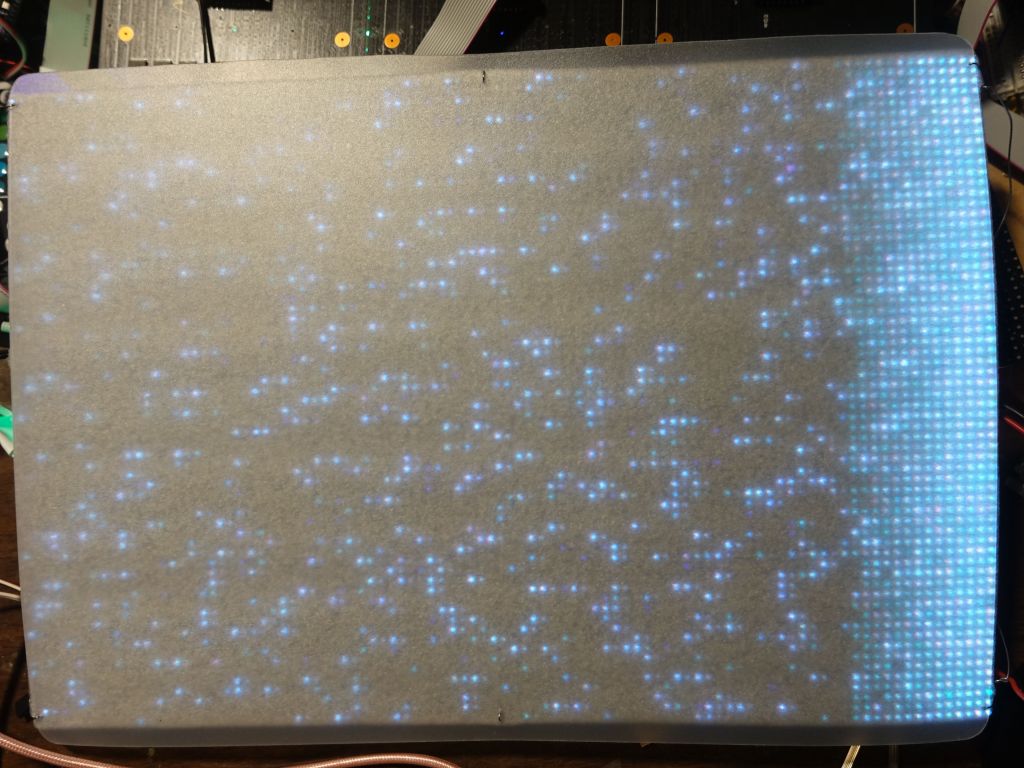
The Frosted Clear Plastic Cutting Mat was good for protection, but didn't offer too much diffusion. Still, it was better than nothing, and that's what I ended up using in the front of my shirt.
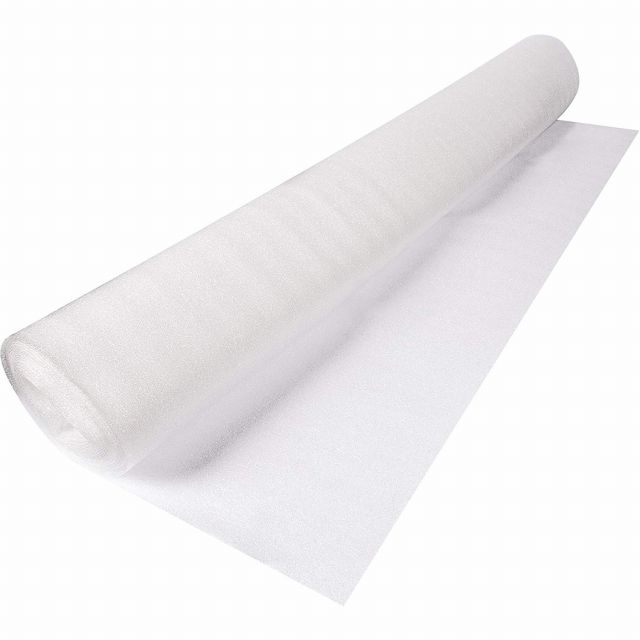
The Serenity Foam Underlayment for Laminate Flooring offered better diffusion, but no protection at all. However, I figured out that if I used that, plus the cutting mat on top, I got extra diffusion and protection.
Details:
After version 3 of my shirt with a neopixel matrix, I had good fun, but was hoping to do more. Its resolution was only 24 x 32 pixels, enough to display fun patterns, but it's really not a lot of pixels.
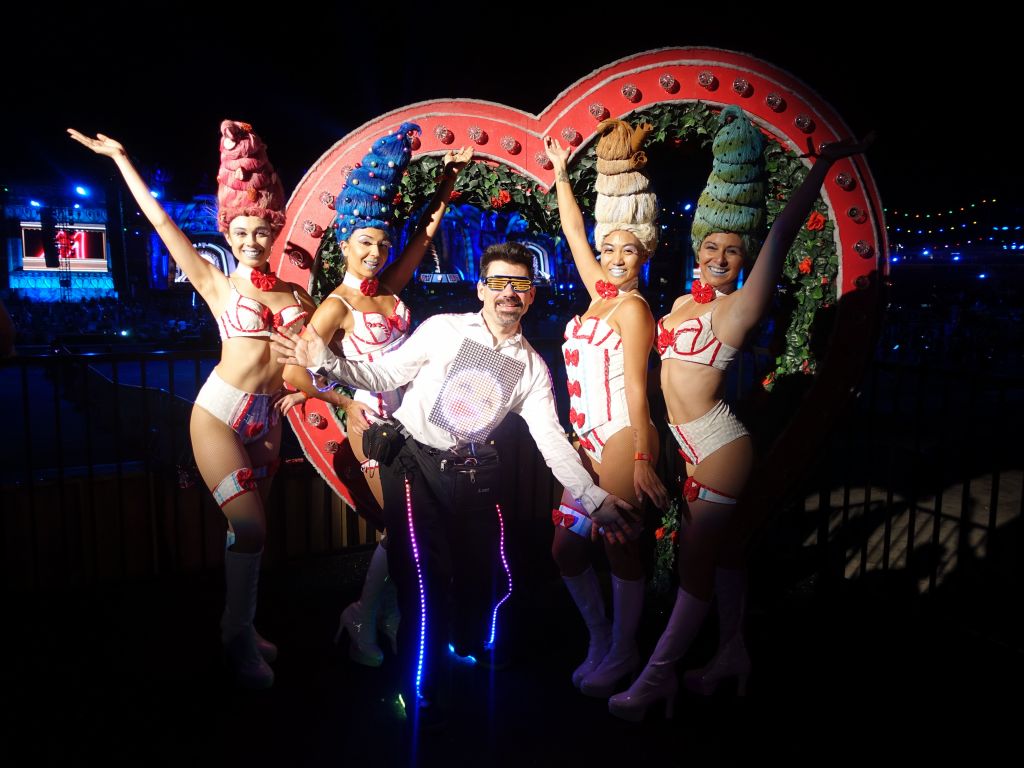
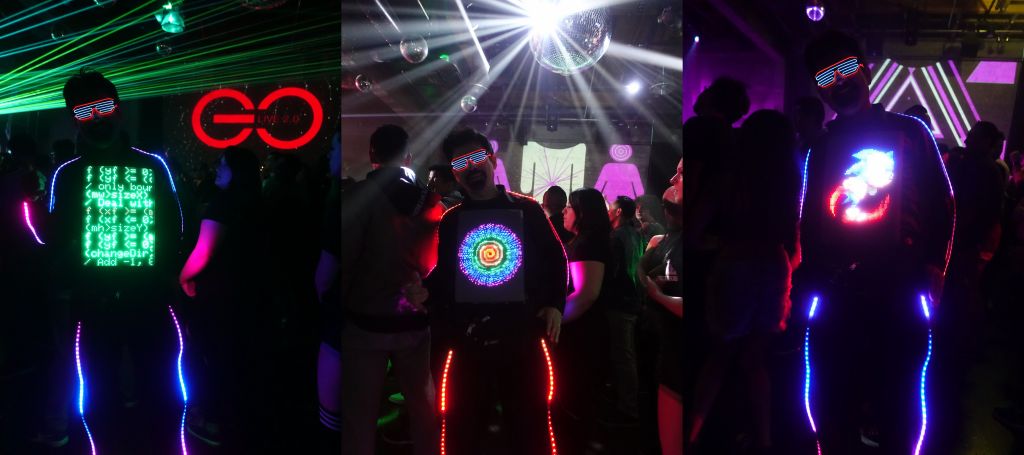
After months and months of work, here is version 4:
Video demo:
Sadly, going up in resolution with addressable pixels, is not that easy. While in theory you should be able to fit at least 2 addressable pixels per centimeter (aka P5). Currently my premade panels are P10, which is the only thing I could buy pre-made.
With their P4 resolution, I'm able to fit 96x64 on my body using 3 panels of 64x32 chained together. The 3rd panel is then chained to the 2nd set of 3 panels in my back:
On the old shirt, I put the rear panel inside the shirt, using the shirt as a diffuser, but with the RBGPanels, they were too thick for this to be practical, so I had to put them on top of the shirt. As a result, I ended up uing a black shirt which matches the color of the panels. I had to attach velcro to the new shirt, and confirmed that supergluing them was so much faster than sawing, and worked just as well:
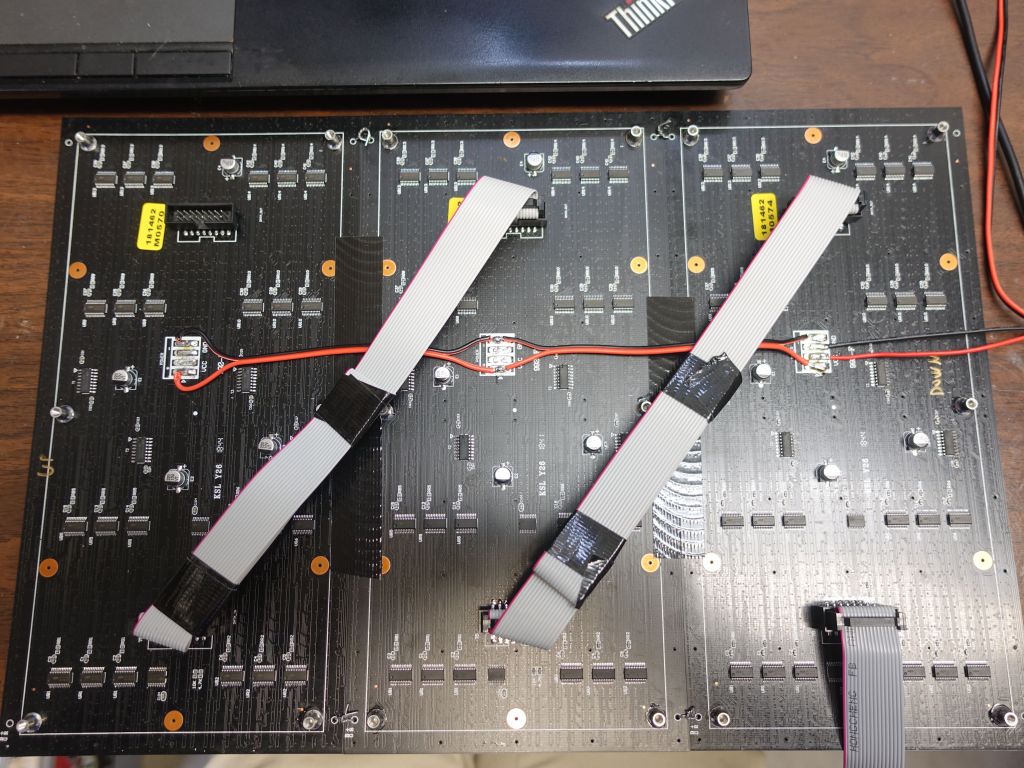
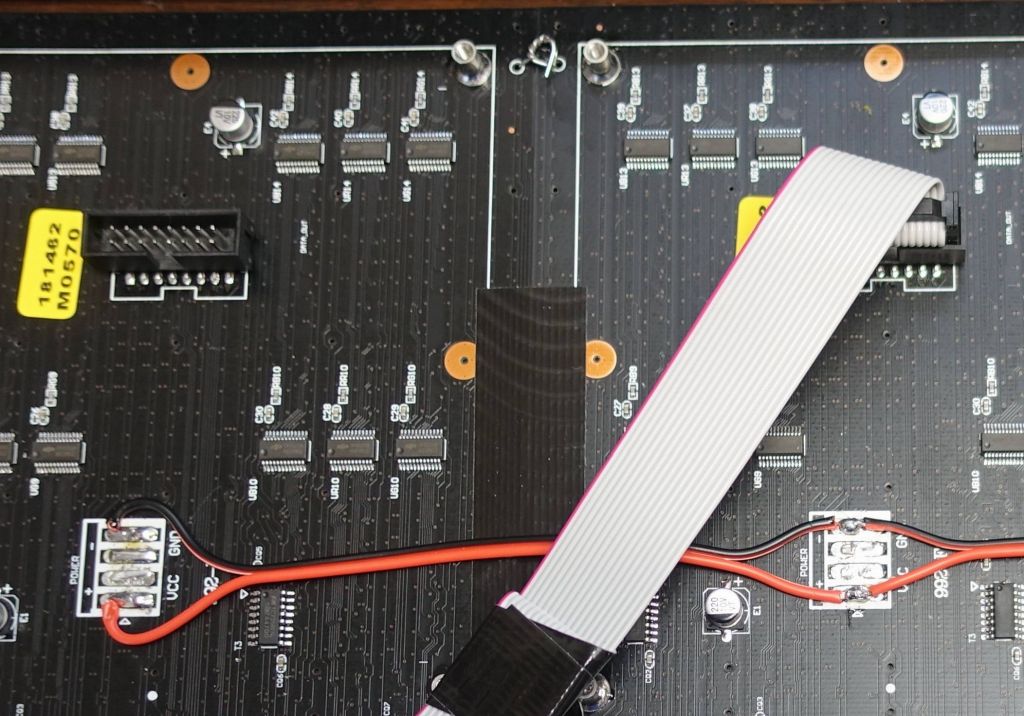
I unsoldered the power connectors that were too thick, and used small metal wire to connect the panels together (see top middle of the picture). Turned out those metal wires were a mistake as they can cause shorts on the LEDs on the other side of the board:
Another thing I learned was that the holes I was using to put a metal wire to carry the panels over my shoulders, can't actually take the load, and the wire can cause damage to the copper trace that is just next to the hole. As a result, I replaced the metal wires with fishing wire and didn't use the bigger holes for load bearing:
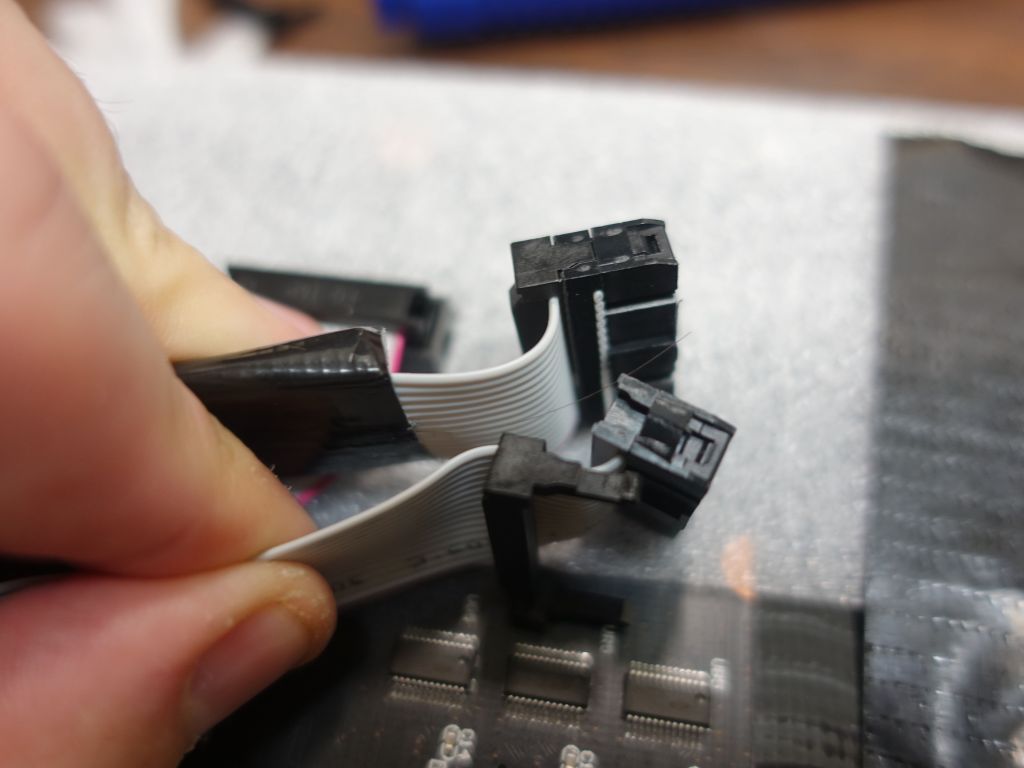
Speaking of removing thickness from the board, I removed the top of the ribbon connectors to make them a bit thinner. Sadly, RGBPanels still require 15 wires to send the video signal:
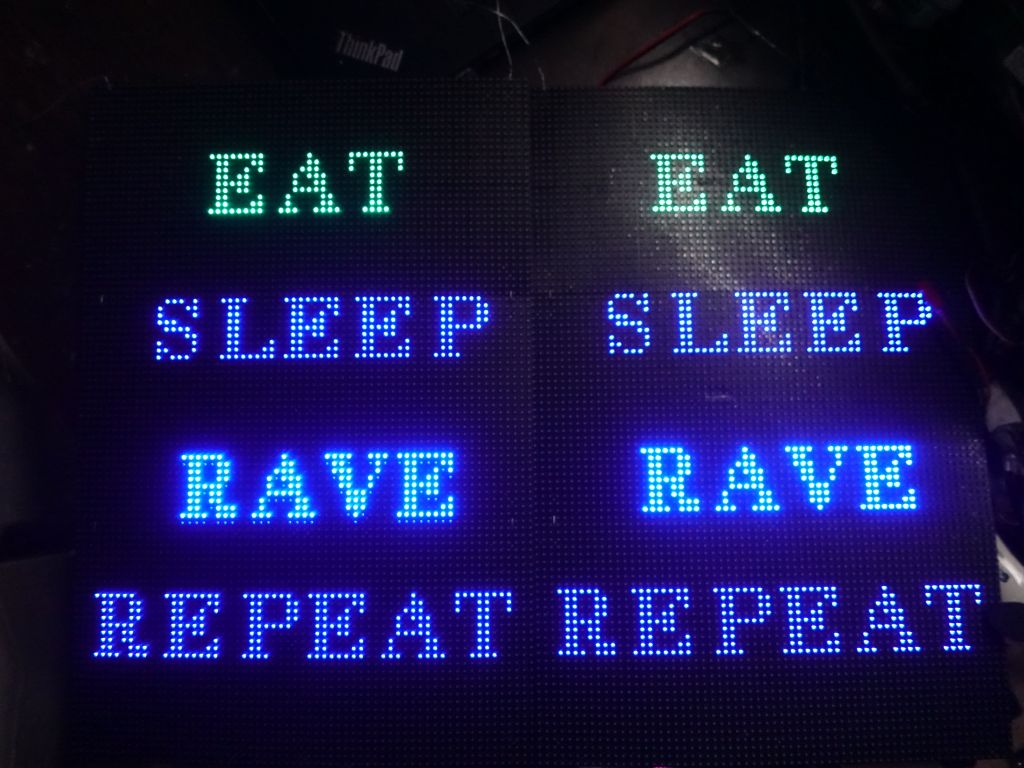
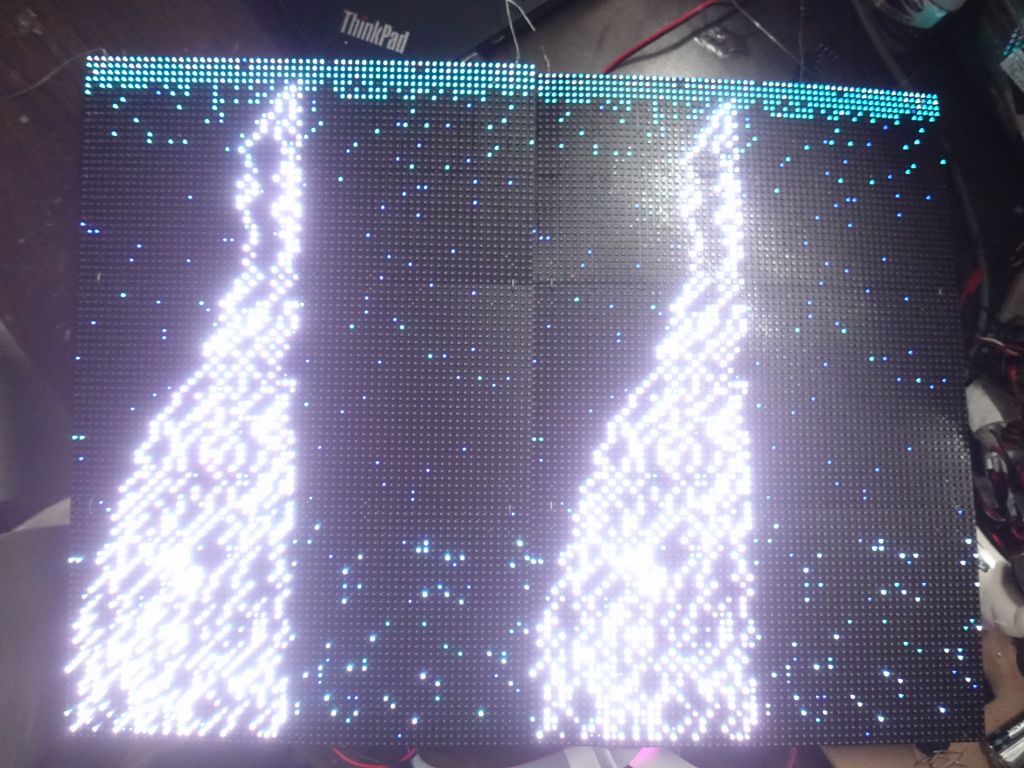
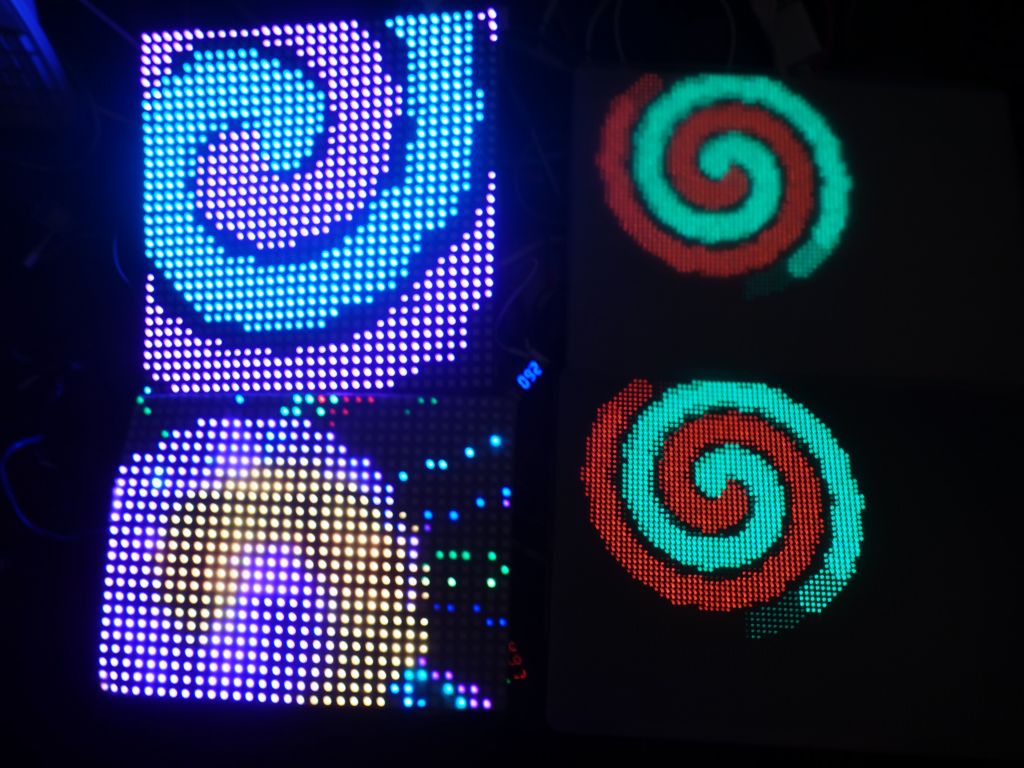
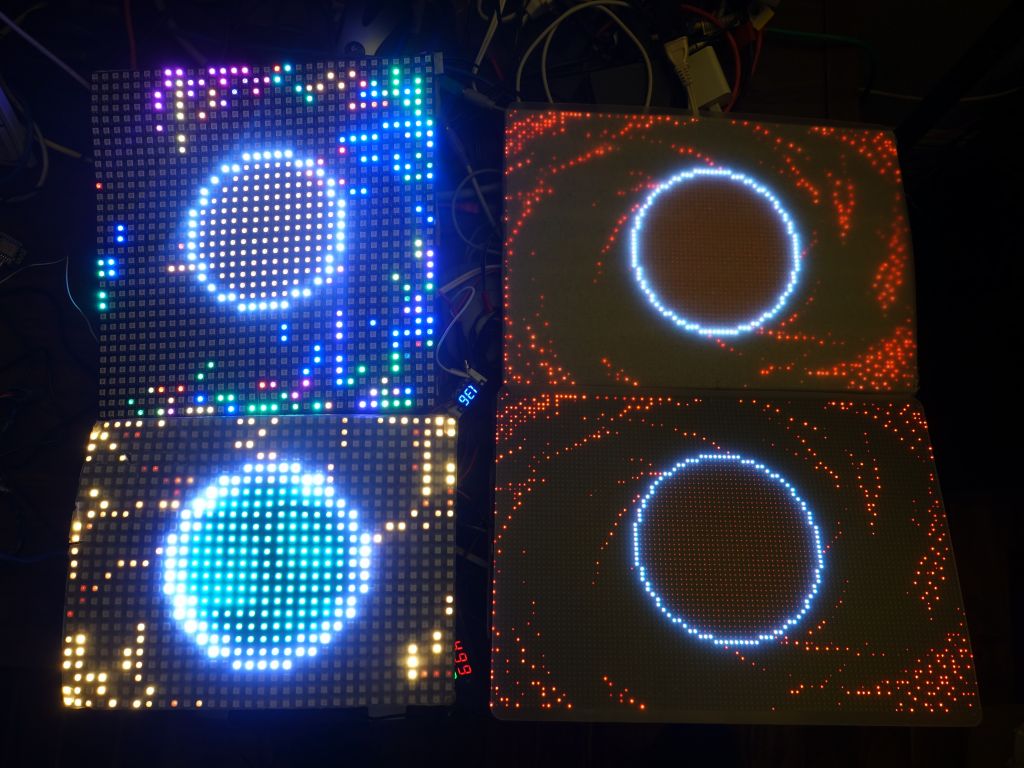
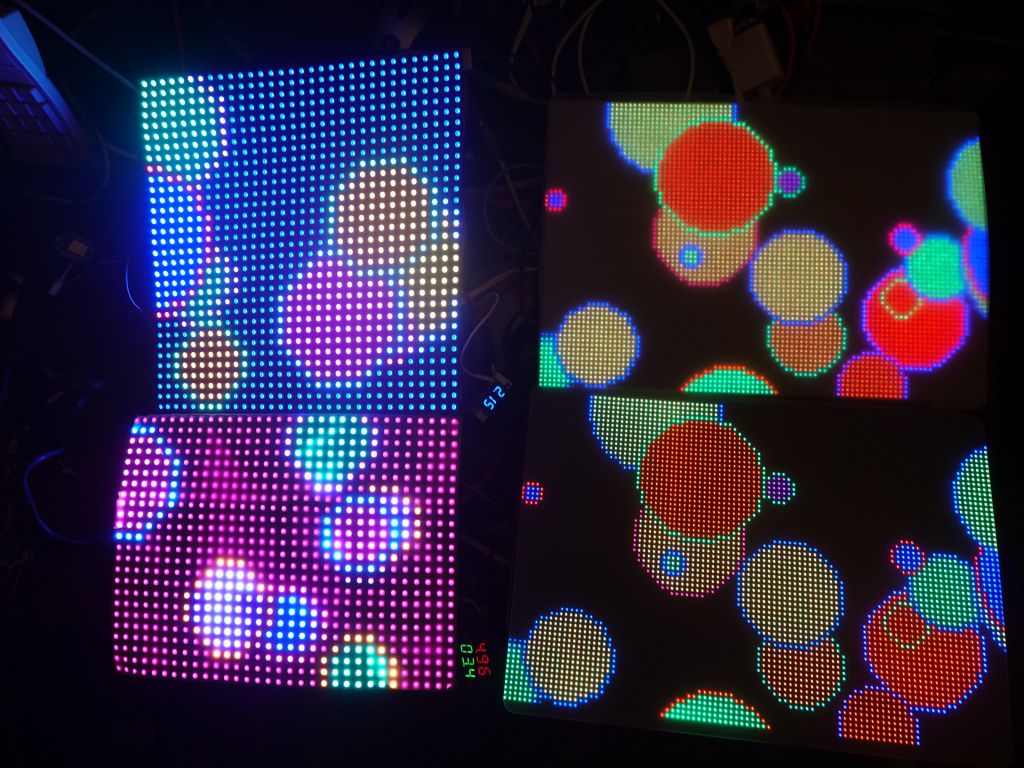
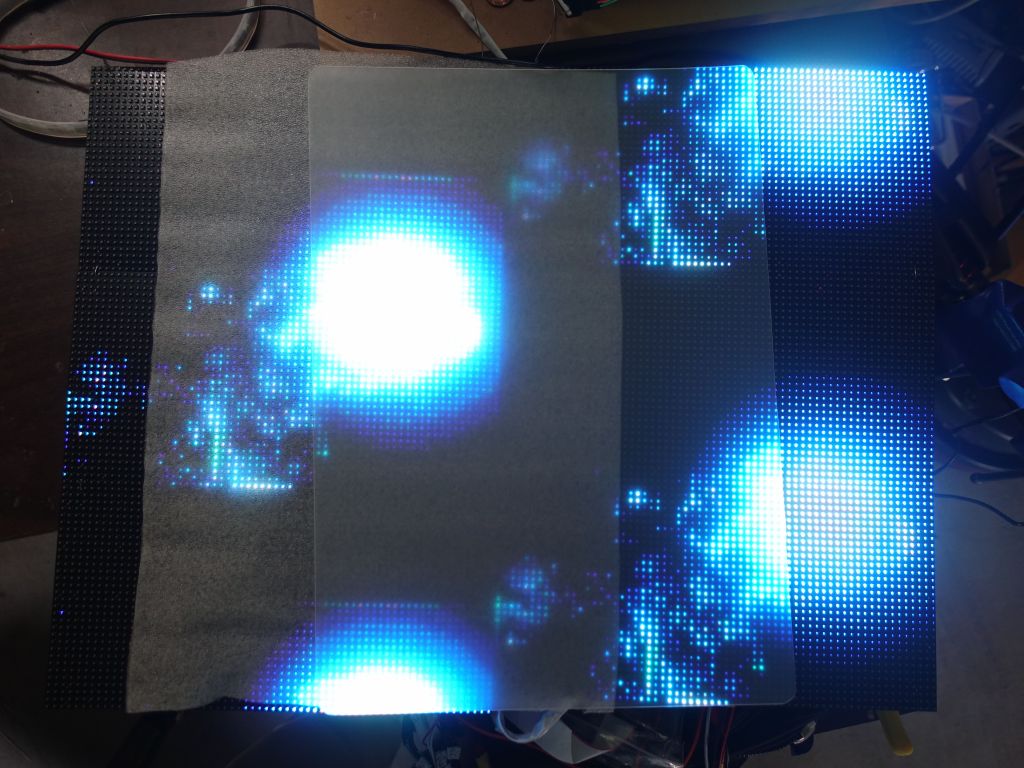
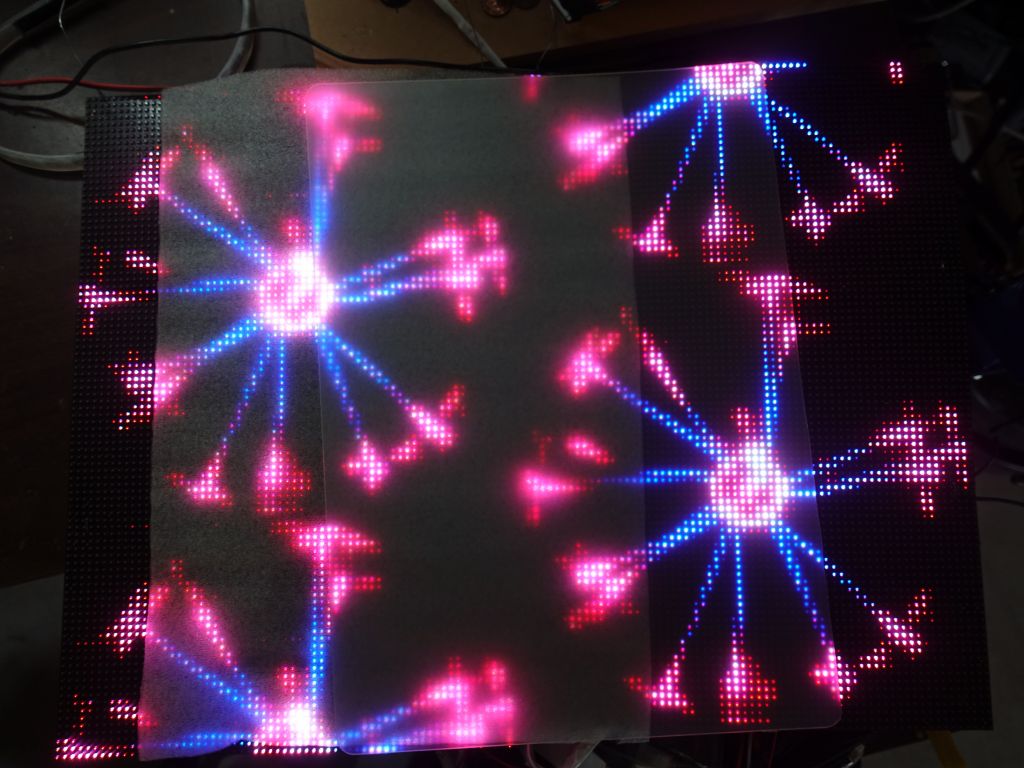
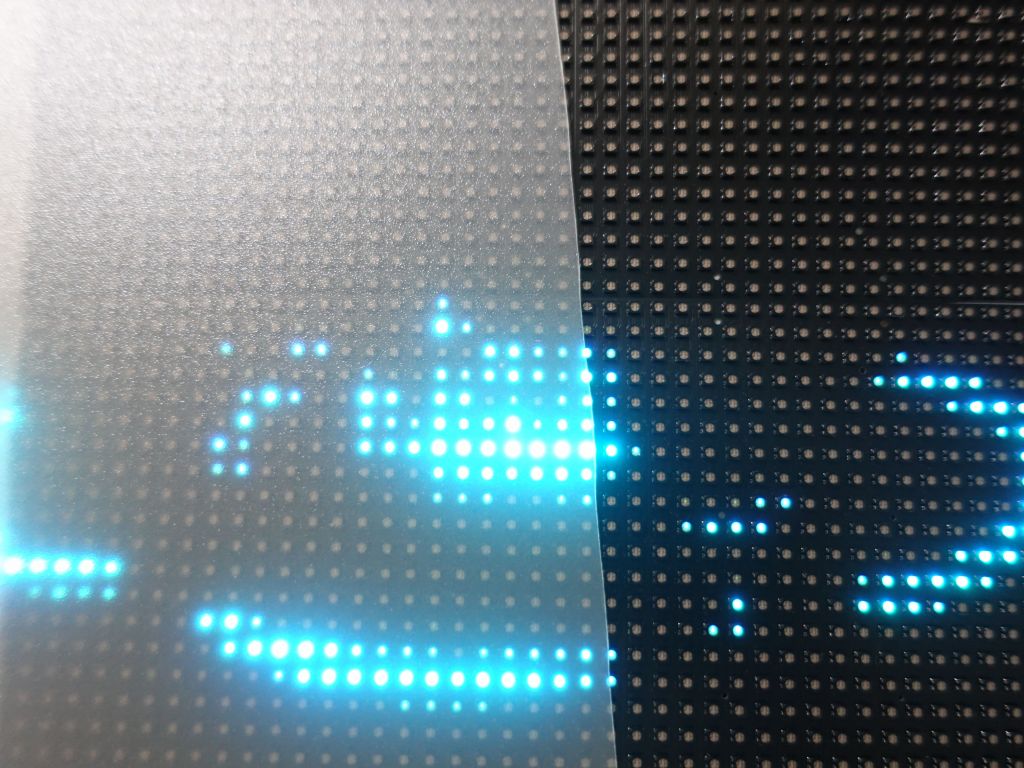
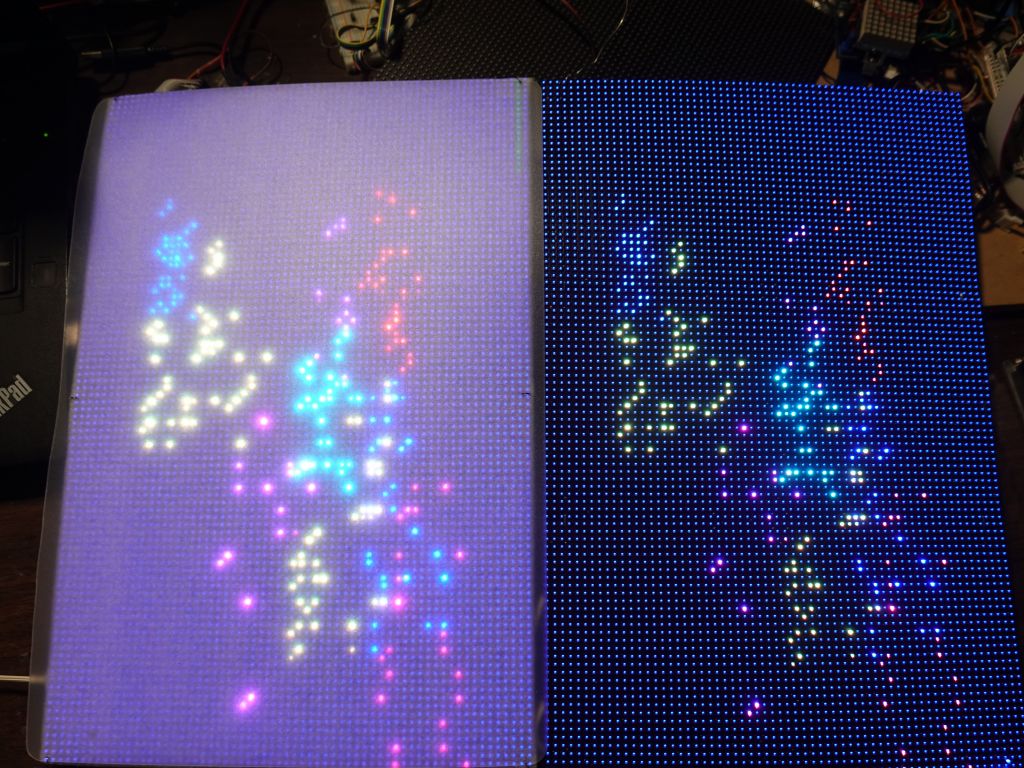
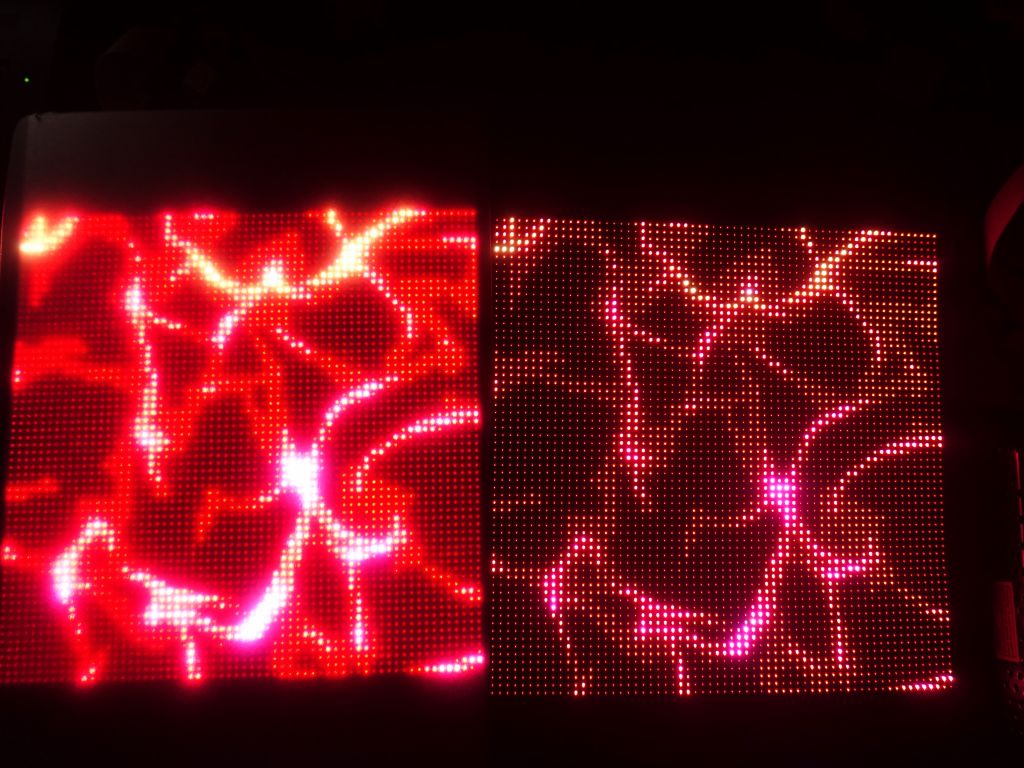
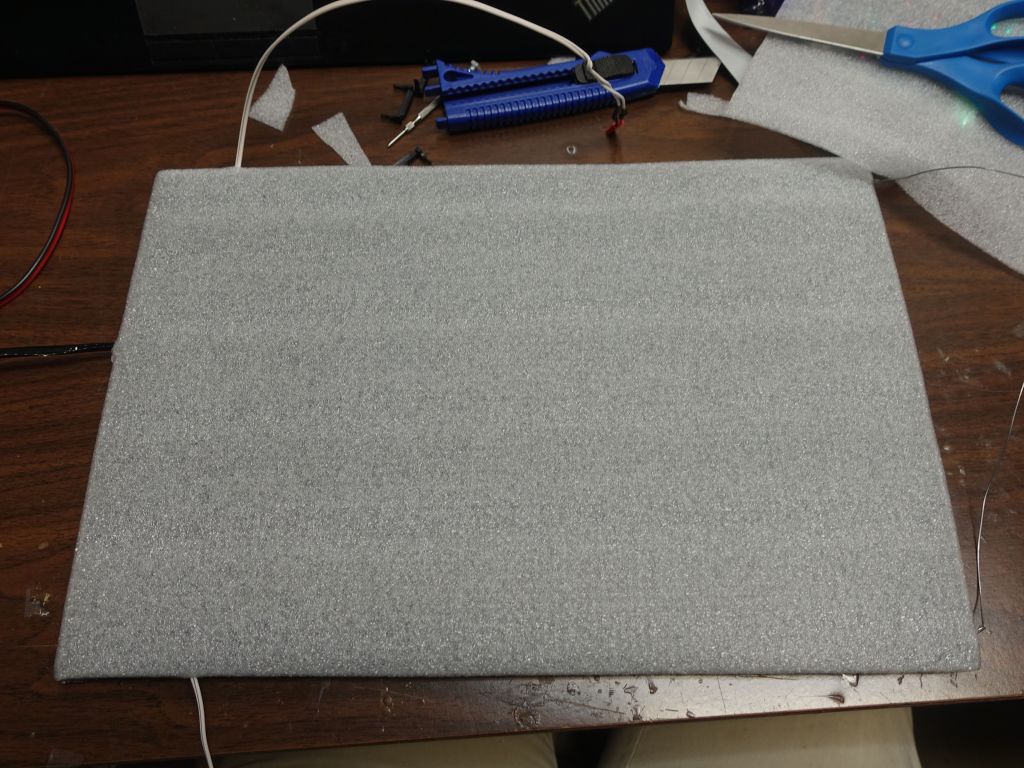
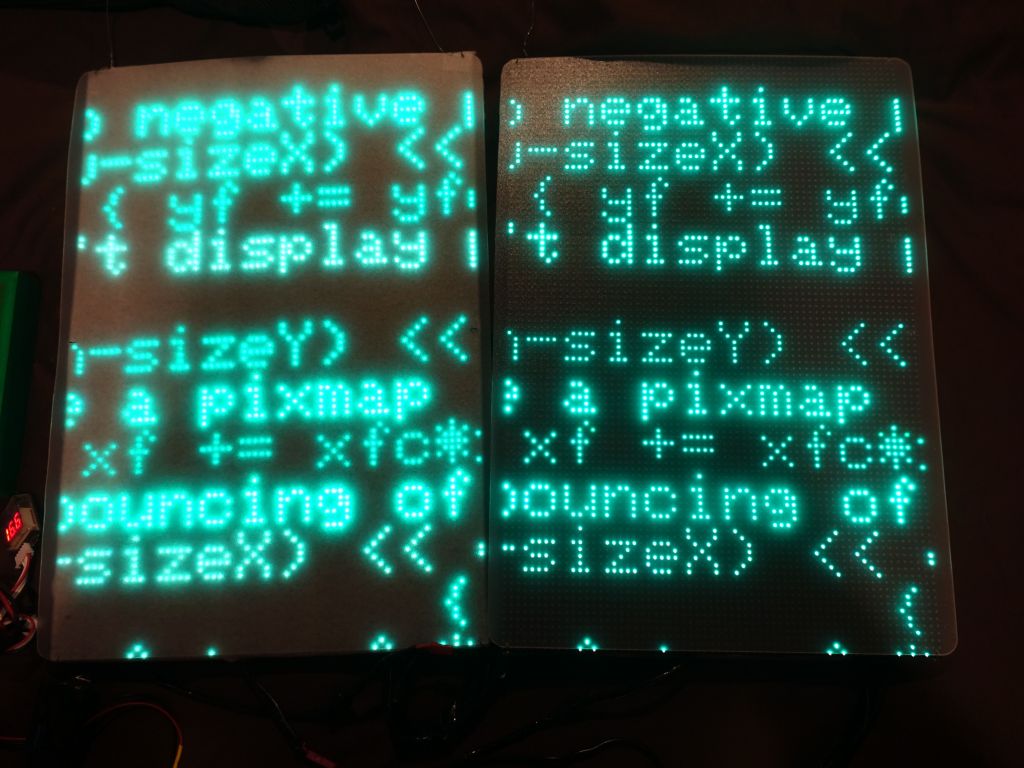
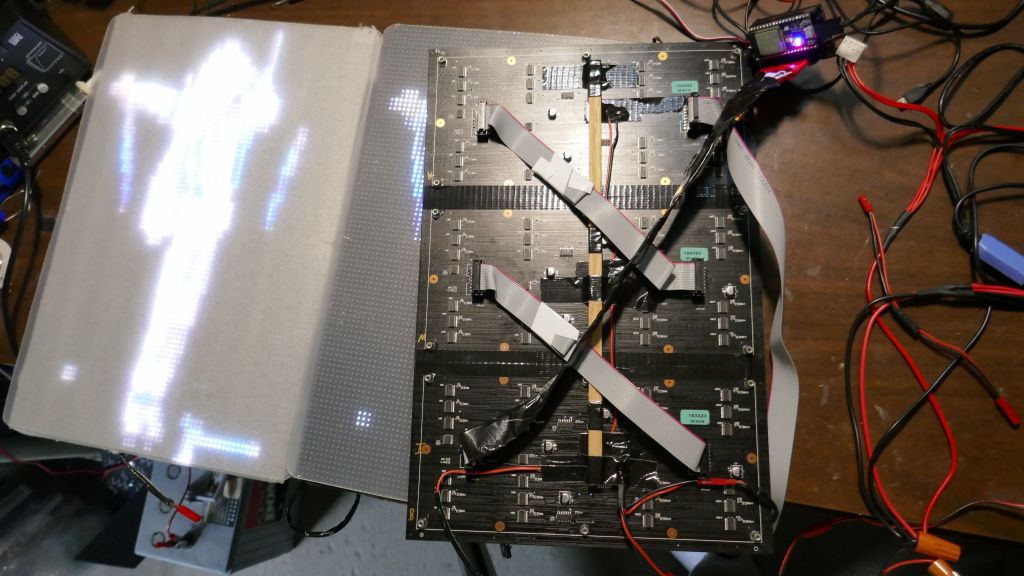
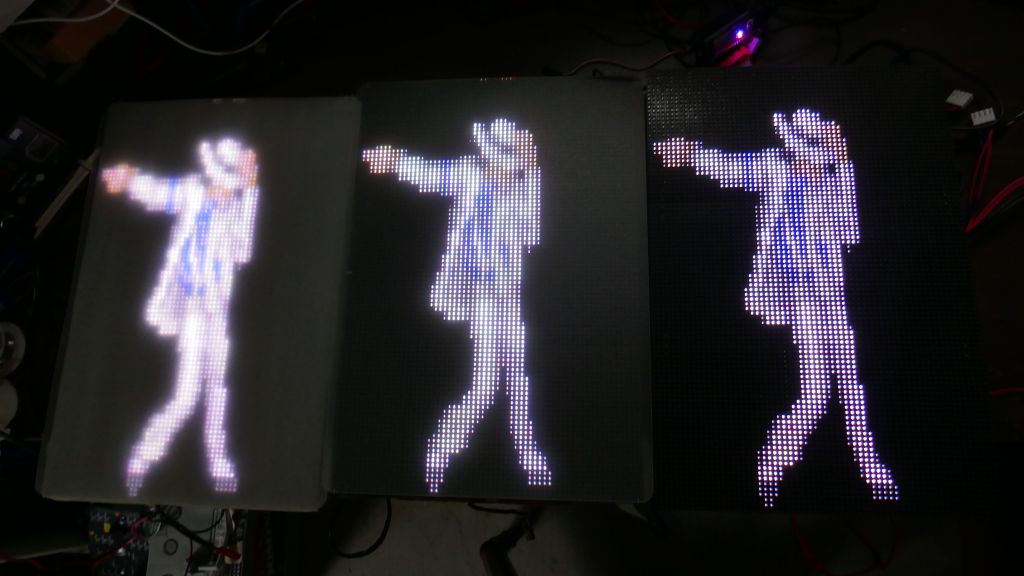
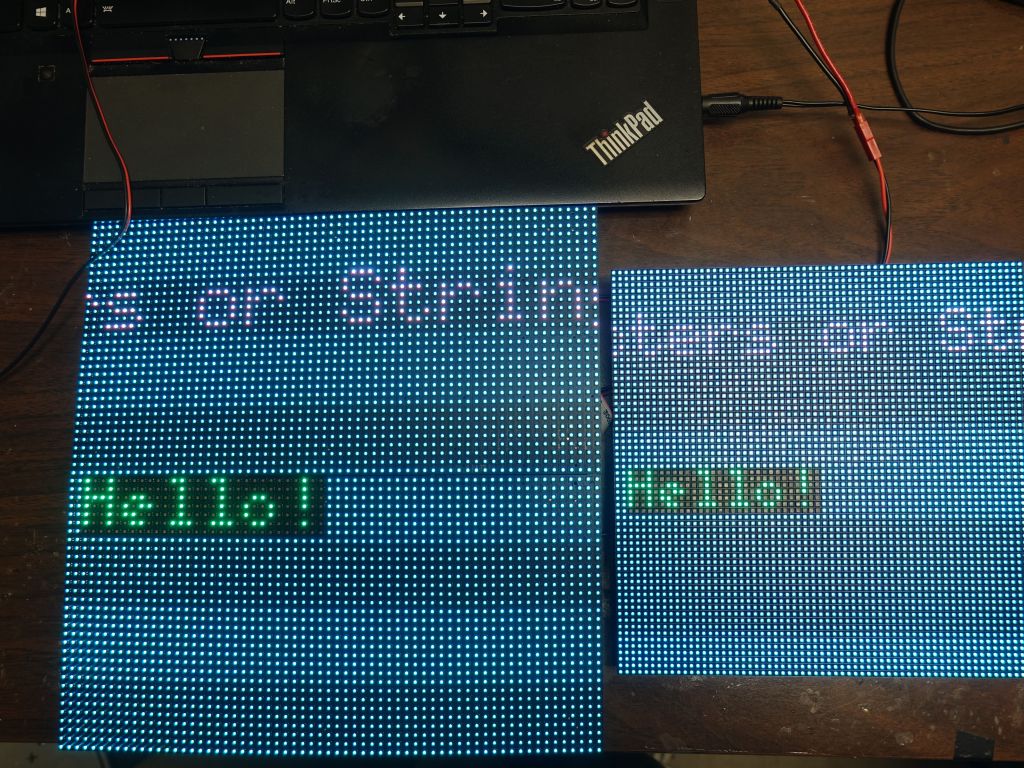
I then took one panel and covered it with defusing foam (the rear panel, so that it's not too sharp and blinding to people behind me), while the front panel only has the plastic cover to protect the panels and offer a bit of extra diffusion:
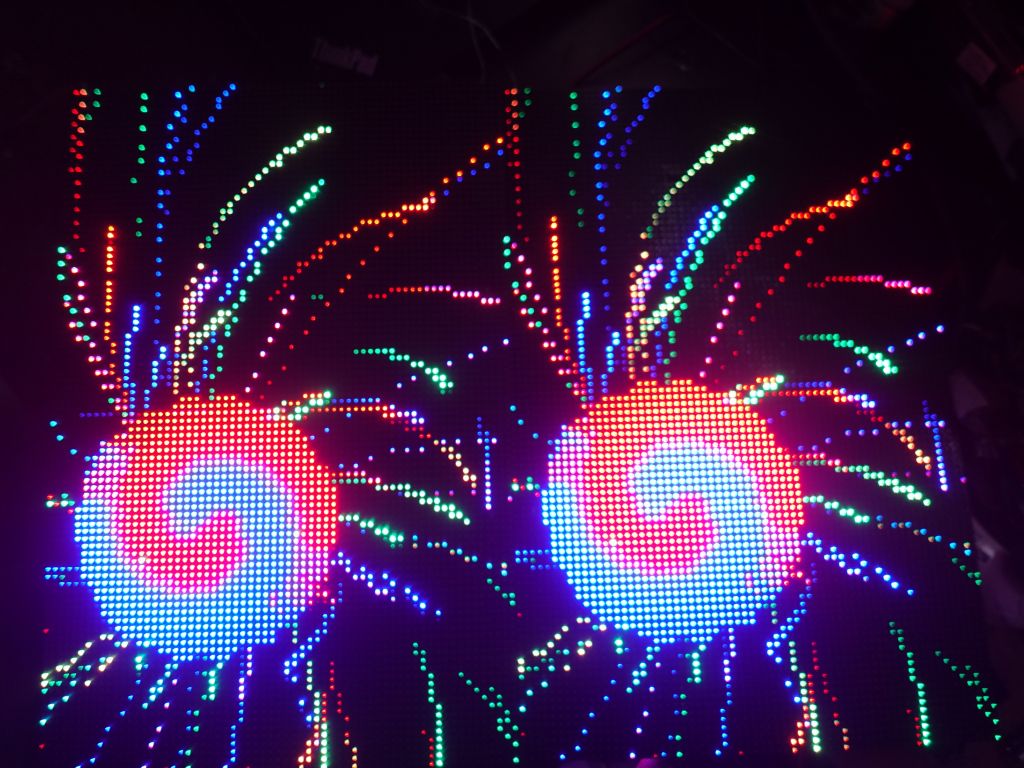
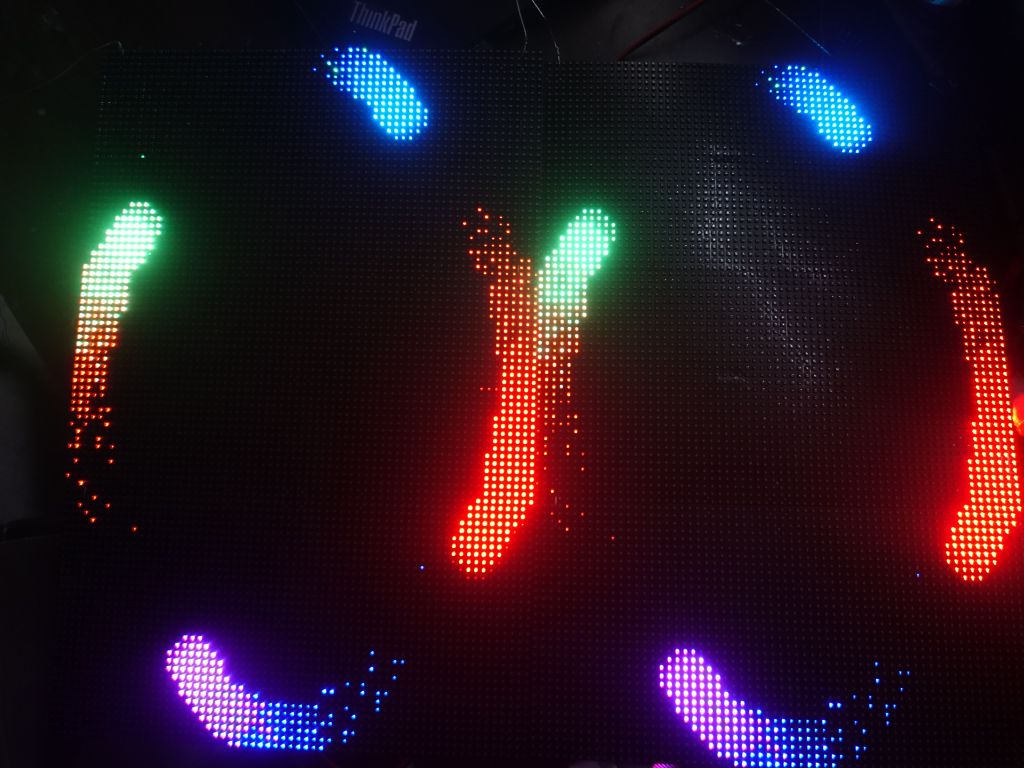
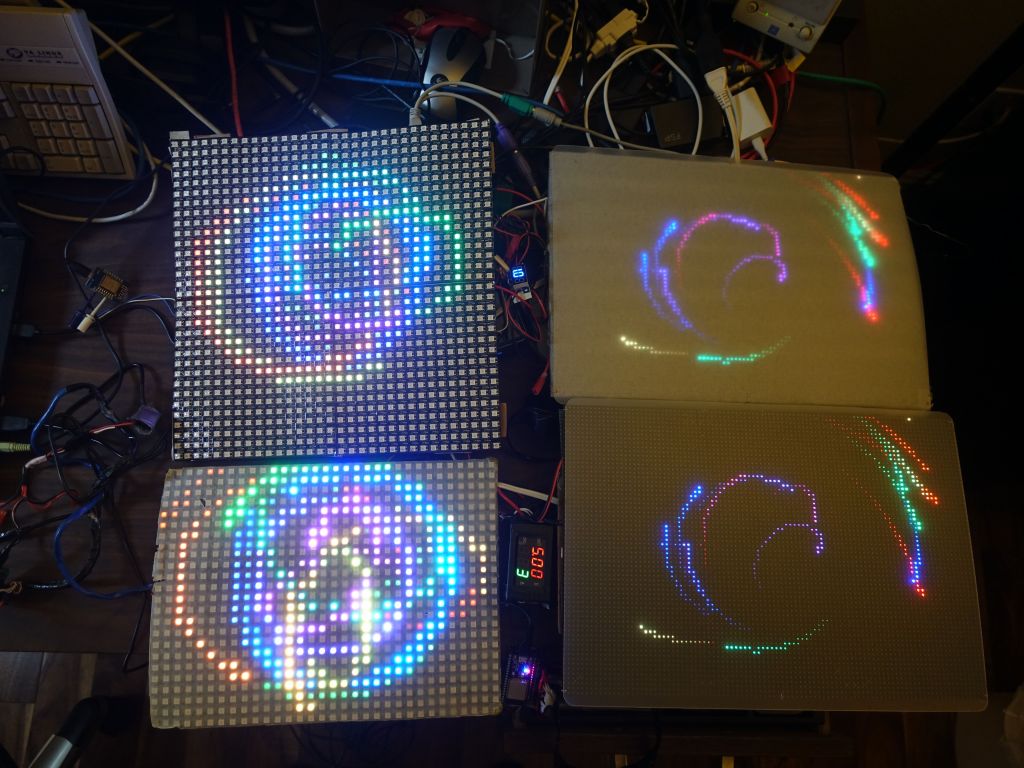
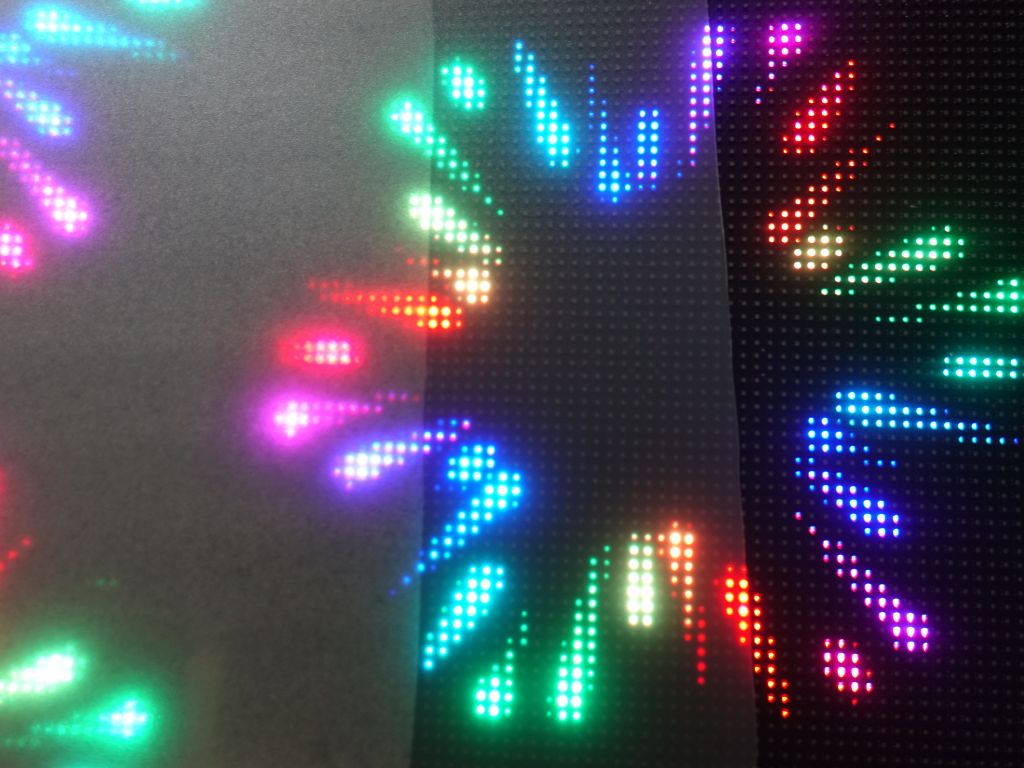
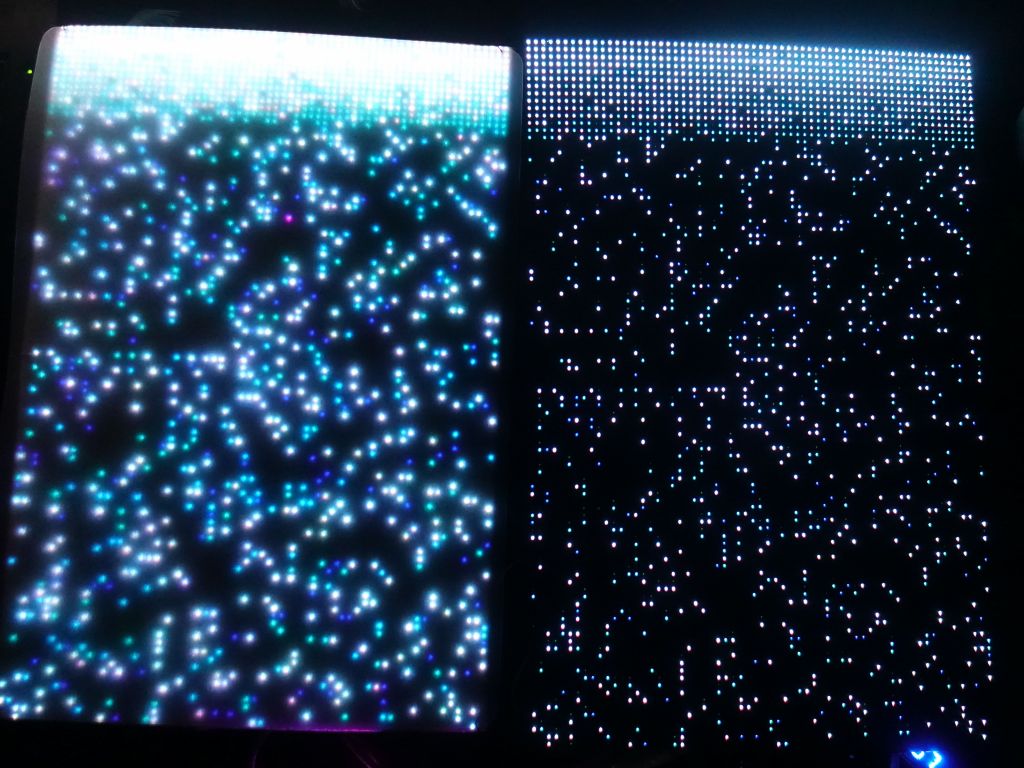
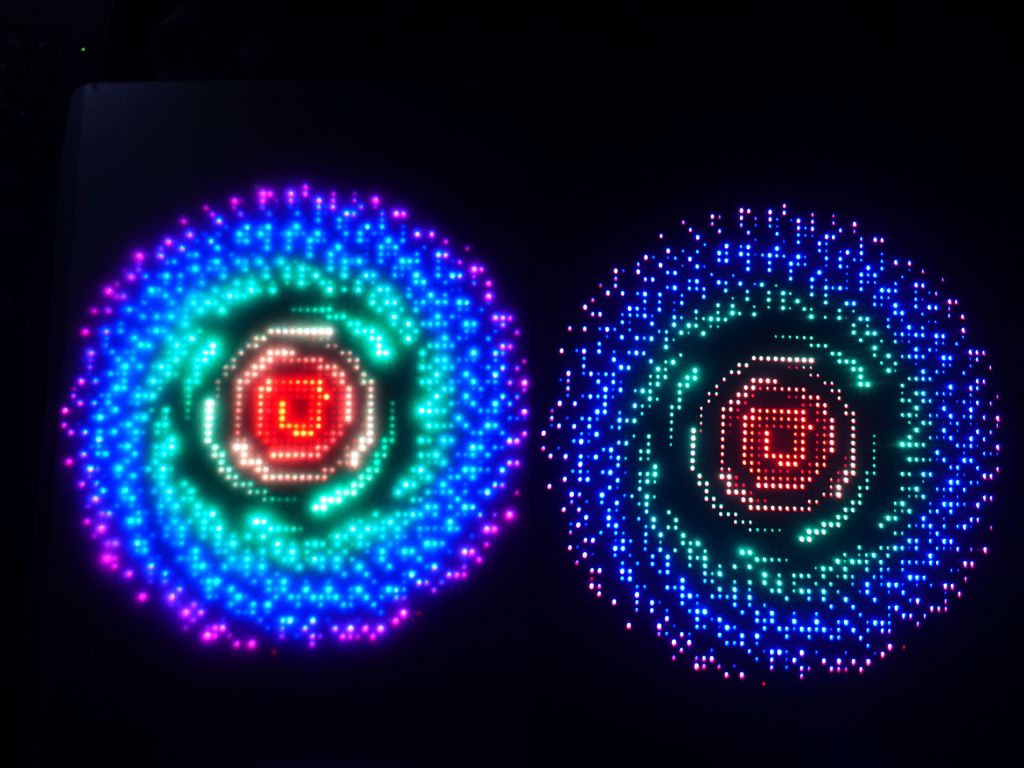
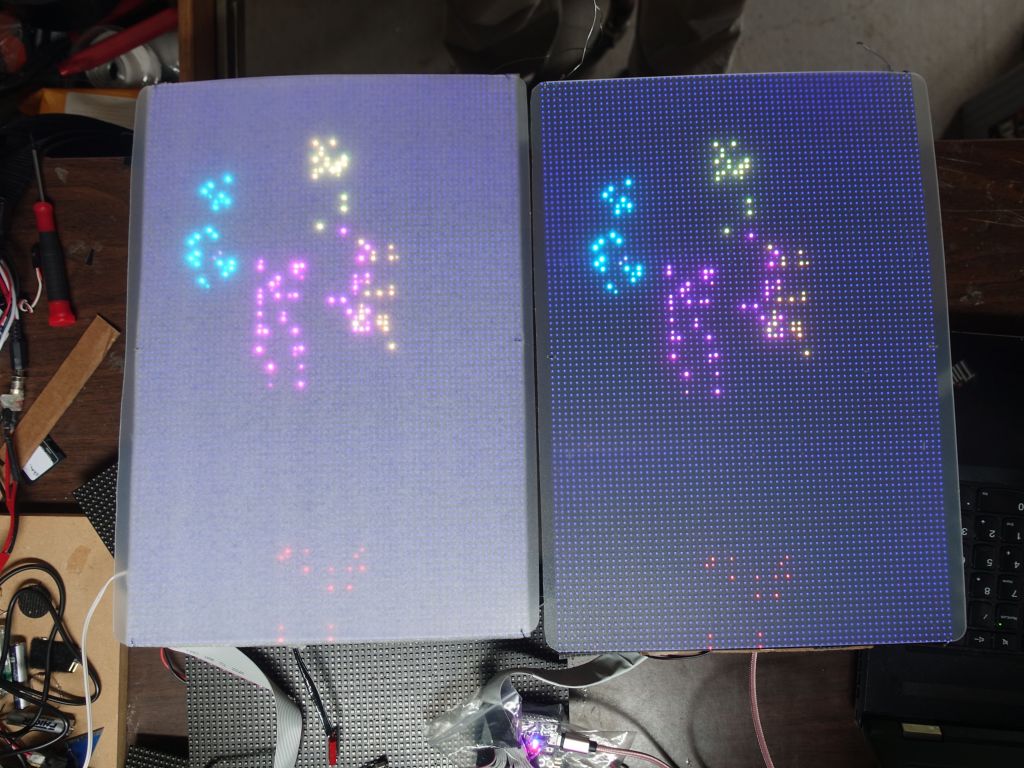
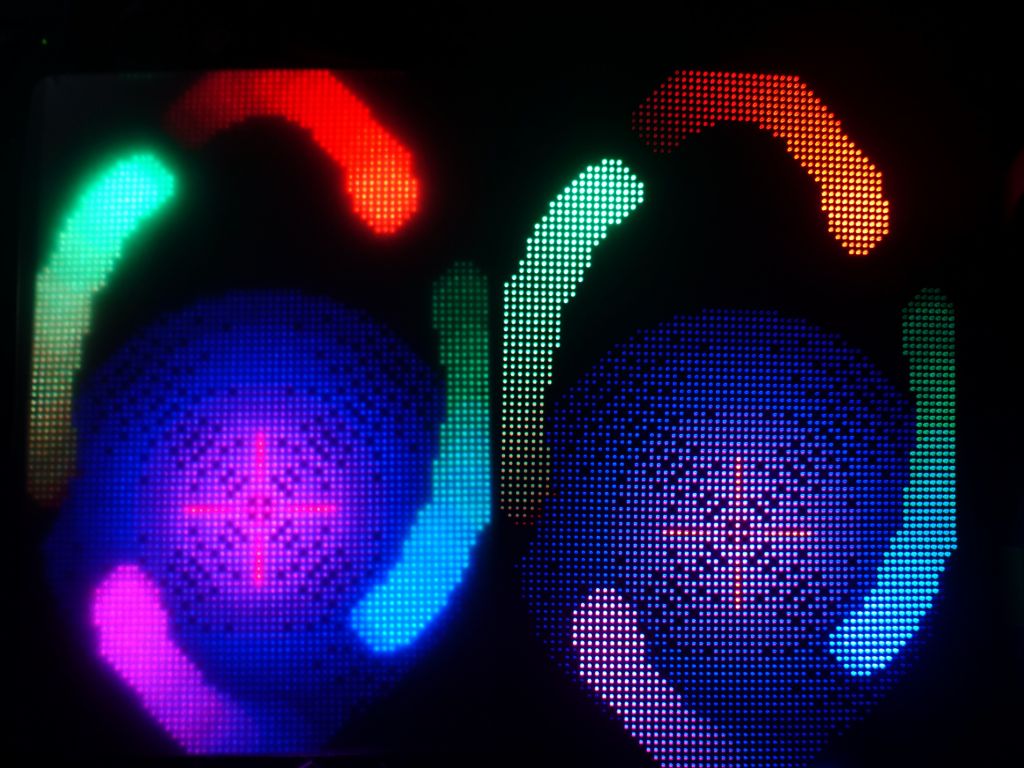
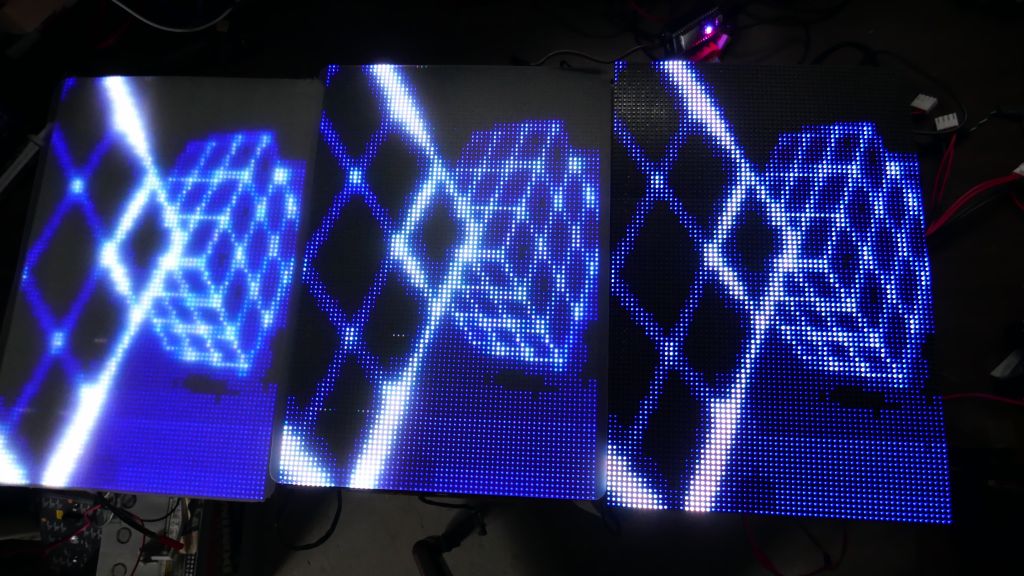
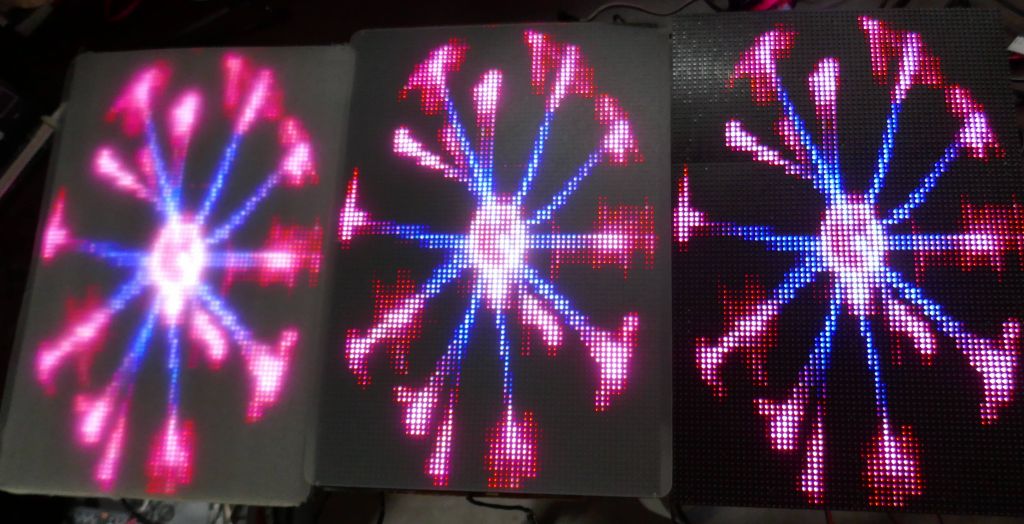
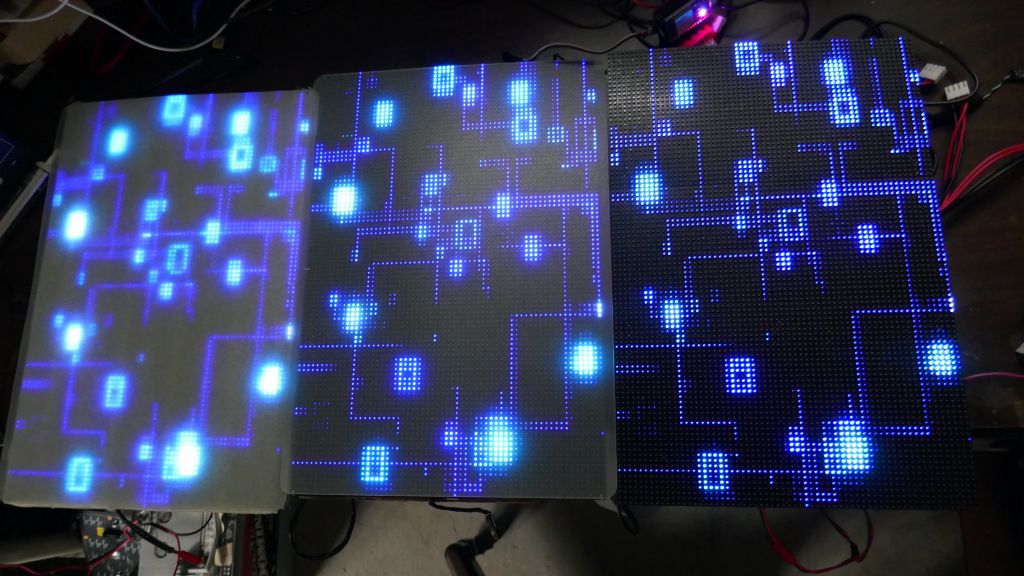
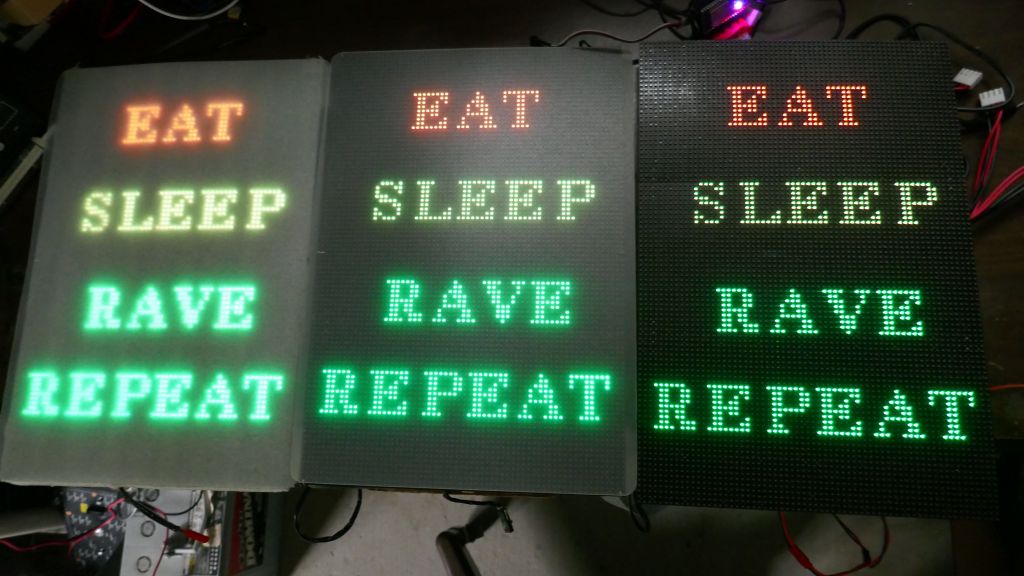
you can see the difference between the diffusion levels
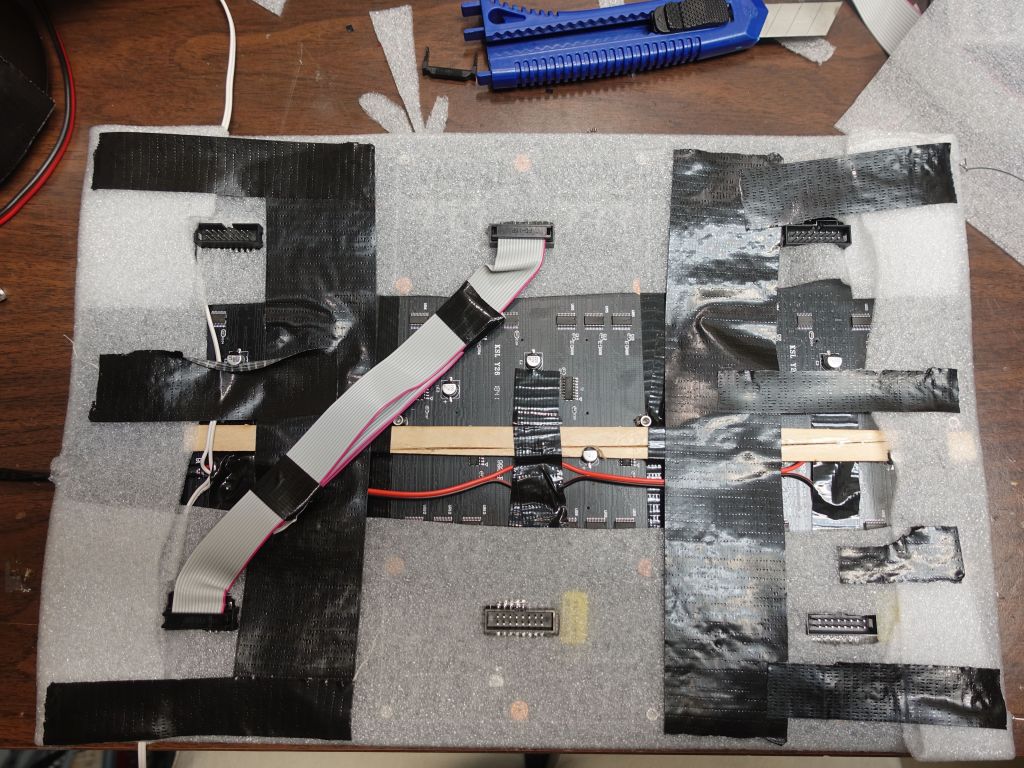
I then protected the rear of the panels given how much electronics were exposed:
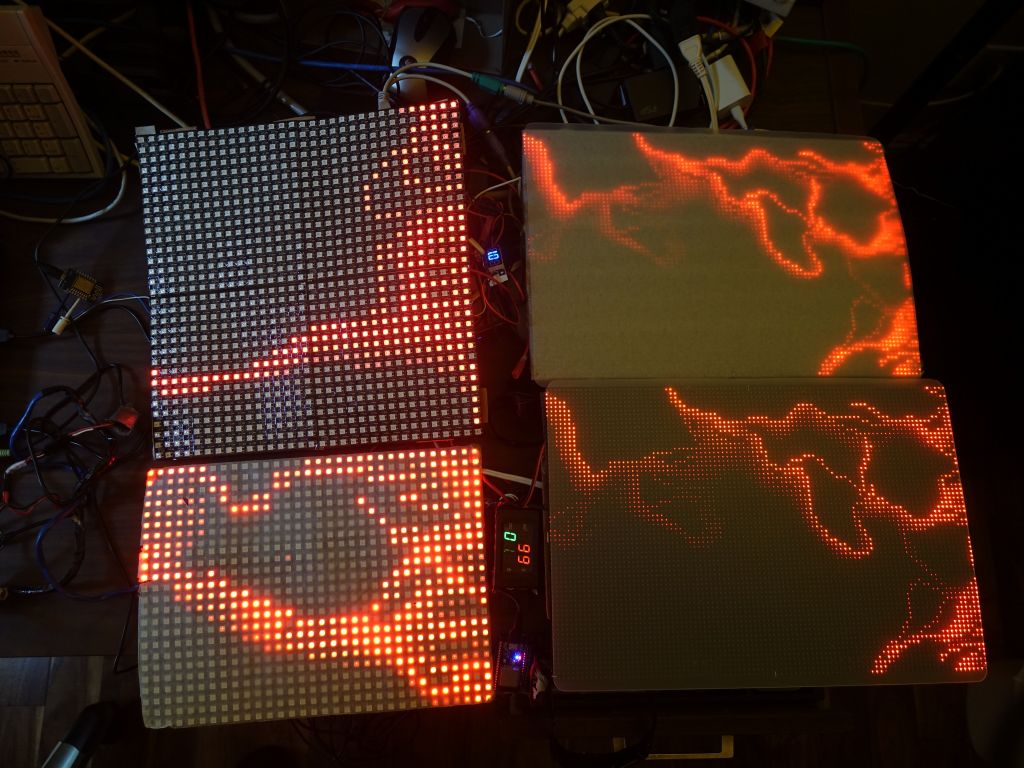
Small details had to be solved, like making sure I had enough amps going through the wires (use thicker wires). Without that, my brightest pattern that uses 8 amps, didn't quite make it:
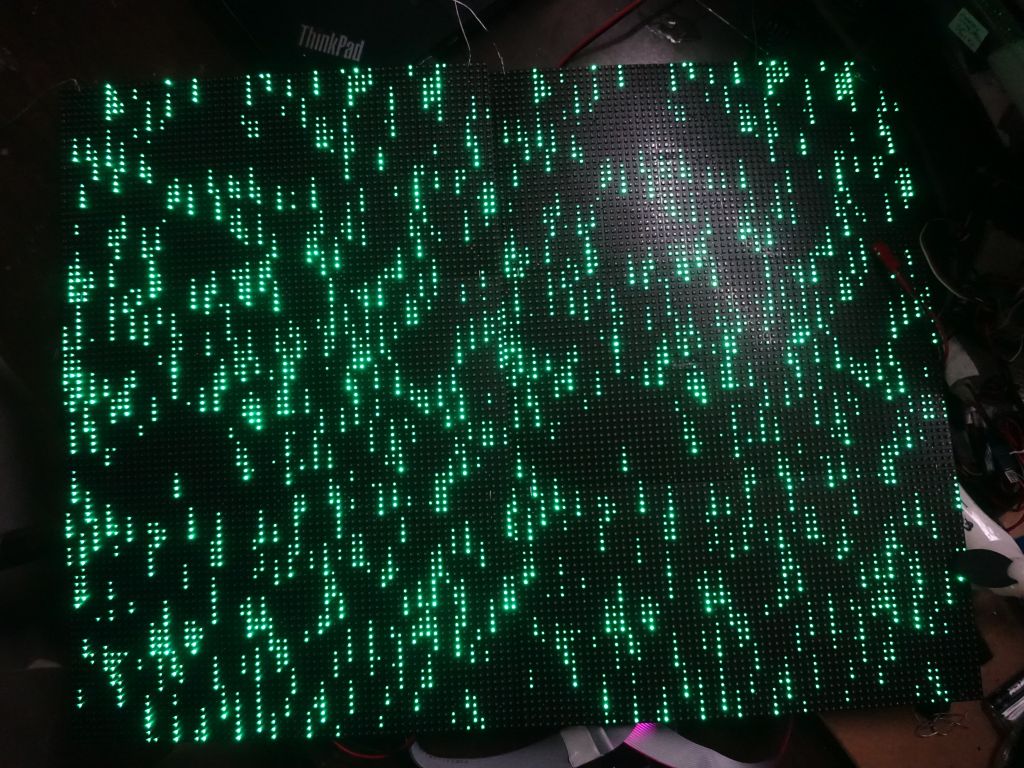
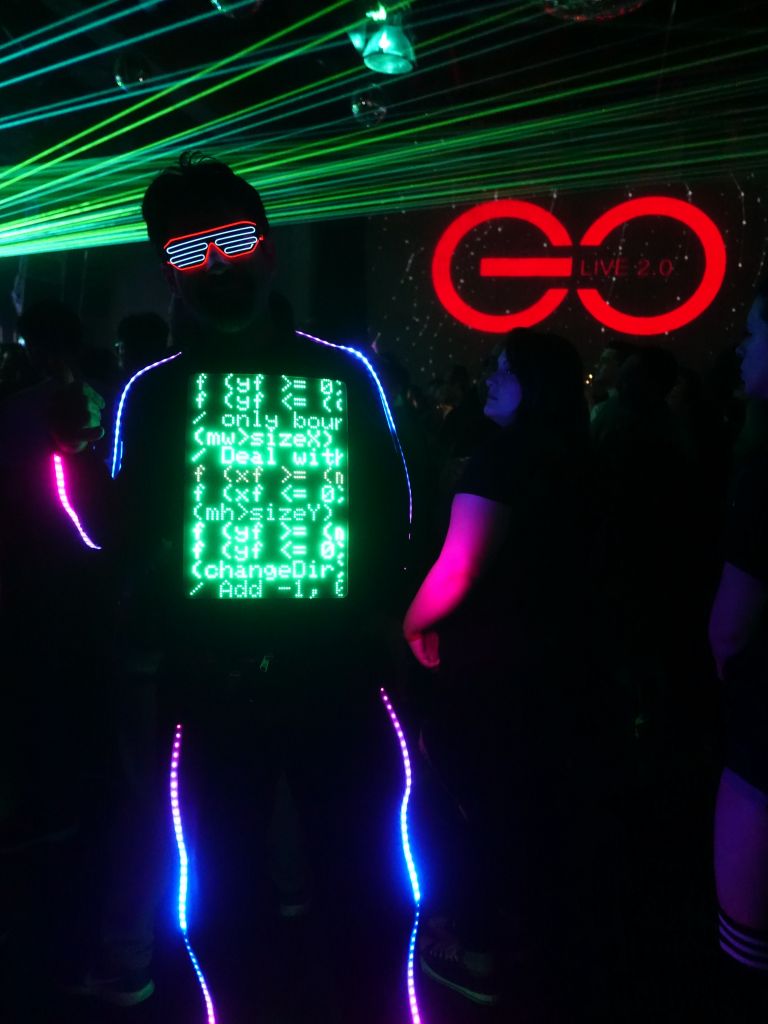
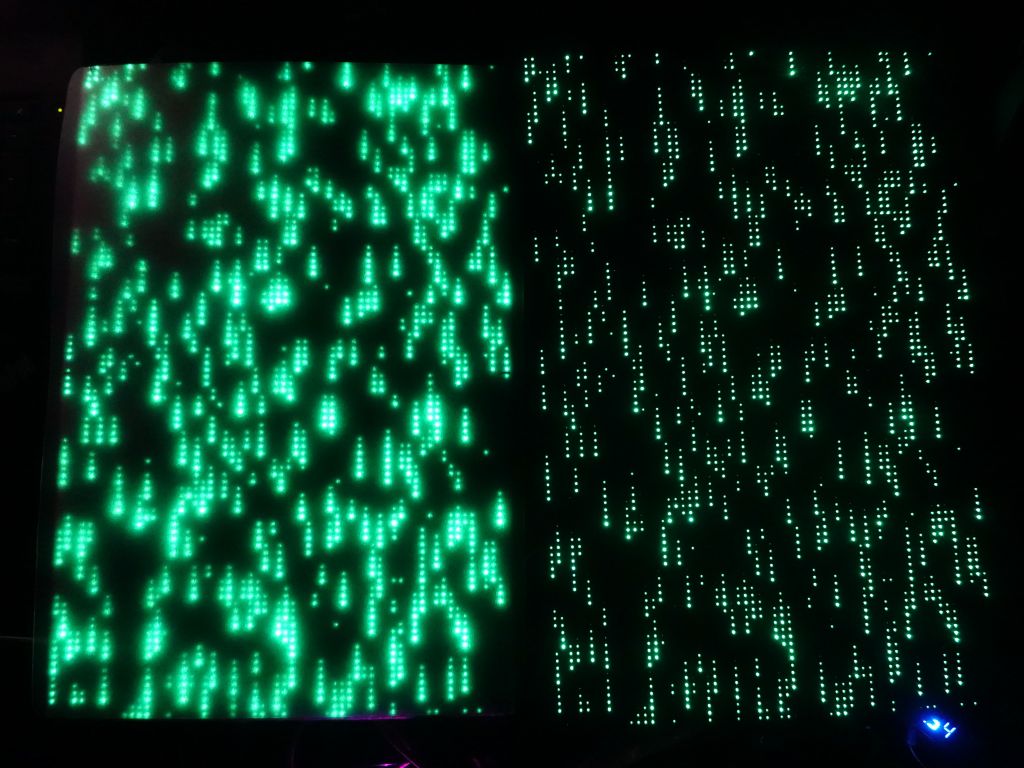
For fun, I made a pattern that scrolls my C++ scrolling code on the screens:
I went from a breadboard prototype to Jason Coon's ESP32 level shifter board, much more tidy
This video shows how things are wired from the ESP32 to the panels:
Here is what the whole power system looks like:
2 4S Lipos, 5Ah, 80wh, giving a total 160Wh of energy
Amp meter in line with the lipos and cell tester with low voltage warning buzzer
On off/switch
Amp gauge with timer to know how much energy flowed from the batteries (you can't run lipos down or they'll die)
Tobsun DC-DC converter to take voltage down to 5V
2nd voltage regulator to bring the voltage further down to 3.3V for the El Wire glasses
5V goes to RGBPanels via separate thick wire to carry the amps
ESP32 with level shifters from 3.3V back up to 5V for the RGBPanels (6 channels for the colors to level shifters, 4 address lines to do 16 scan line refreshes). CPU runs SmartMatrix::GFX and NeoMatrix-FastLED-IR
16th data line is used for the Neopixel strips on my arms and legs, running the same code than the previous shirt
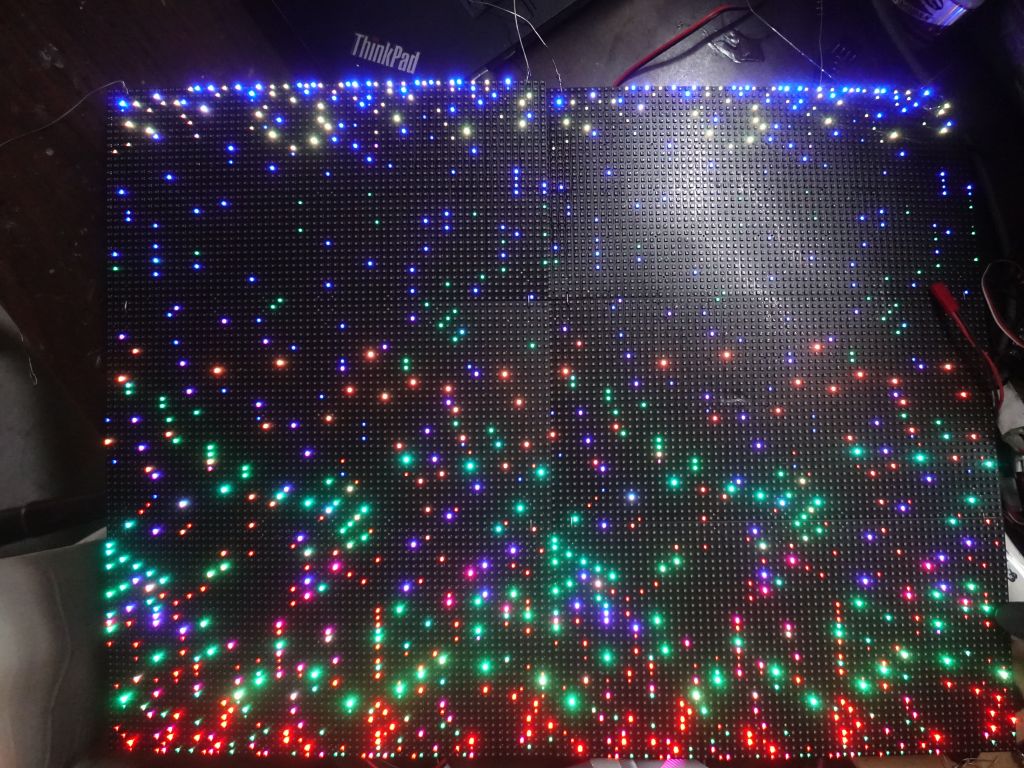
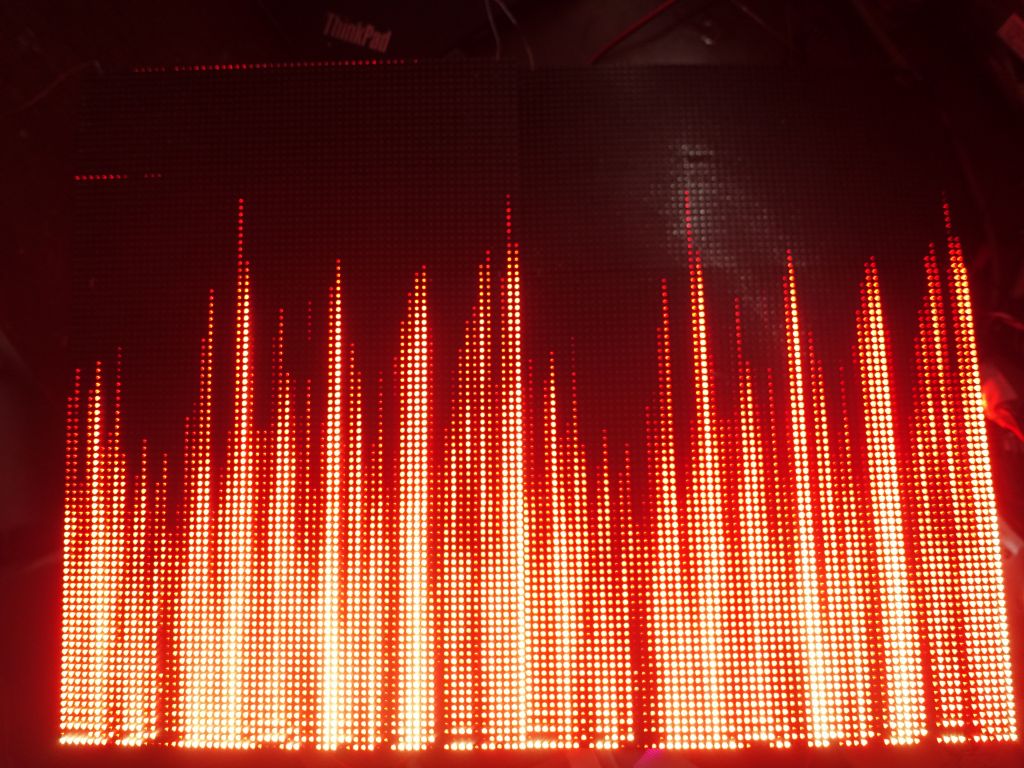
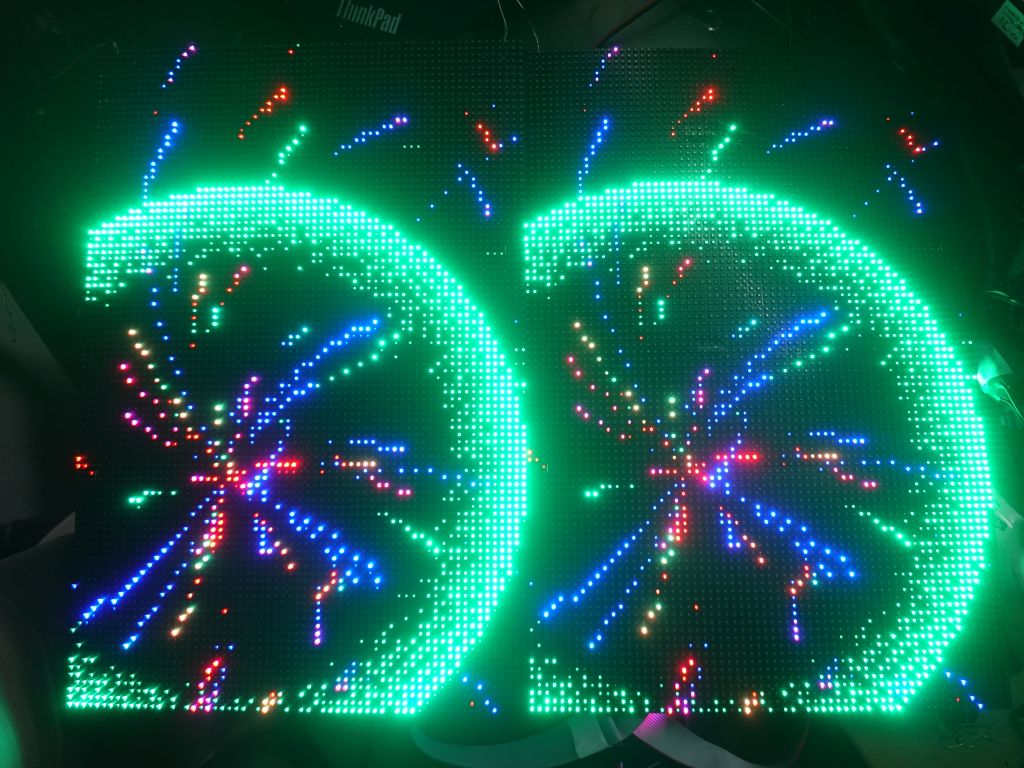
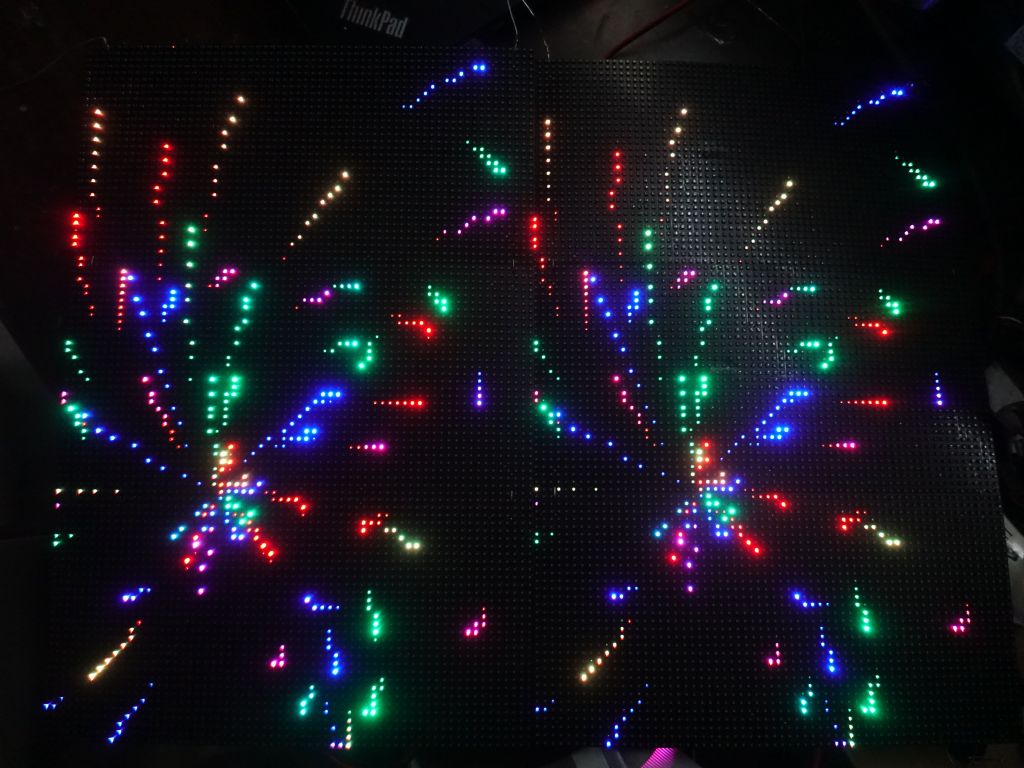
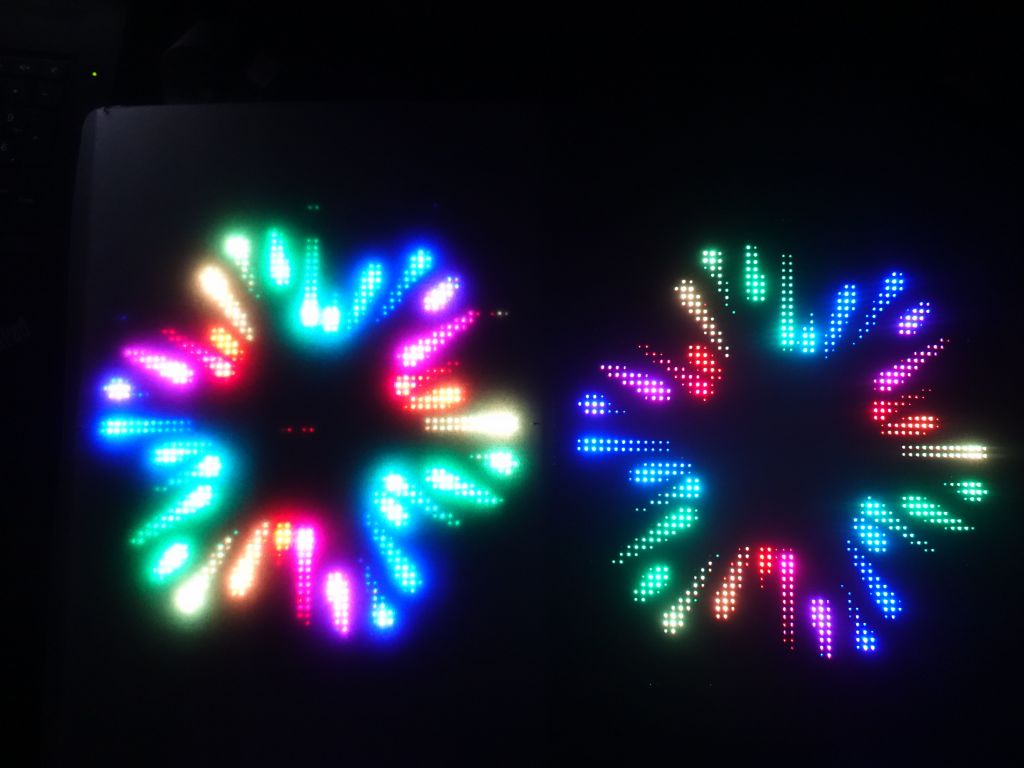
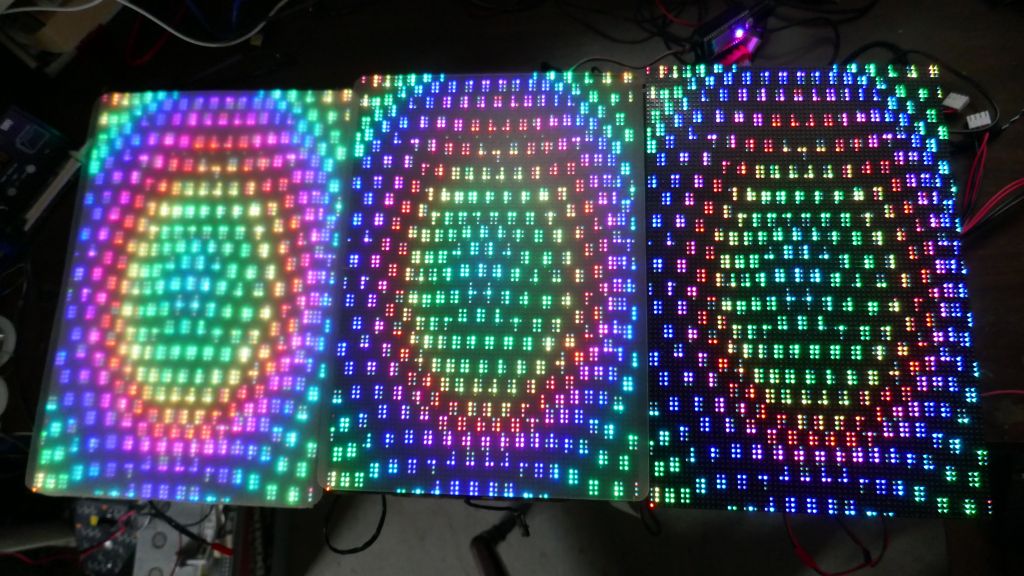
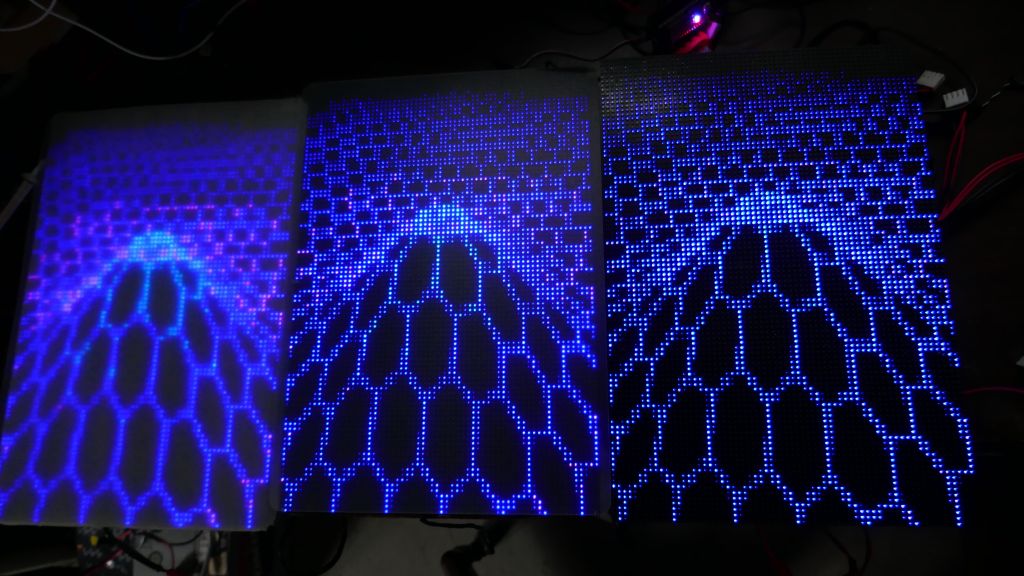
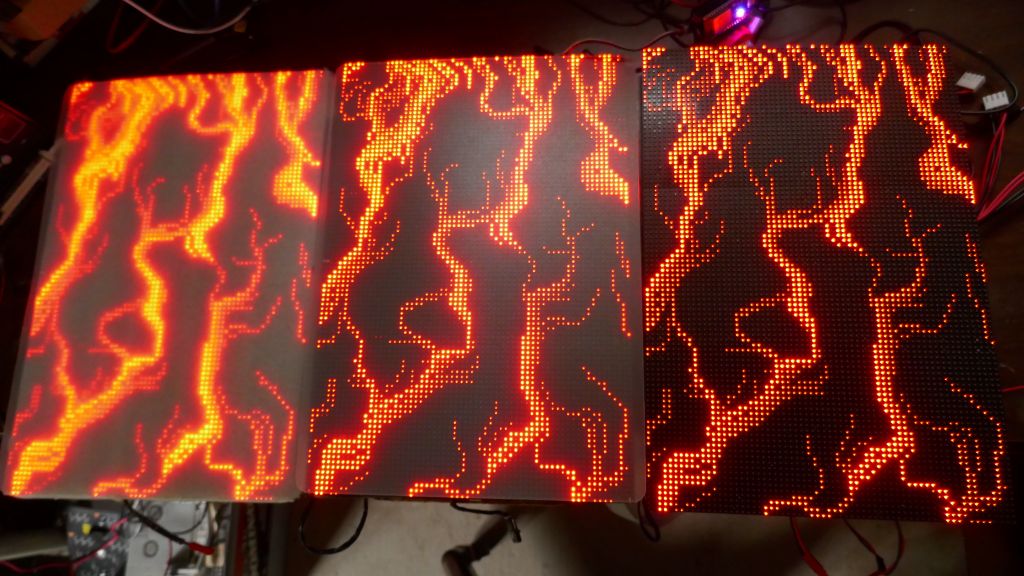
Here is an example of 3 levels of diffusers, including a raw set of panels with no diffusers:
After going to Luminosity Beach Festival, a underpaid and undertrained security guard at the entrance freaked out at the wires, so I made boxes to hide the wires and hopefully remove the "OMG, it's a bomb" reflex that some people might have:
2 batteries, fuse, meters and output
adapter box that takes 16V down to 5V and measures current used while distributing power
both boxes together are bigger than my previous setup, but looks a bit better
You can see a demo of the outfit being worn:
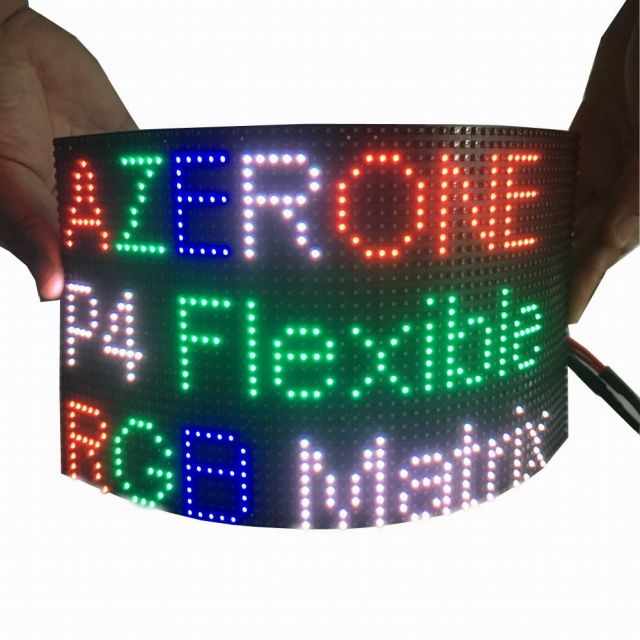
The flexible panels sadly kept breaking, Azerone was super nice in offering to fix them, see the thin patched wires they added, expert work I'm not capable of:
I first tried strenghtening them with light wood, but it still wasn't solid enough, and a waste of time, they still ended up breaking:
I ended up switching to hard panels, I should have used them for the start, They've been a lot more solid:
after vs before
After switching to the hard panels, which are indeed a bit thicker but not unbearably so, everything has been rock solid.
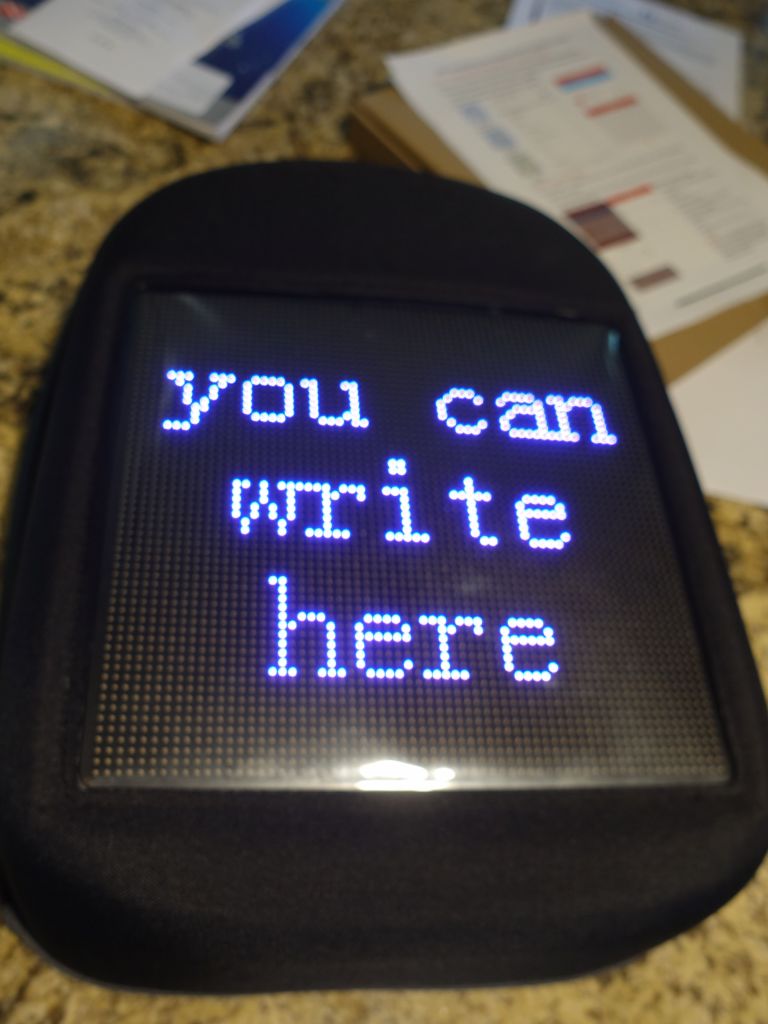
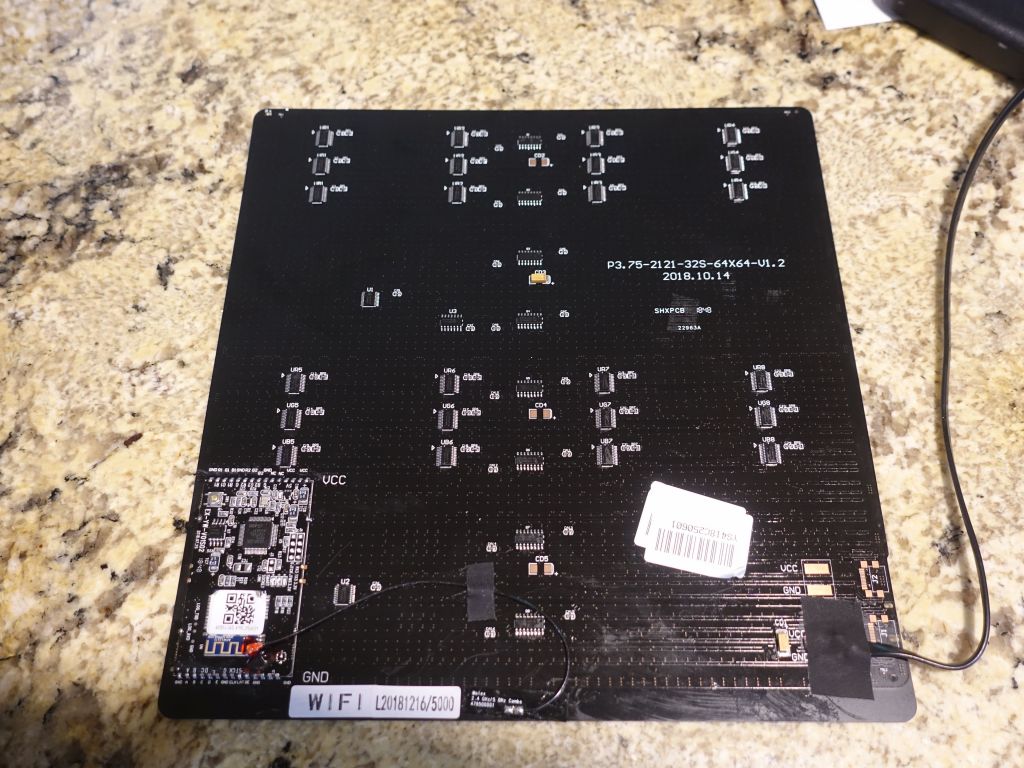
If you don't have time for all this, and are ok with 64x64, you can try this backpack from gearbest with everything built in and a very thin board. Just not fun for me because I can't run my own code on it:
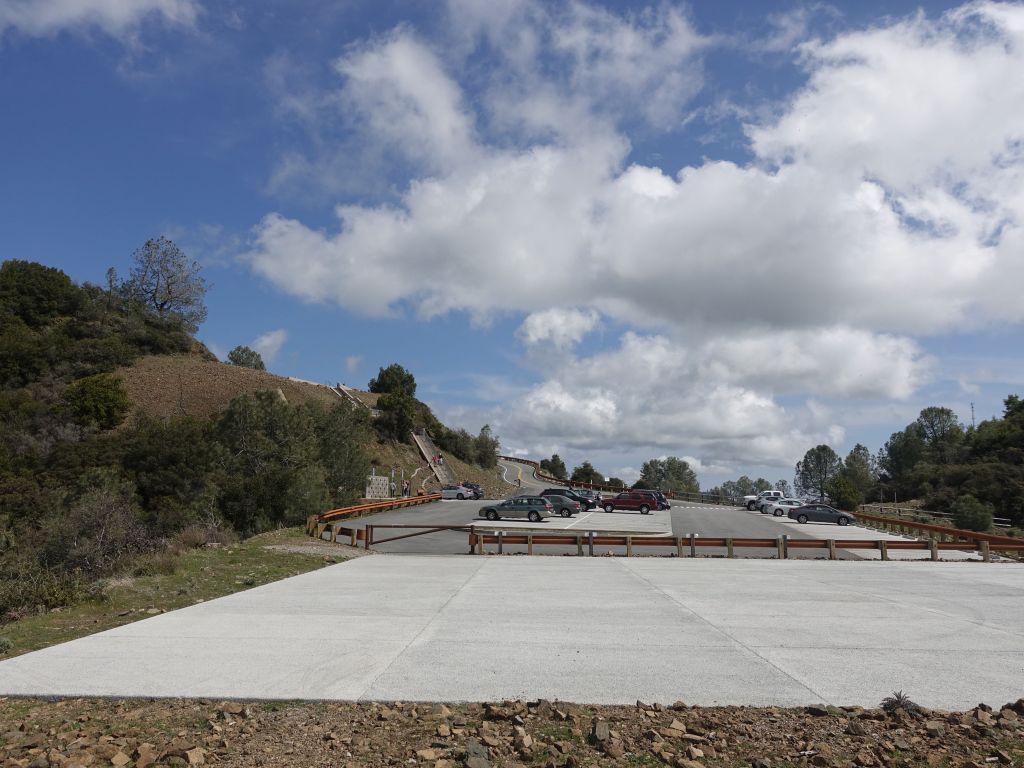
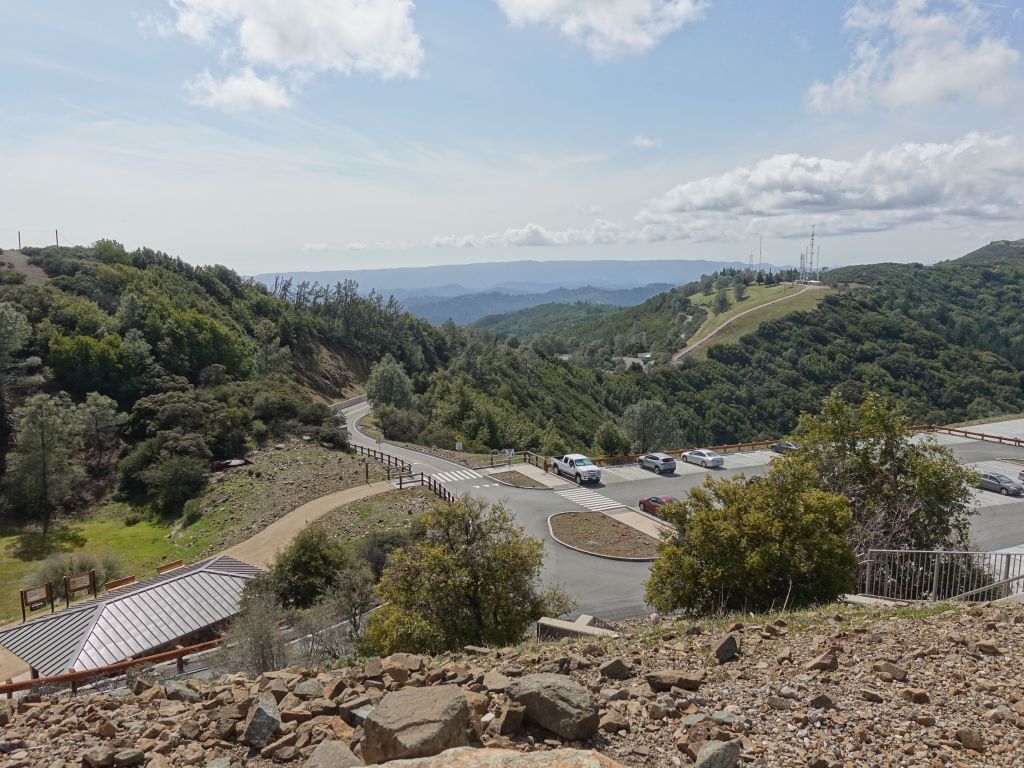
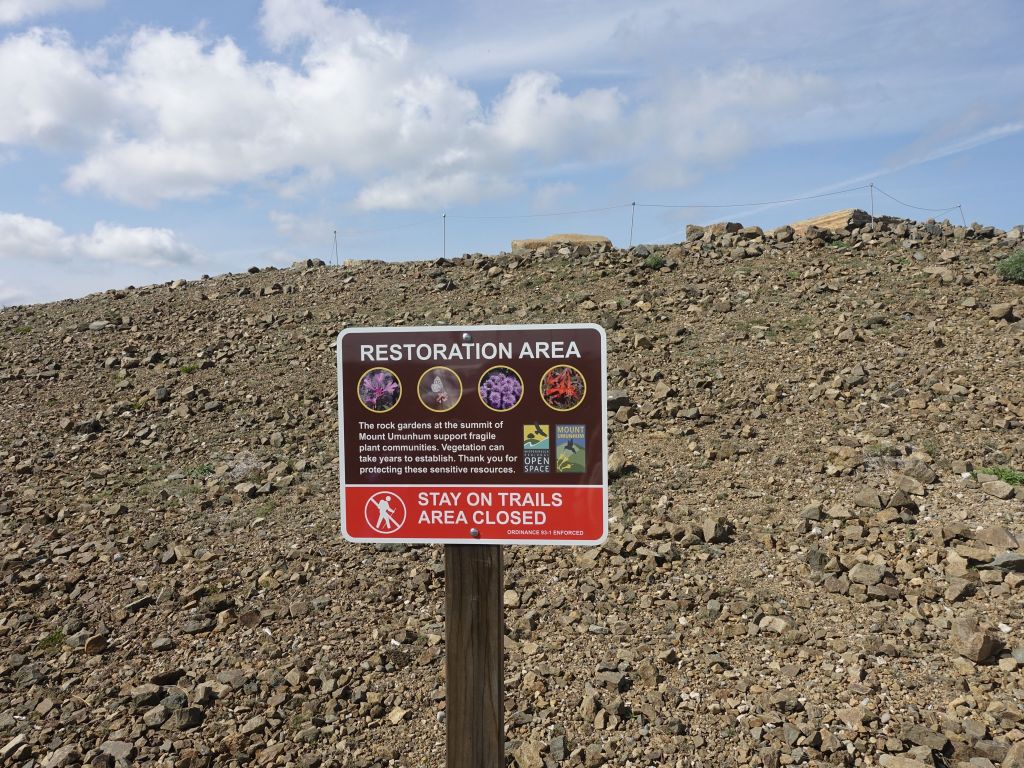
Jennifer read about Mt Umunhum, which has an access road I had driven by before on spirited drives, but didn't actually know it was there. We went to check it out and the drive there and up was already part of the fun :)
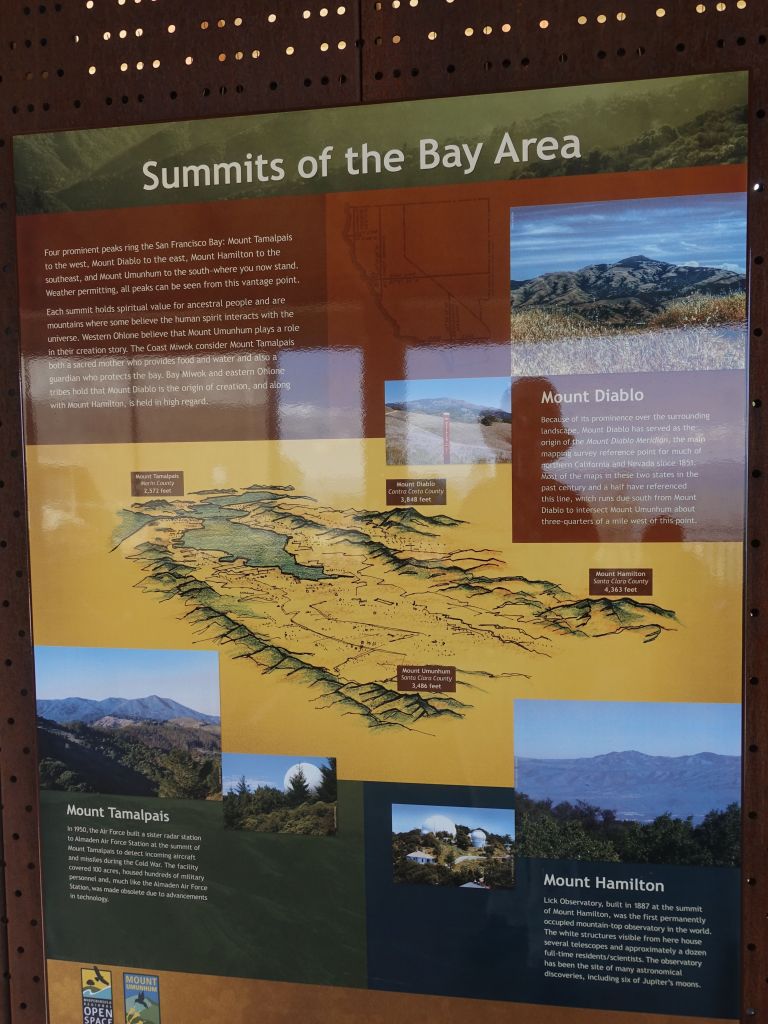
Once at the top, there is a small visitor center. It used to be a radar site to detect invasions, and was eventually shut down and left to rot. Eventually it was re-habilitated close to its original aspect and turned into a small park with nice views.
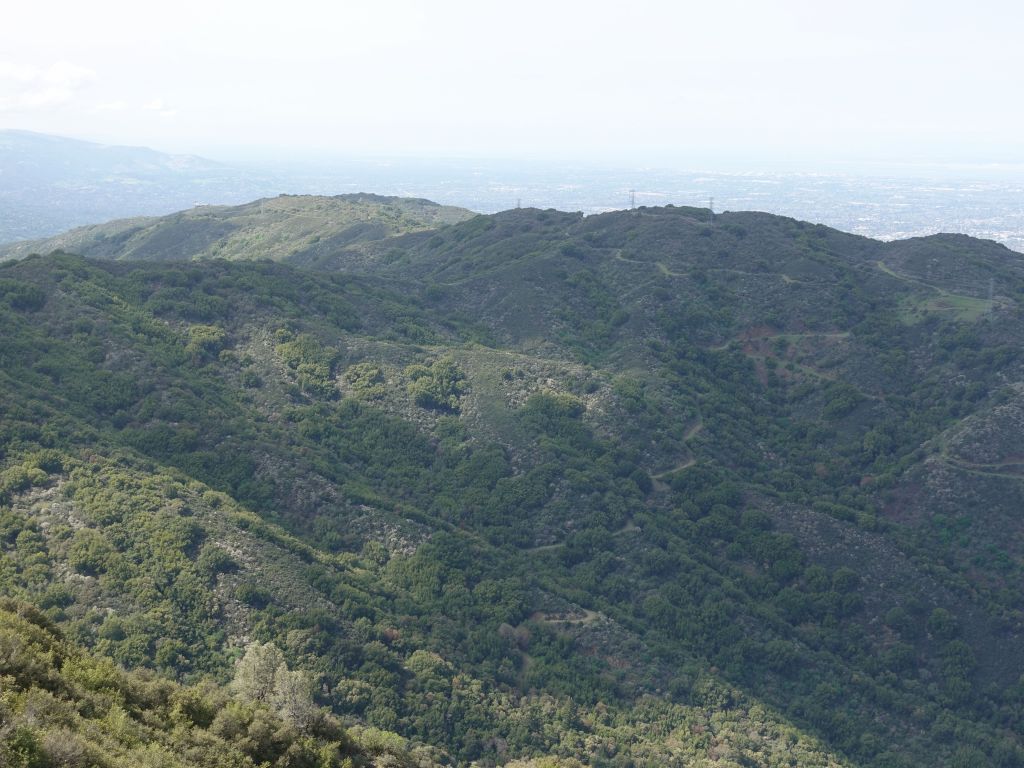
The 4 peaks of the bay area, Mt Umunhum, Mt Hamilton, Mt Diablo, and Mt Tamalpais.
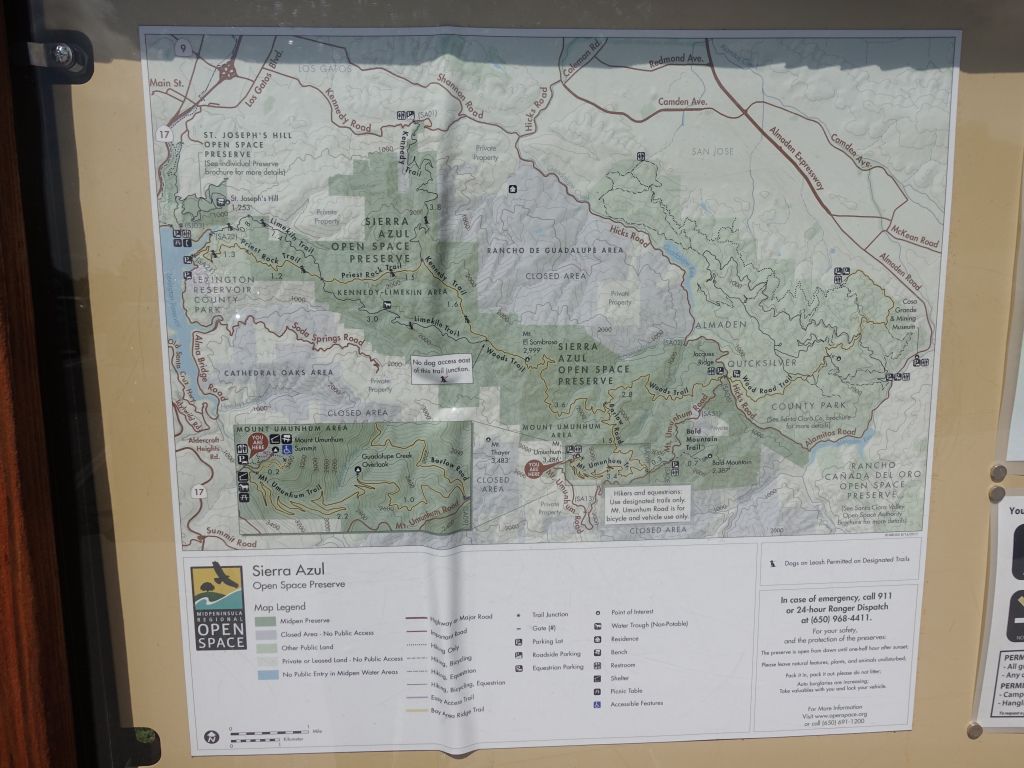
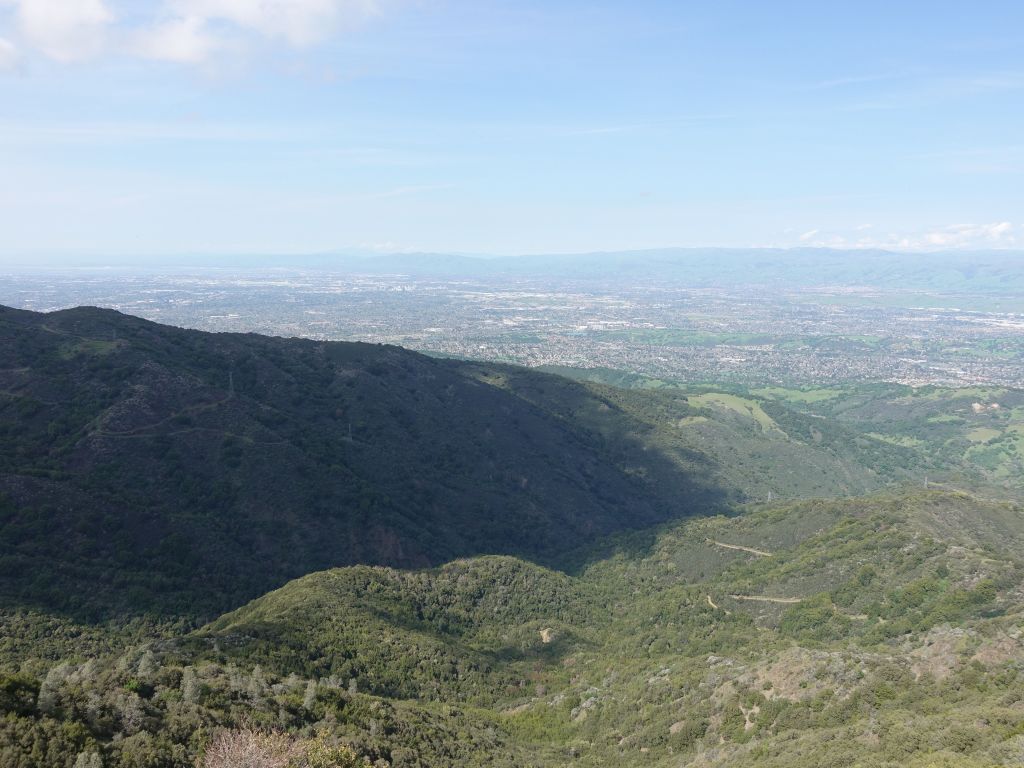
The park is actually a very short walk, but the viewpoint is good on a clear day. There are a few signs you can read and an audioguide you can get on android:
Mt Hamilton across the bay
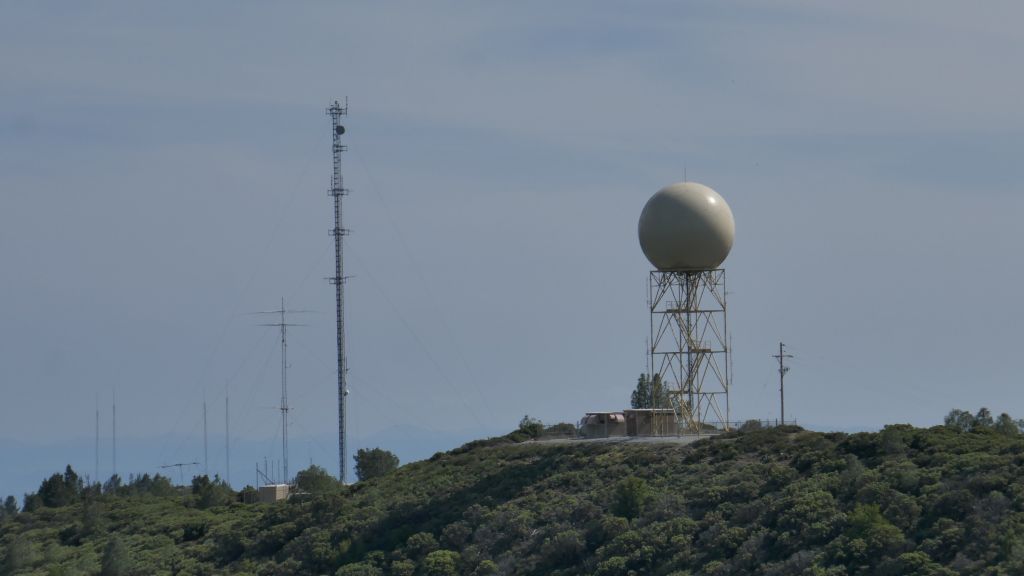
Old radar building that was used to detect potential enemy planes coming from the pacific
Respect to the native americans who used to live here
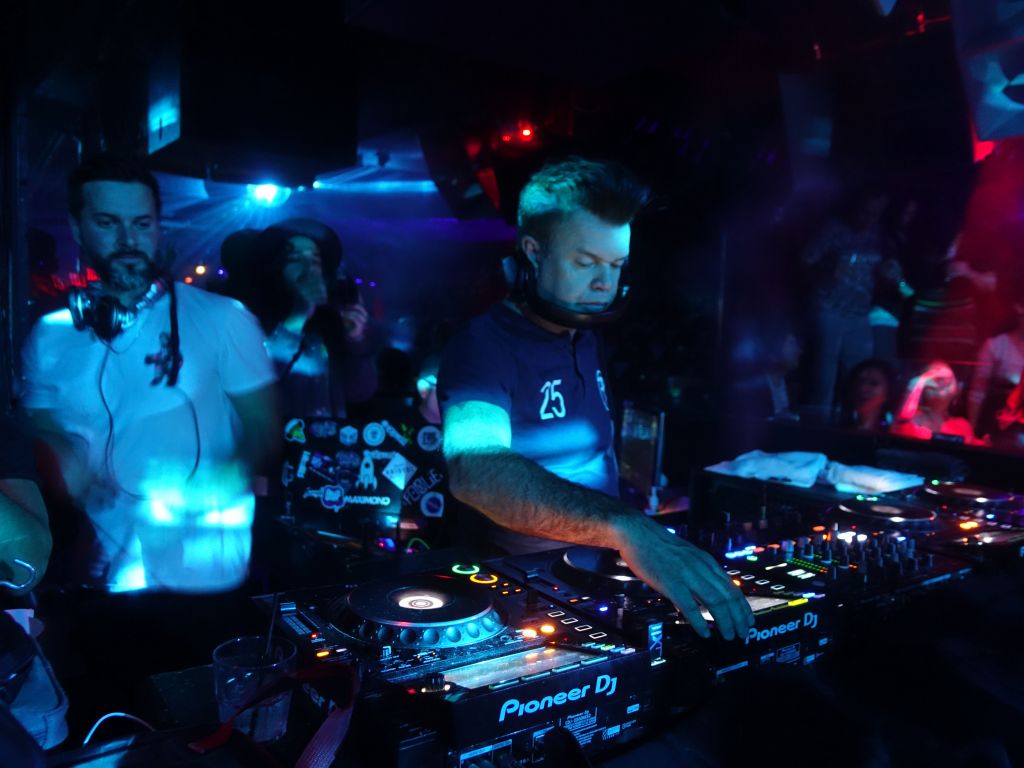
Paul has alwasy been special to me, because he was the first Trance DJ I started listening to in the late 90's. I had 3 of his albums on loop in my not so portable battery powered hard drive archos MP3 player :)
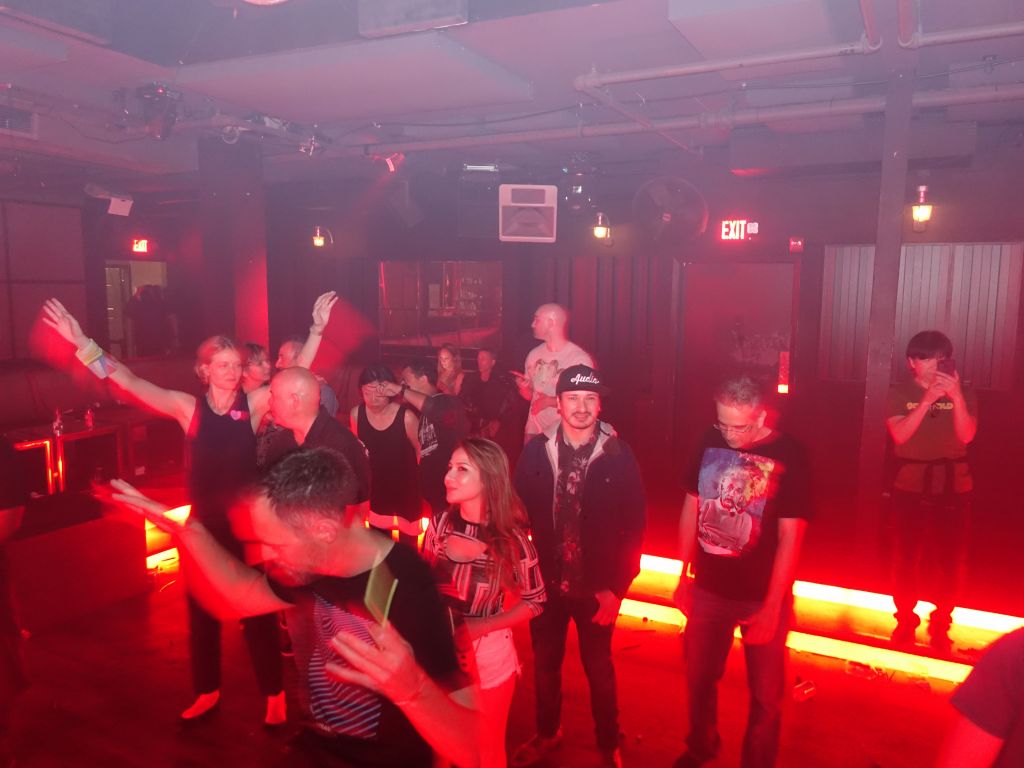
Sadly, he's falling a bit out of favour over the years, but then again it's been 25 years. It's hard to stay at the top for so long. At the same time, I can understand it must be hard for him to go back from big arenas to smaller clubs (and to be fair Audio SF was a disappoitingly small club). On the plus side, many of the people who showed up were likely his true fans from over the years, so hopefully that was heartwarming for him.
Chris Willscape opened the evening:
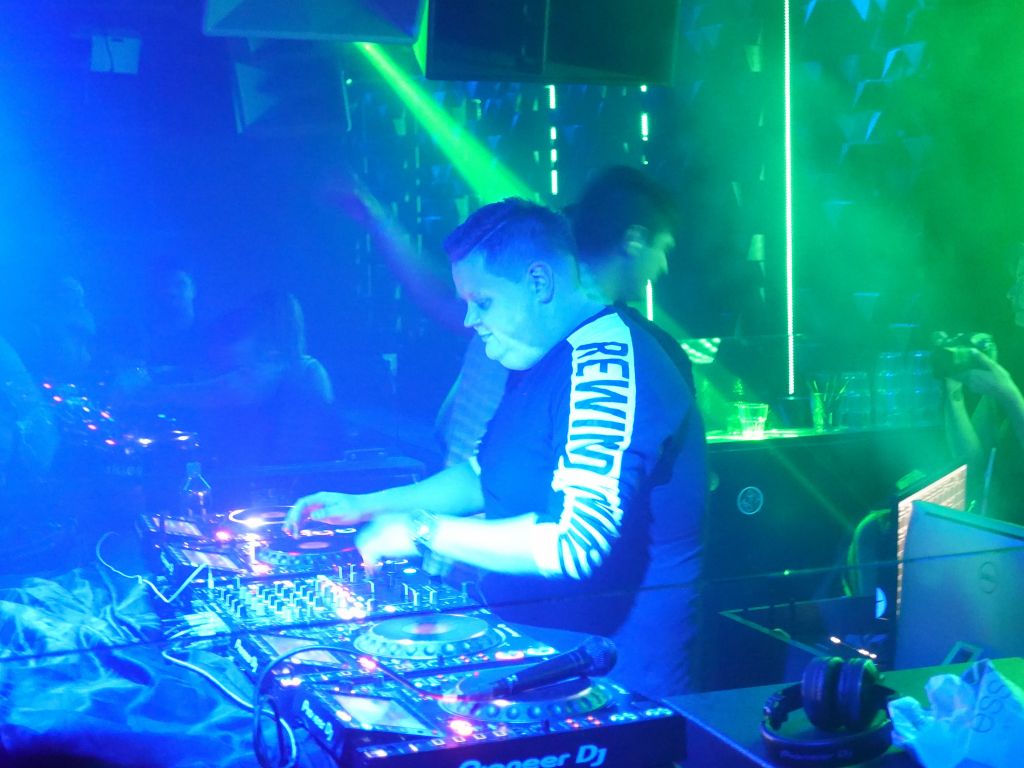
Around midnight, Oakey took over for what was supposed to be a 2.5H set.
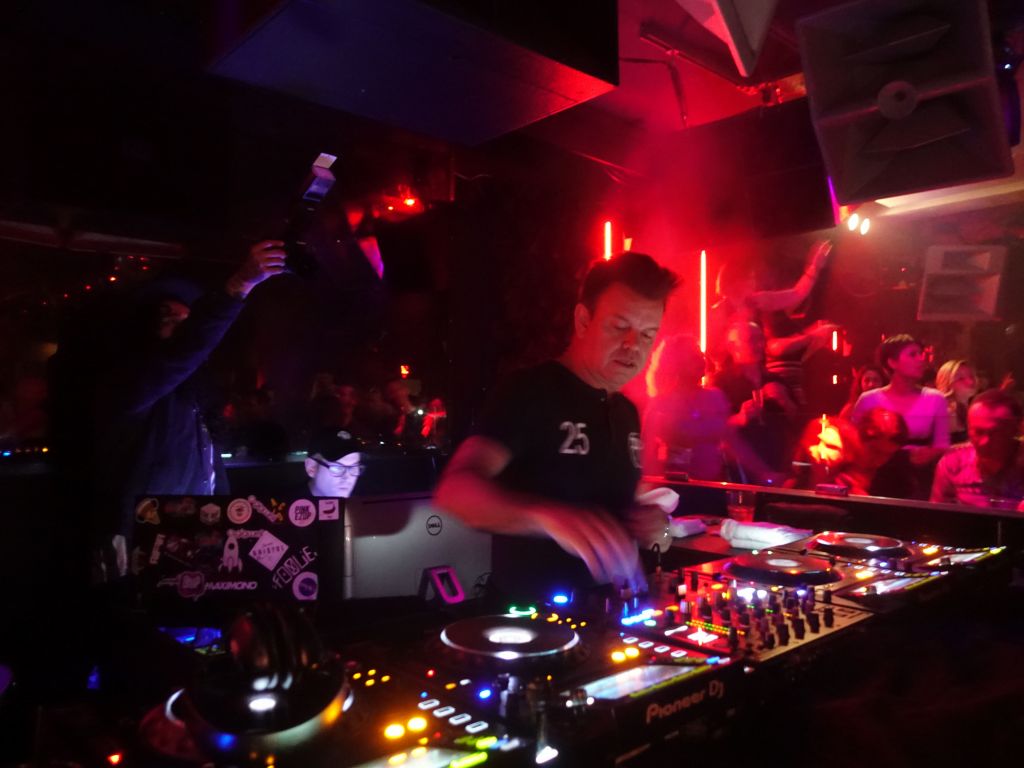
The first hour of the set was so so, and a slow transition from the previous DJ who was not playing uninspiring music, and then he transitioned into nice trance. Honestly, he didn't seem to have much of a good time initially (he was probably also a bit tired as he made a few DJ mistakes during his set like a very poor off beat transiton, or even playing the same tune twice by mistake), but he eventually warmed up and started playing more nice tunes.
In the end, the set turned into almost 3.5H because we were all having a good time :)
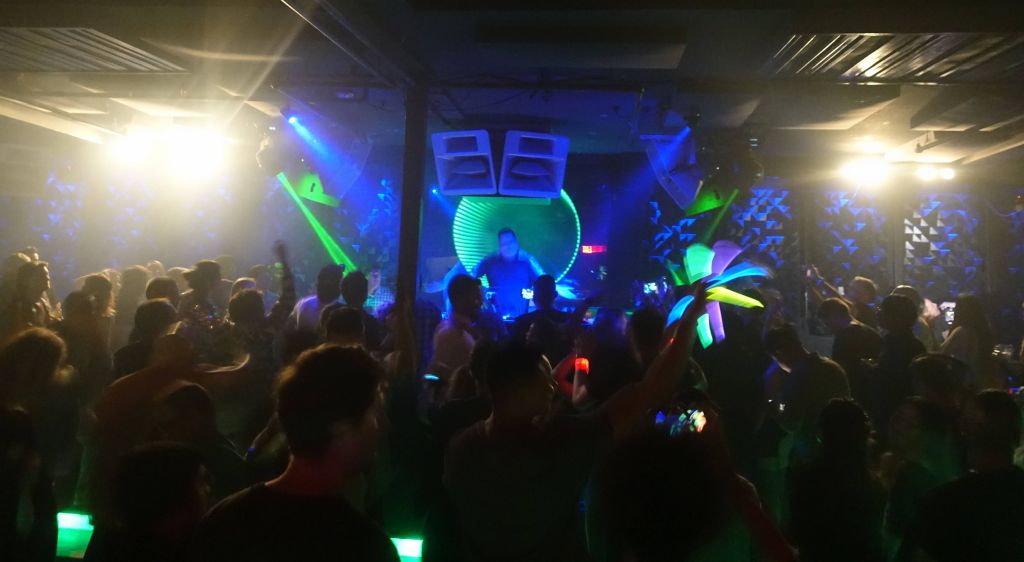
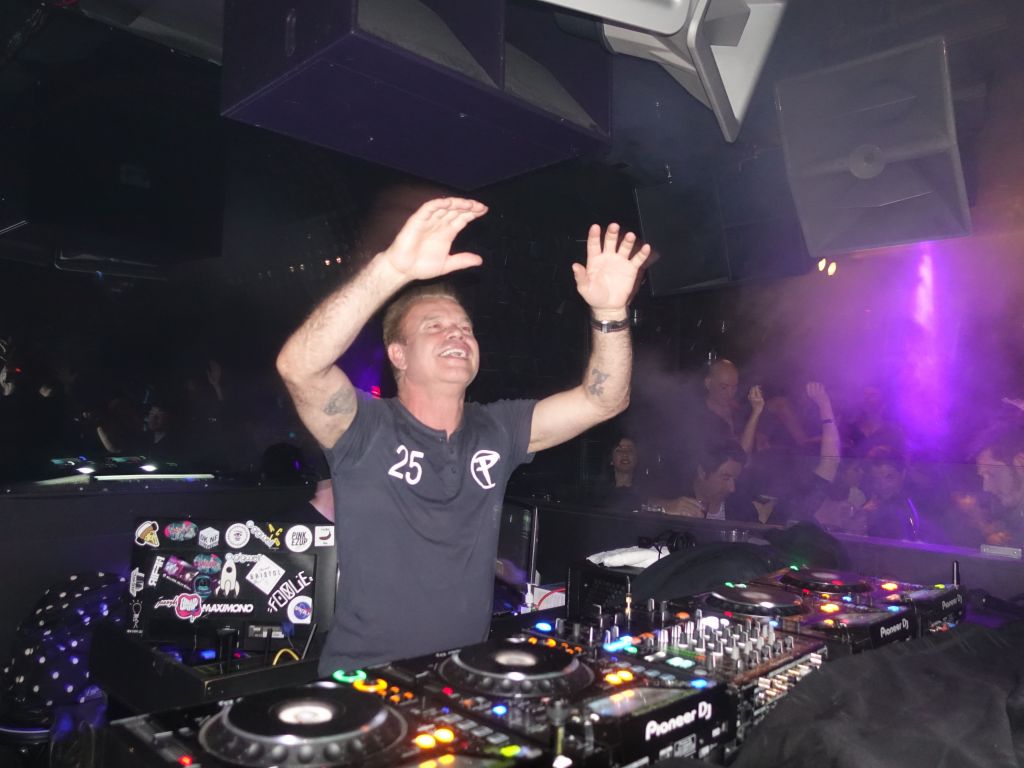
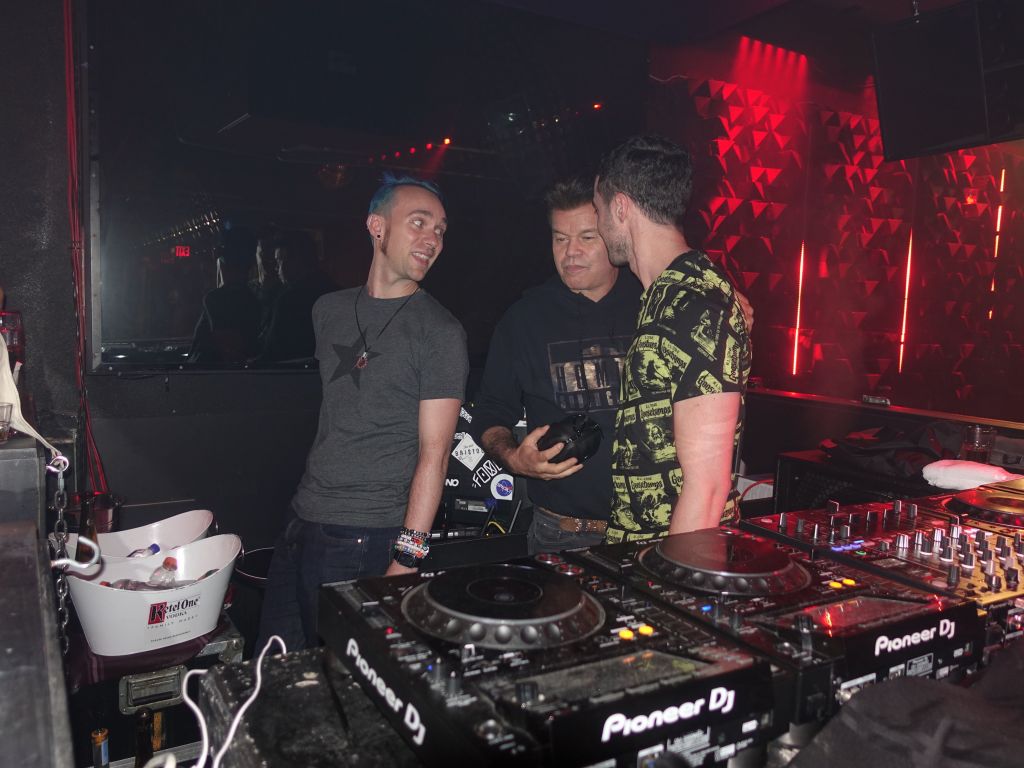
By 03:30, the club had thinned out a lot given that it was late, but his true fans were still there, and he was nice enough to stay for pictures, which was the best news of the night for me, a picture with my first EDM DJ, the one who brought me into this rabbit hole:
Thanks Paul, thanks for the night and all the years before that.
https://github.com/marcmerlin/SmartMatrix_GFX is a zero copy, zero extra buffer frontend to Smartmatrix, which is the best arduino API driver for RGB Panels.
It supports these 4 APIs seemlessly and concurrently in the same code:
However, the main problem I had was the limited pixel density of those neopixels and the price per pixel given that each pixel has a very small computer chip attached. My shirt was only 768 pixels per side (32x8x3) which cost $80 per side. While my shirt looked cool (i.e. better than nothing), 32x24 resolution isn't that much to display cool stuff. I made the best of it, but I knew that I wanted more pixels.
While it's technically possible to get 0.5cm pitch (i.e. P5) with nepixels, there is no such panel I could buy today and I wasn't really interested in fabbing my own, so I switched to RGBPanels.
RGBPanels are a totally different technology based on row scan technology, pretty much like the 8x8 matrices I wrote a scanning driver for but with a built in shift register to load up all the column for each color, multiplied by 2 as for historical reasons you can update 2 halves of the panel separately.
With 32x64 panels, or even 64x64 panels, that's a lot of pixels to push serially via shift registers and address lines to select the line you've currently pushed all those columns for. The LEDs need to be refreshed very quickly to avoid visible flickering.
This limits the list of reasonble CPUs for higher resolutions to teensy 3.6 and ESP32, which also removes the multiple slower and/of inefficient drivers out there. Options I looked at and weren't suitable:
https://github.com/adafruit/RGB-matrix-Panel/ (the adafruit driver is actually efficient, and recently got ESP32 support, but does not support panel chaining past very basic chaining)
https://github.com/mrfaptastic/ESP32-RGB64x32MatrixPanel-I2S-DMA/ (not well tested for larger chained panels, but efficient with DMA and offers Adafruit::GFX API. It also supports page level refresh instead of line level, so flickering is more manageable on it)
https://github.com/NeoCat/ESP32-P3RGB64x32MatrixPanel is an alternate driver with DMA support and apparently unsupported. This driver seems unsupported and probably not worth your attention when you have SmartMatrix (teensylc branch) or mrfaptastic/ESP32-RGB64x32MatrixPanel-I2S-DMA
This leaves us with the most complete driver of them all, Smartmatrix. The main pluses are:
Best support for chaining panels (up to 128x128 on teensy, and maybe 64x128 on ESP32 before it runs out of DMA RAM)
High color depth 24bpp or higher (which honestly is more than I need, 24bpp is more than most panels can probably reasonably show and 16bpp would likely be enough for my use). I still wouldn't mind if SmartMatrix offered 16bpp in exchange for a higher refresh rate or lower resource and memory utilization (also allowing for a higher resolution on a given CPU)
Support for the 2 fastest common arduino like microcontrollers: teensy 3.6 and ESP32 (teensy 3.1/3.2 is not fast enough to refresh 64x64 well enough, and teensy 3.5 is slower than 3.6, so no reason to buy one)
Very powerful API with multiple layer support (great if you can use it, although I'll admit that I only need drawpixel thanks to Adafruit::GFX)
So, SmartMatrix is great, but I have all this code that relies on one or more of those APIs:
I have a reasonble collection of demos I've gathered (a few I wrote myself), here: https://github.com/marcmerlin/FastLED_NeoMatrix_SmartMatrix_LEDMatrix_GFX_Demos and they use a combination of those 3 APIs.
The goal was for me to be able to re-use that code and make it work on both FastLED backends and SmartMatrix backends, which why I wrote SmartMatrix::GFX https://github.com/marcmerlin/SmartMatrix_GFX offers a GFX compat layer that is virtually identical to my FastLED::NeoMatrix library and allows you to run the same code onto of either FastLED or SmartMatrix supported panels.
Hardware, Teensy 3.6 and SmartMatrix Shield v4
The easiest way to use SmartMatrix is to use the SmartMatrix Shield v4 from Louis Beaudoin.
If you are going to drive 64x64 and above, skip the teensy 3.0/3.1/3.2 and go directly to teensy 3.6. It costs more, but you'll want the extra CPU speed (teensy 3.1 can barely run 64x64 with an ok-ish refresh if you overclock it, if you must use the older chip).
Here is what the SmartMatrix shield looks like with a small patch I made to take USB power and send it to the panel (my laptop can output 2A over USB). Note that this is not safe with teensy v3.1/3.2 as it's not meant to pass that much current from its USB connection, but teensy 3.6 can do it fine as its fuse is located after the V+ connection on the chip:
Originally I used the APA connector to send power to the panel
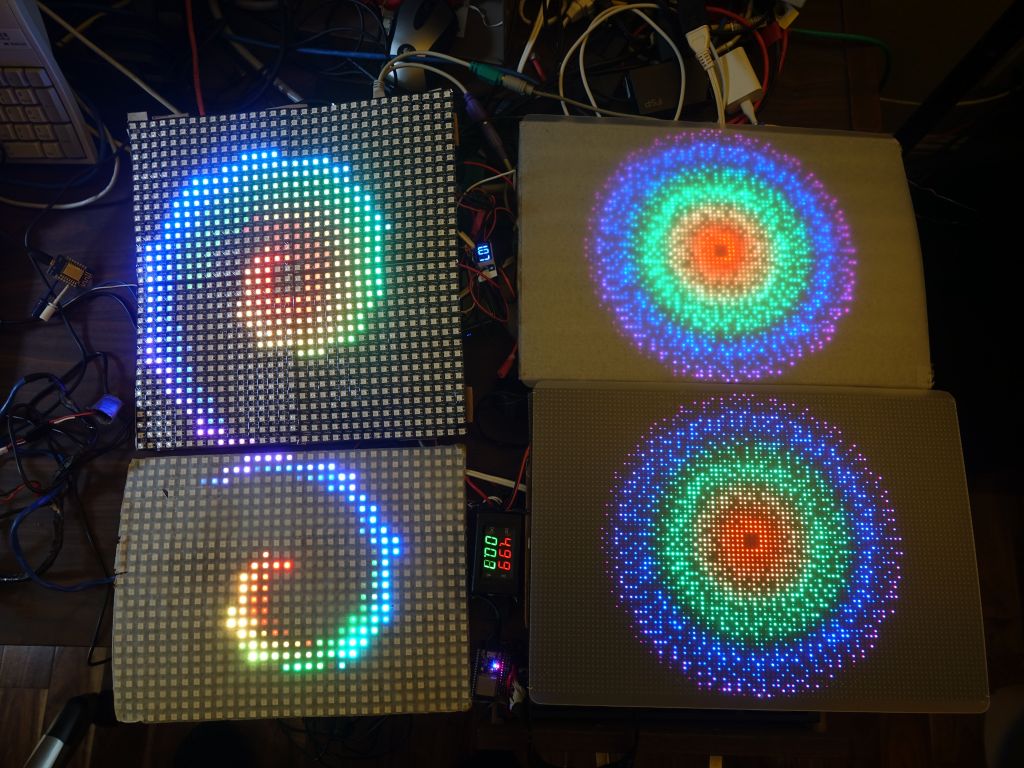
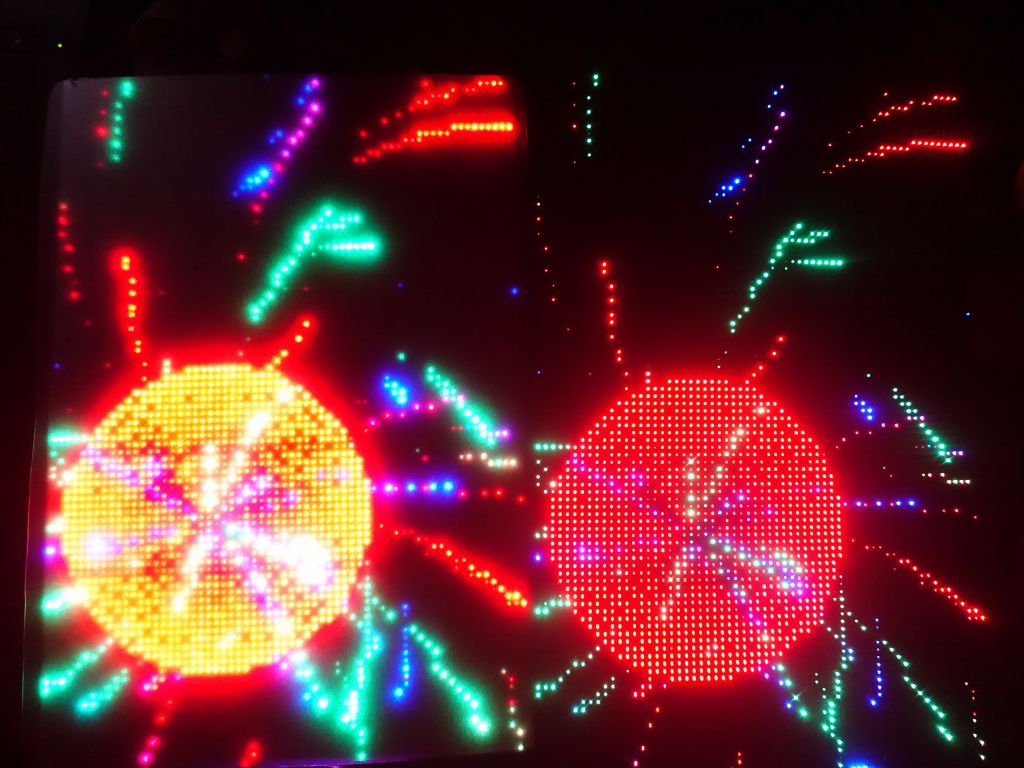
2x 32x64 chained P4 panels with a sad cable extension I had to make, vs pre-made 64x64 P3 panel
SmartMatrix basic demo
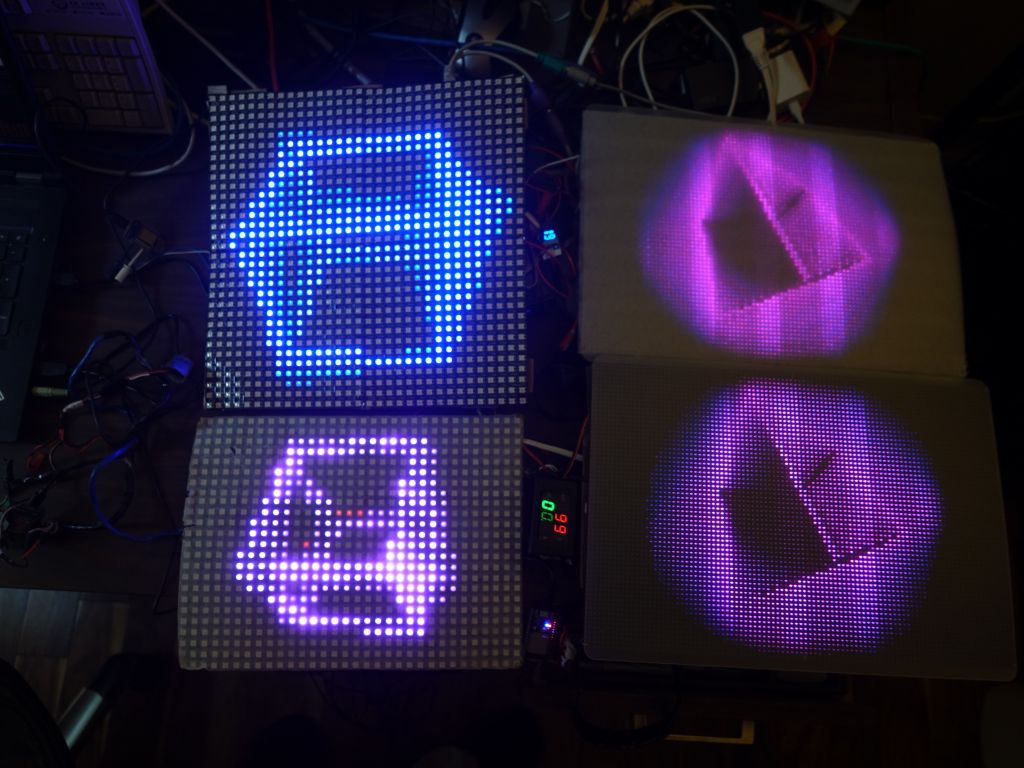
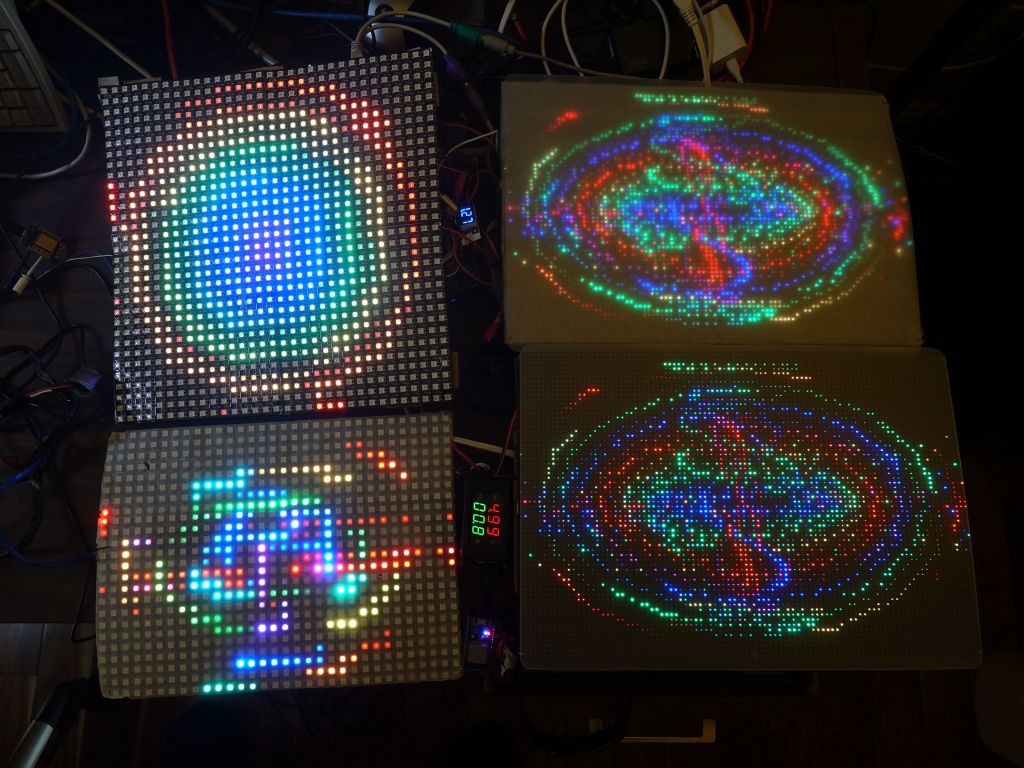
The main problem with RGBPanels is that if the refresh rate isn't fast enough, they look bad on pictures. This is the main reason I switched to ESP32 which is dual core and can push a higher refresh rate via DMA than teensy can:
Chained panels giving mirrored output on a total display of 128x96:
As mentioned above, ESP32 is dual core, so it can update the panel on one core using DMA, while the other core can run your code. It is more efficient, however, it runs out of DMA memory around 64x128 resolution (I run 64x96 myself and had to optimize code to make things fit)..
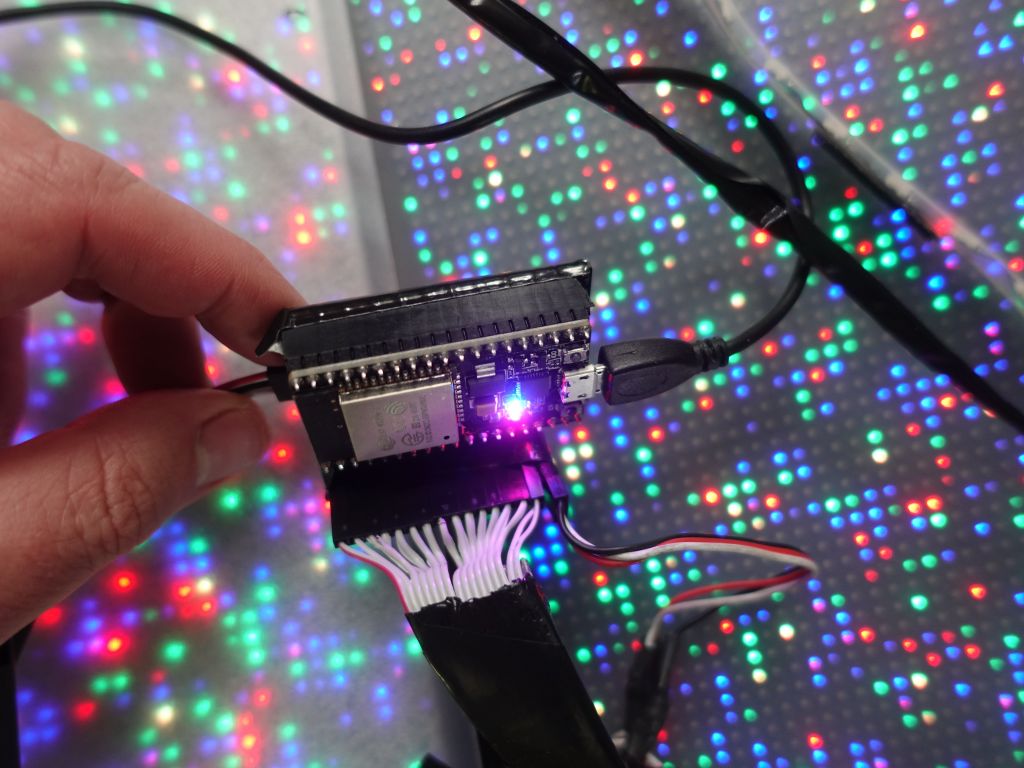
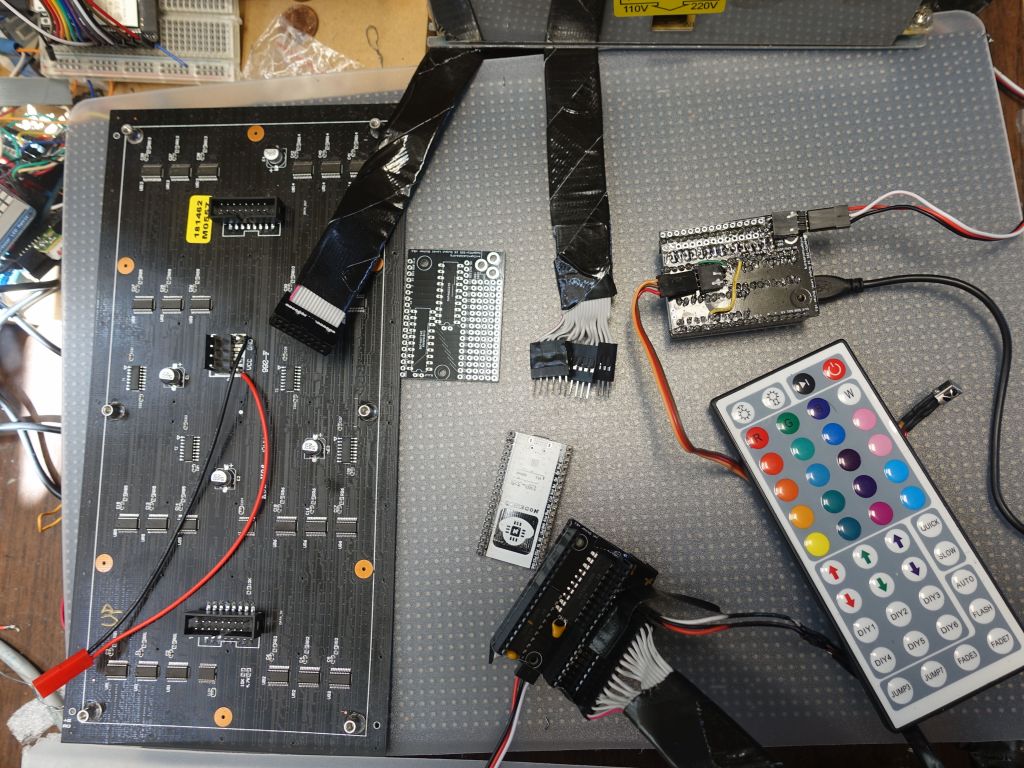
Here are shots of what it looks like with Jason's shield:
it's reasonably compact, 15 IO's for SmartMatrix (14 are really required), IR connected to port 34, and IO 16 connected to a NeoPixel strip
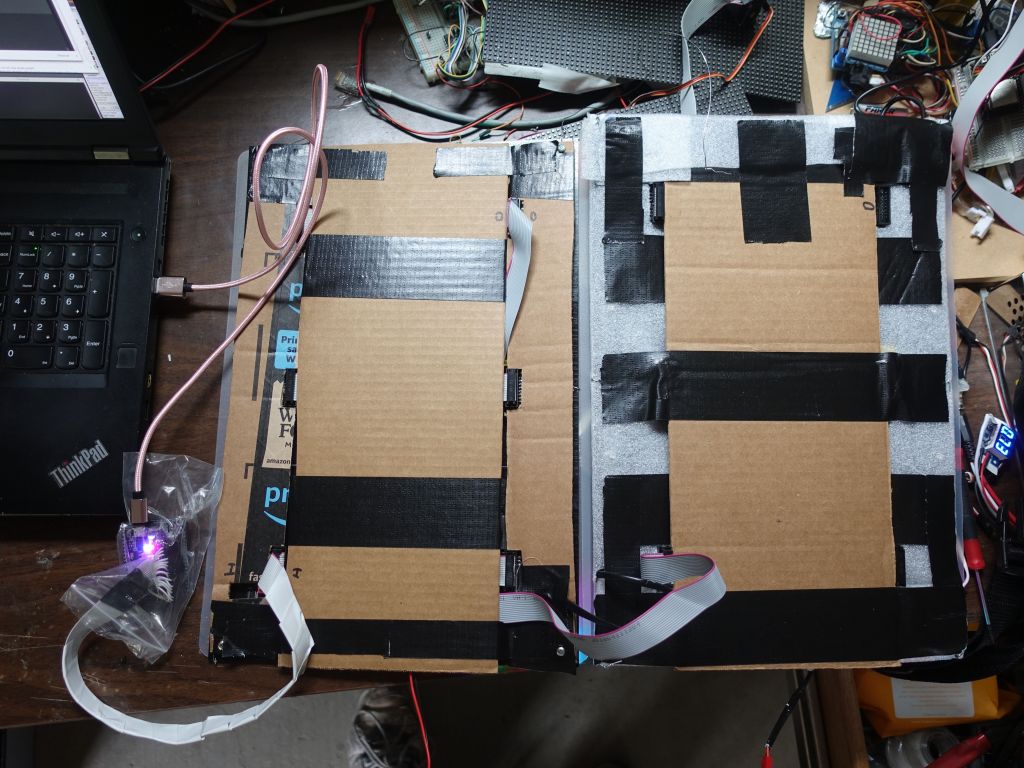
This shows my flexible P4 96x64 panels I bought on amazon from Azerone, 3 tied together, one shown upside down for scale, a blank shield from Jason Coon, how I cut a 16 pin IDC ribbon cable and made it an in line row of pins I can connect into Jason's shield after having added a riser, and a patched board with IR connector on the back, and a yellow wire to redirect the pin Jason's board connected to RX which I use for debugging, to unused pin 27 instead:
While Jason's board is not perfect for this use, it's much better than my self made protoboard full of wires to connect the 74hc245 level shifters:
Here's a quick video summary that shoes the wiring and layout:
Do not even think about using local arrays in functions, that's worse as they go on the stack and will smash the stack (I think you're limited to around 8KB)
ESP32 has SPIFFS to use its flash to store data like Animated GIFs. You will find it unacceptably slow if you store 1MB or more and seek across a bunch of files, Instead, use FatFS as explained here:
The flexible panels sadly kept breaking, Azerone was super nice in offering to fix them, see the thin patched wires they added, expert work I'm not capable of:
I first tried strenghtening them, but it still wasn't solid enough, and a waste of time:
I ended up switching to hard panels, I should have used them for the start, They've been a lot more solid:


, IR connected to port 34, and IO 16 connected to a NeoPixel strip")