Details:
After version 3 of my shirt with a neopixel matrix, I had good fun, but was hoping to do more. Its resolution was only 24 x 32 pixels, enough to display fun patterns, but it's really not a lot of pixels.
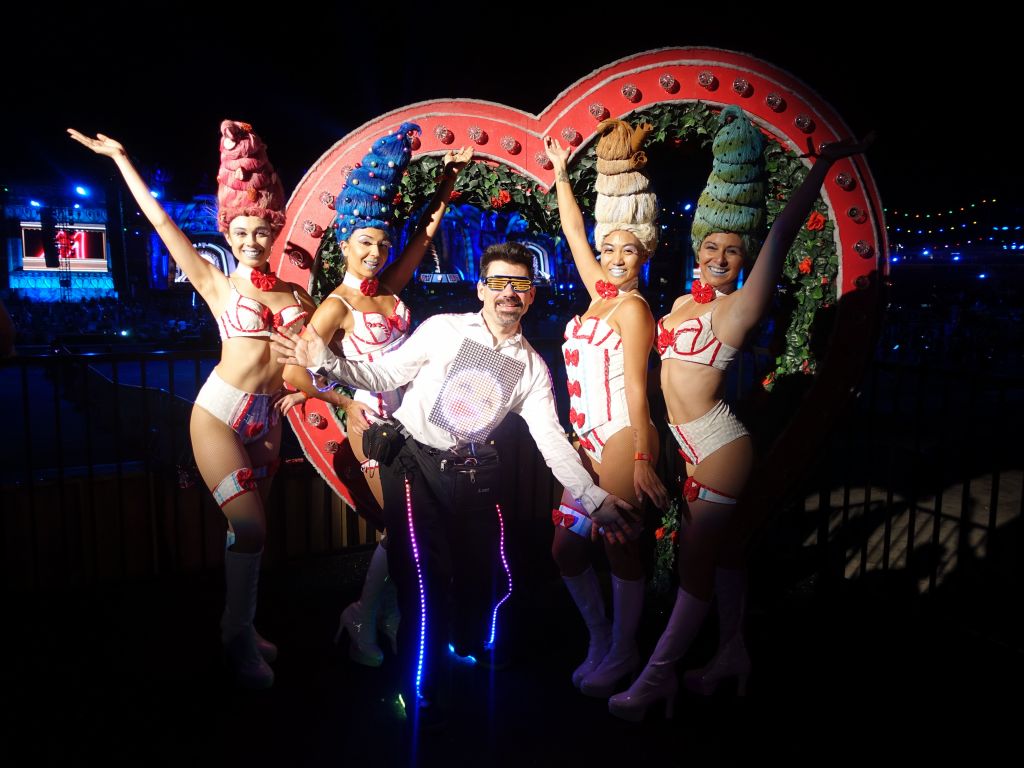
After months and months of work, here is version 4:
Video demo:
Sadly, going up in resolution with addressable pixels, is not that easy. While in theory you should be able to fit at least 2 addressable pixels per centimeter (aka P5). Currently my premade panels are P10, which is the only thing I could buy pre-made.
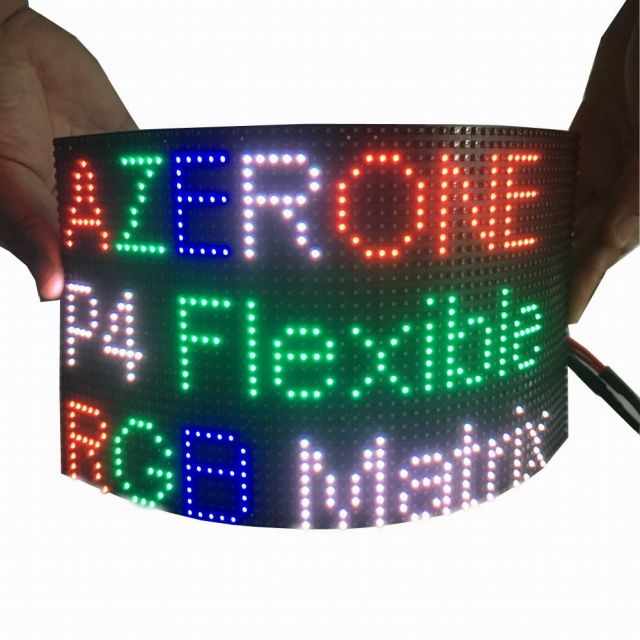
What allowed me to switch were those flexible P4 RGB Panels from Azerone: https://amazon.com/gp/product/B07F87CM6Y
With their P4 resolution, I'm able to fit 96x64 on my body using 3 panels of 64x32 chained together. The 3rd panel is then chained to the 2nd set of 3 panels in my back:
On the old shirt, I put the rear panel inside the shirt, using the shirt as a diffuser, but with the RBGPanels, they were too thick for this to be practical, so I had to put them on top of the shirt. As a result, I ended up uing a black shirt which matches the color of the panels. I had to attach velcro to the new shirt, and confirmed that supergluing them was so much faster than sawing, and worked just as well:
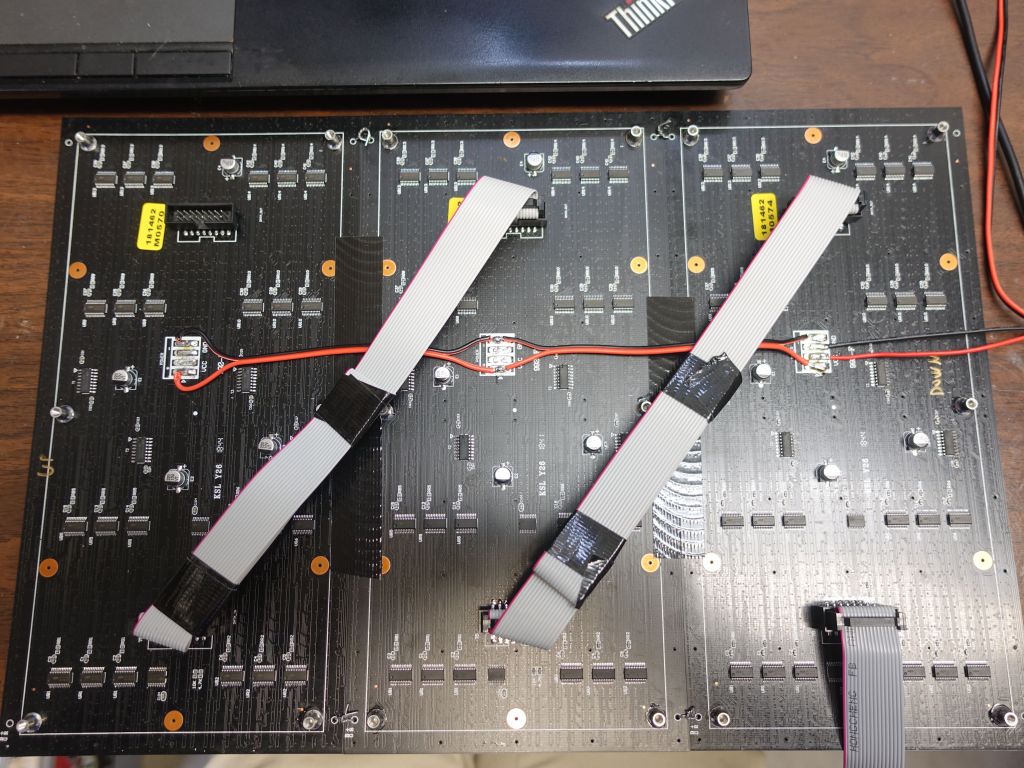
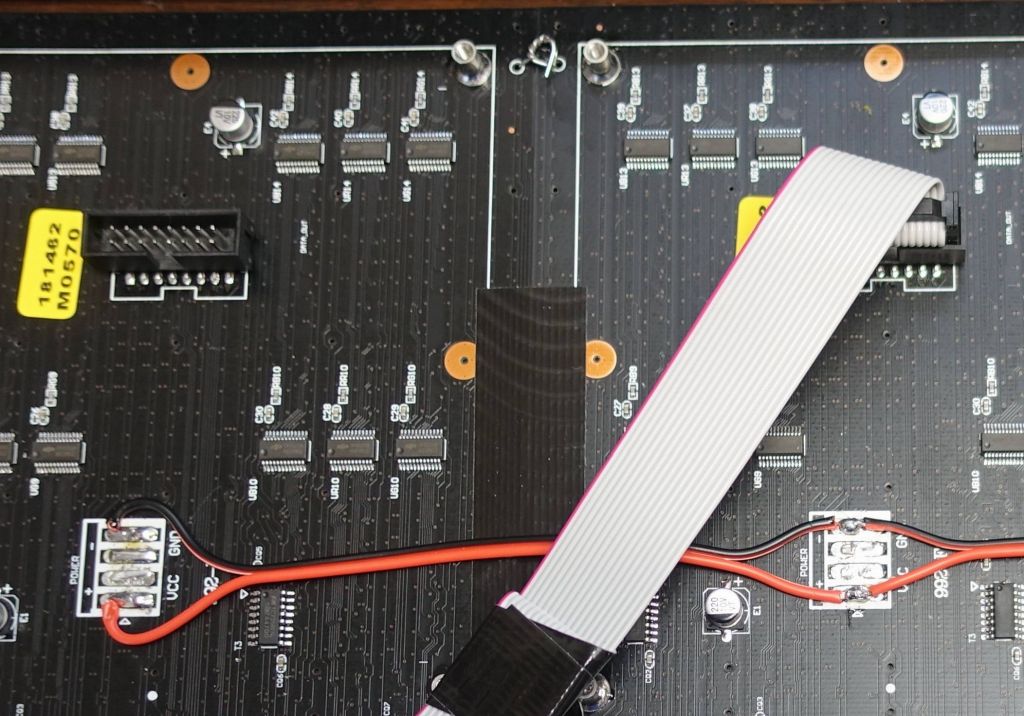
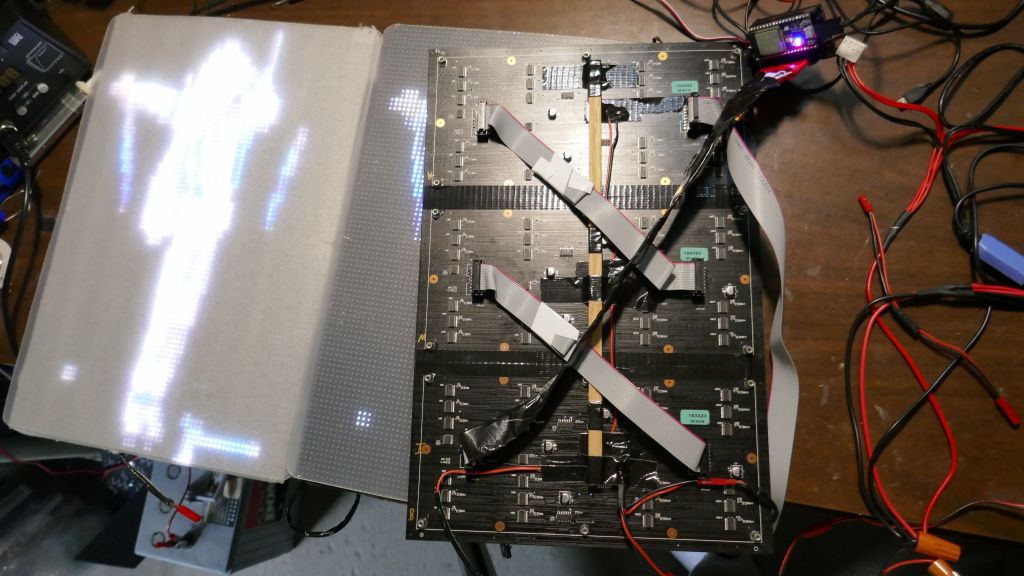
I unsoldered the power connectors that were too thick, and used small metal wire to connect the panels together (see top middle of the picture). Turned out those metal wires were a mistake as they can cause shorts on the LEDs on the other side of the board:
Another thing I learned was that the holes I was using to put a metal wire to carry the panels over my shoulders, can't actually take the load, and the wire can cause damage to the copper trace that is just next to the hole. As a result, I replaced the metal wires with fishing wire and didn't use the bigger holes for load bearing:
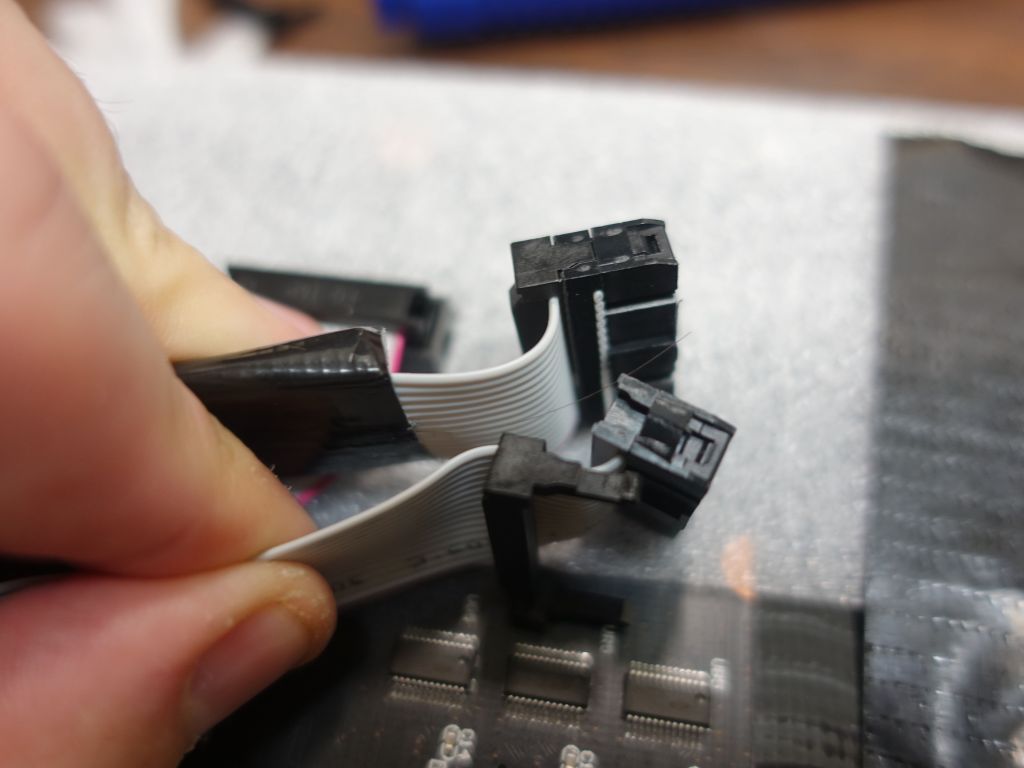
Speaking of removing thickness from the board, I removed the top of the ribbon connectors to make them a bit thinner. Sadly, RGBPanels still require 15 wires to send the video signal:
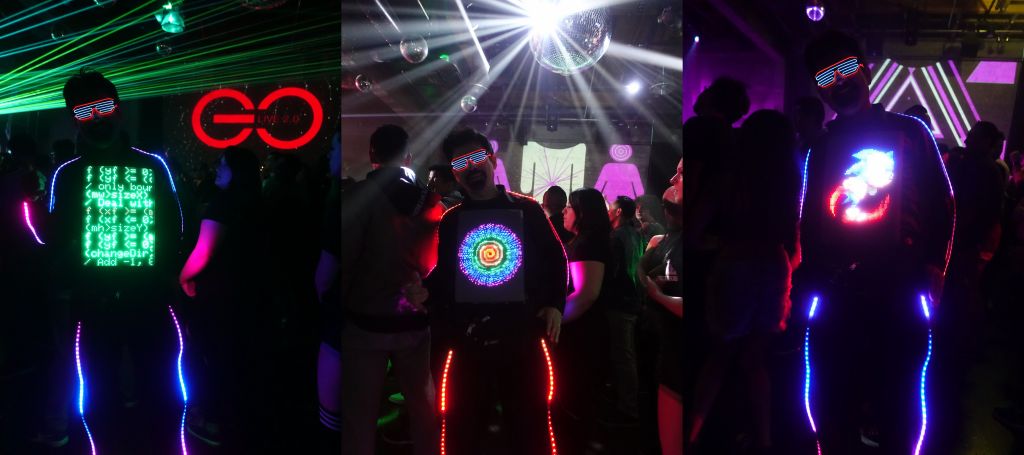
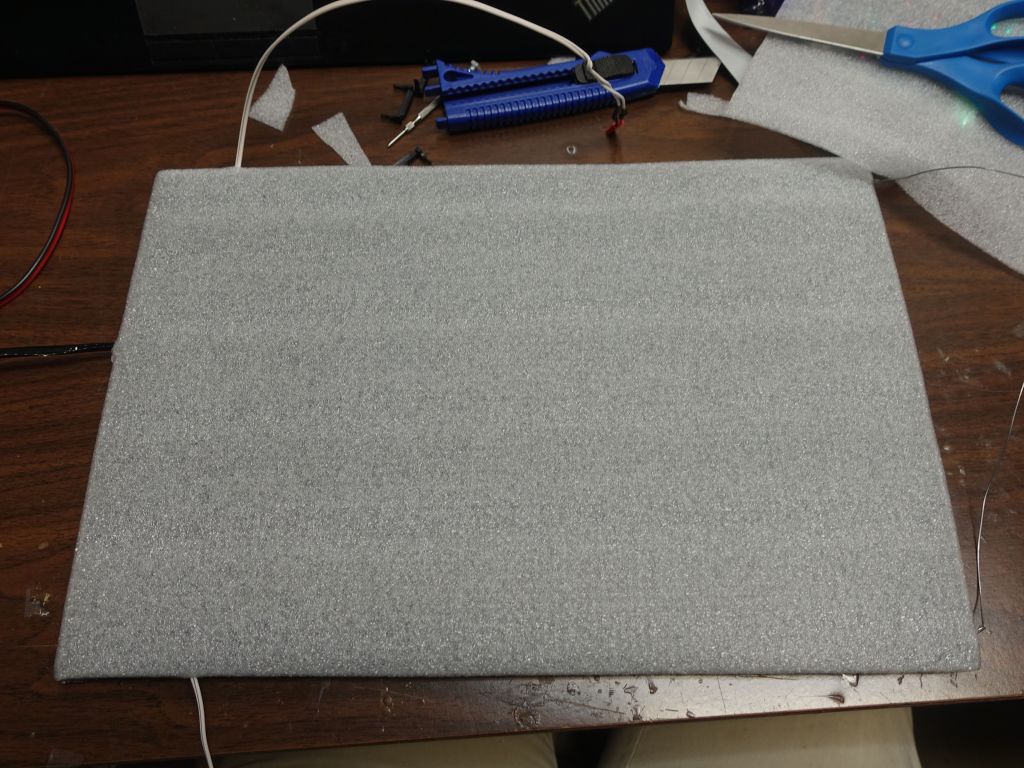
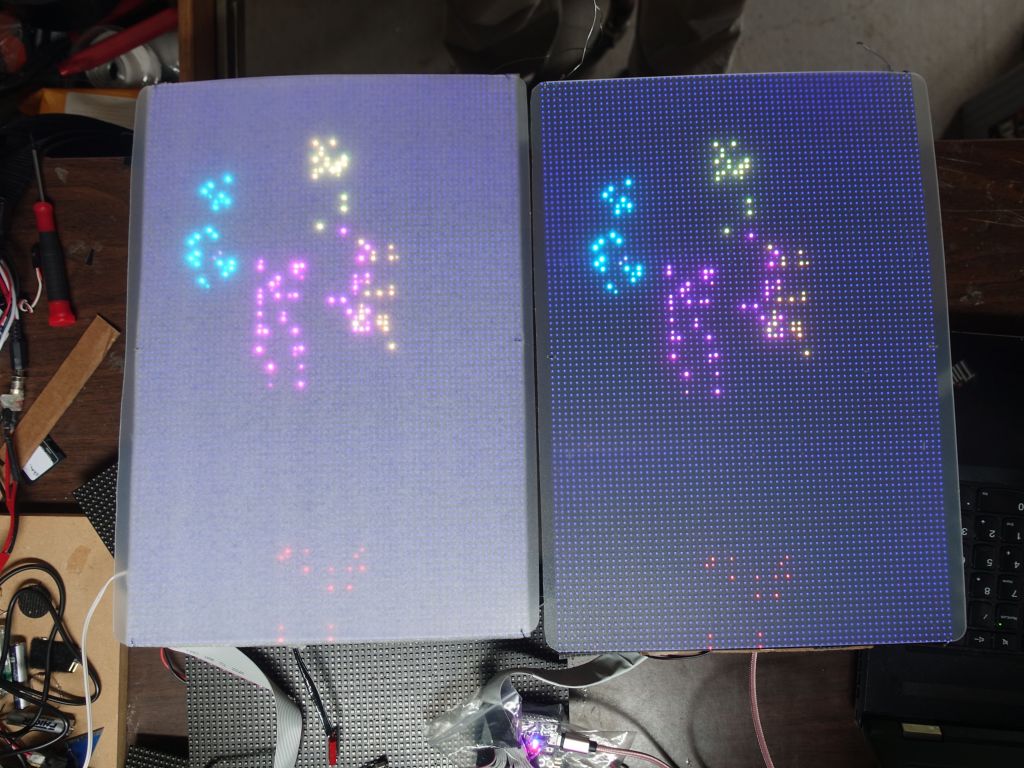
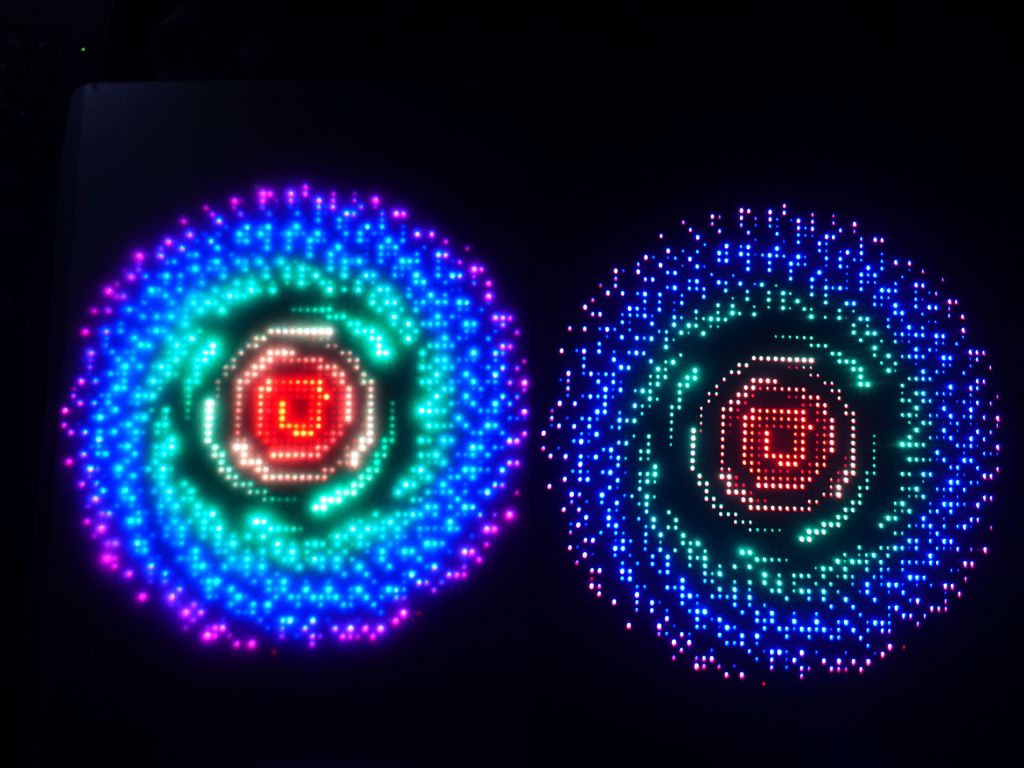
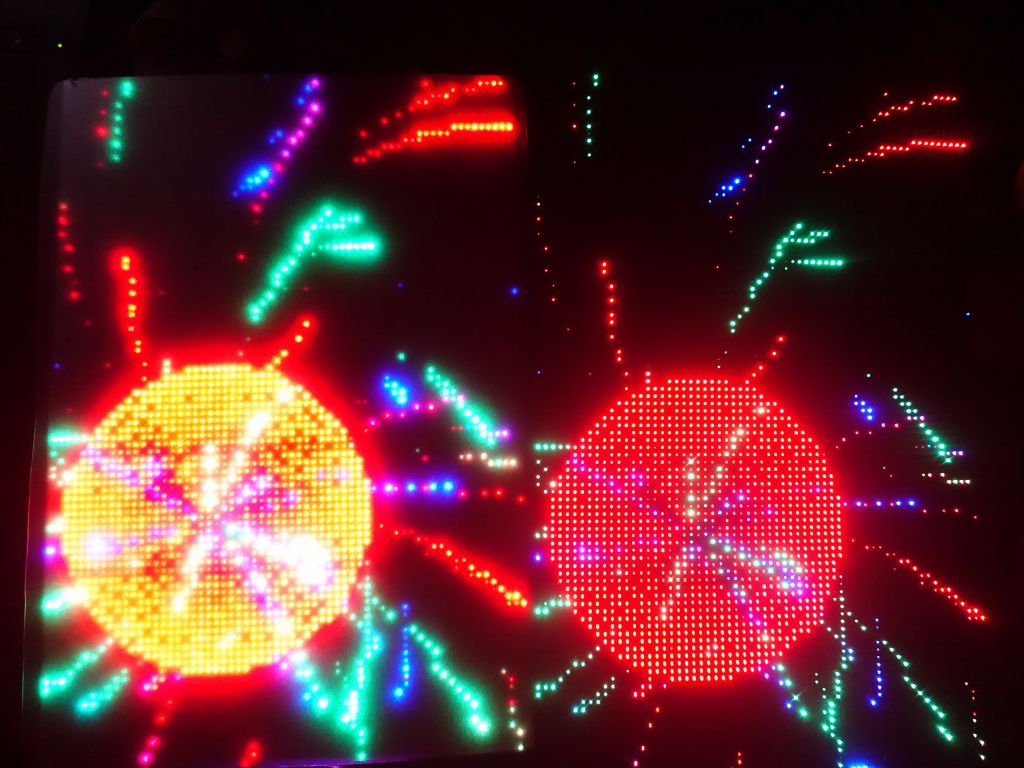
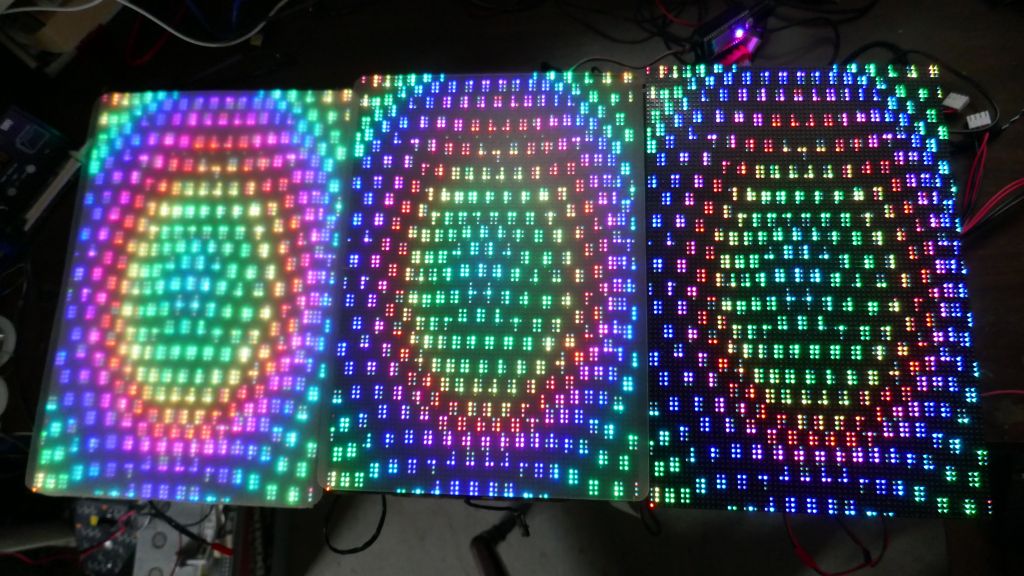
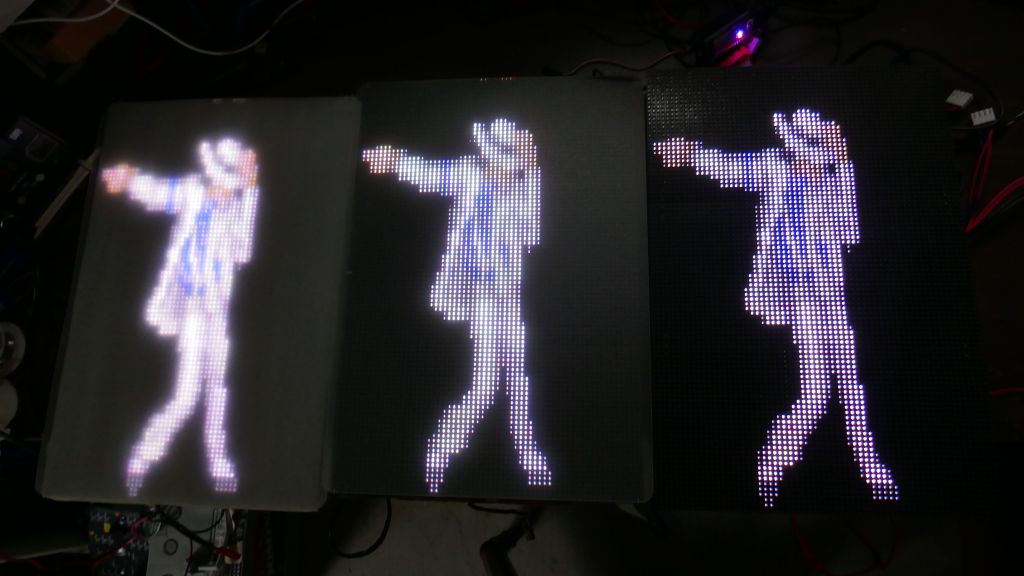
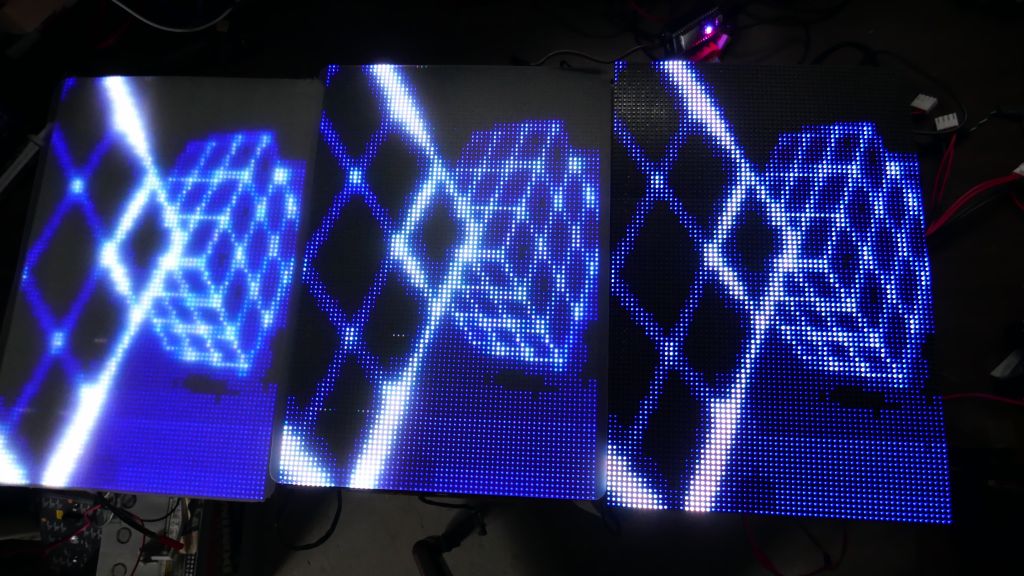
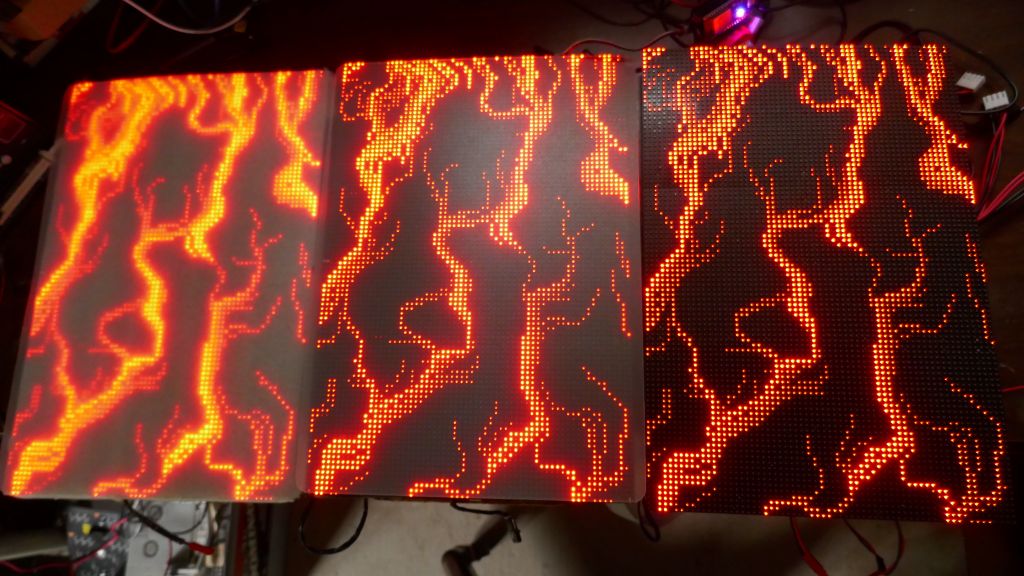
I then took one panel and covered it with defusing foam (the rear panel, so that it's not too sharp and blinding to people behind me), while the front panel only has the plastic cover to protect the panels and offer a bit of extra diffusion:
you can see the difference between the diffusion levels
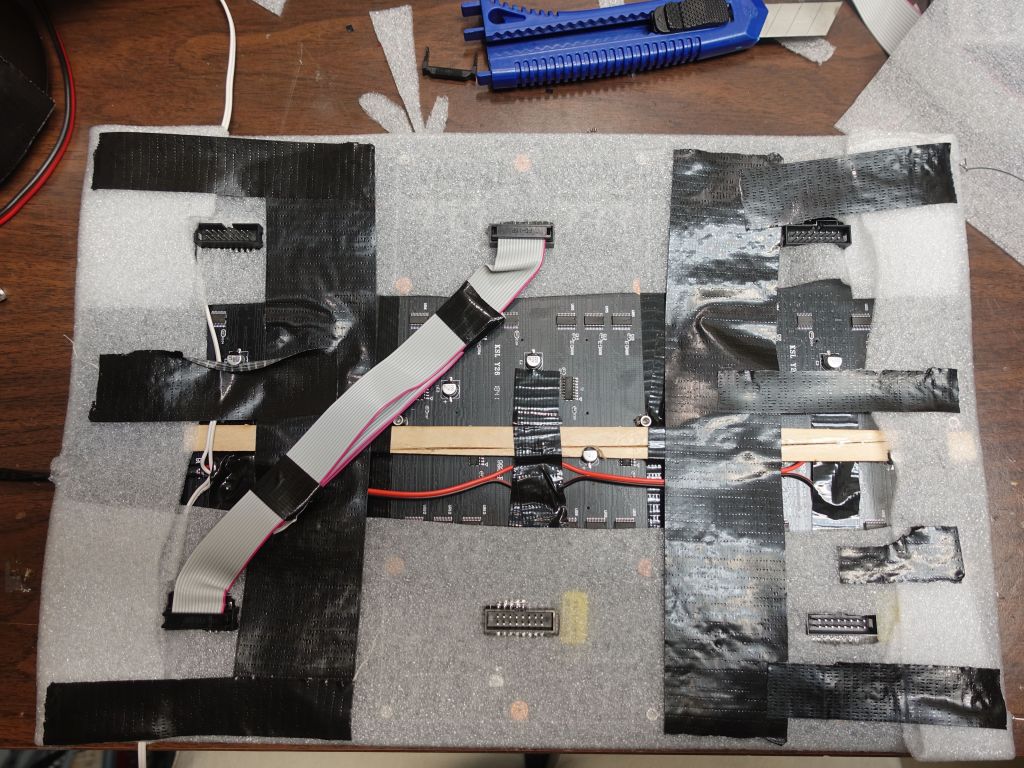
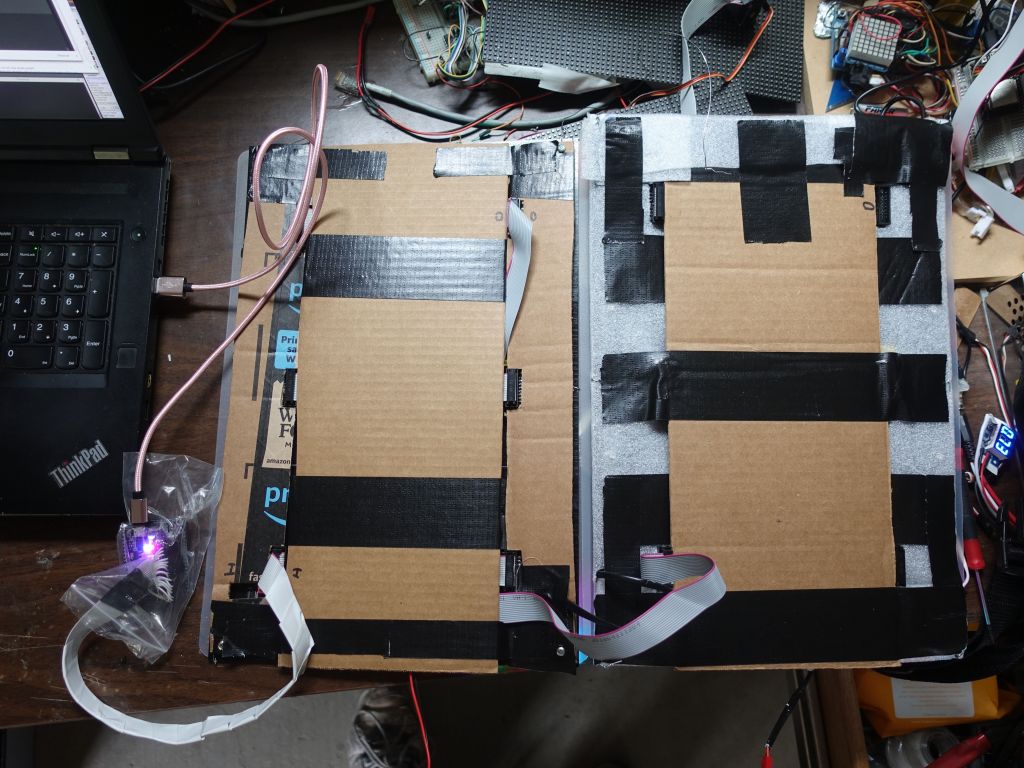
I then protected the rear of the panels given how much electronics were exposed:
Small details had to be solved, like making sure I had enough amps going through the wires (use thicker wires). Without that, my brightest pattern that uses 8 amps, didn't quite make it:
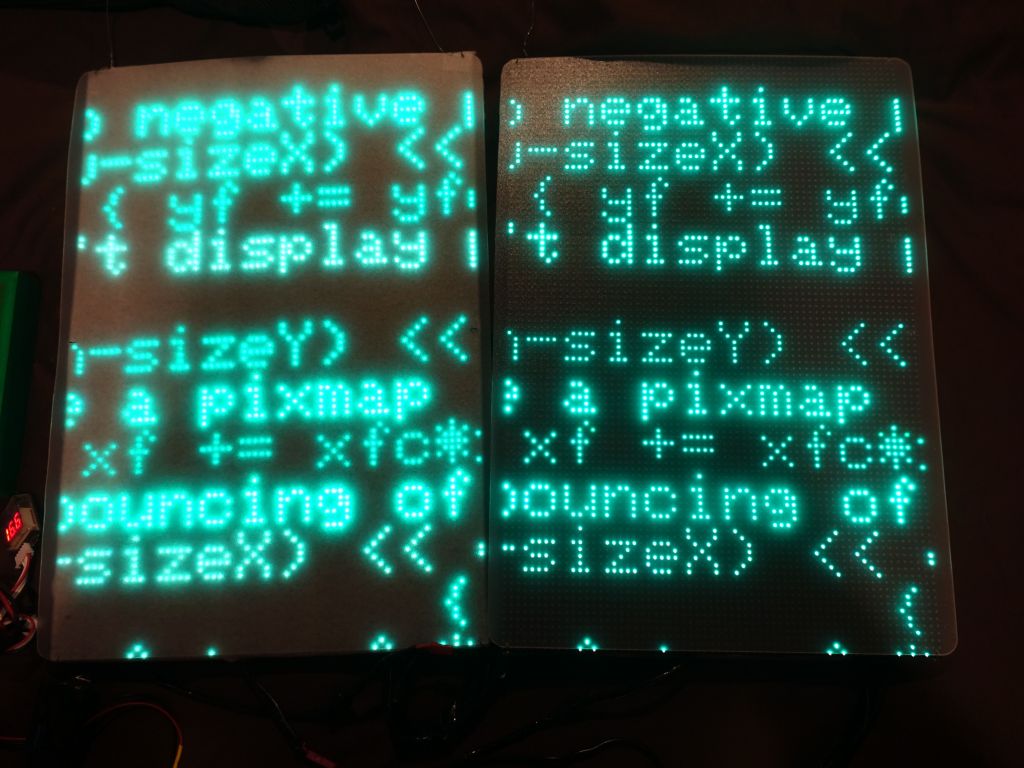
For fun, I made a pattern that scrolls my C++ scrolling code on the screens:
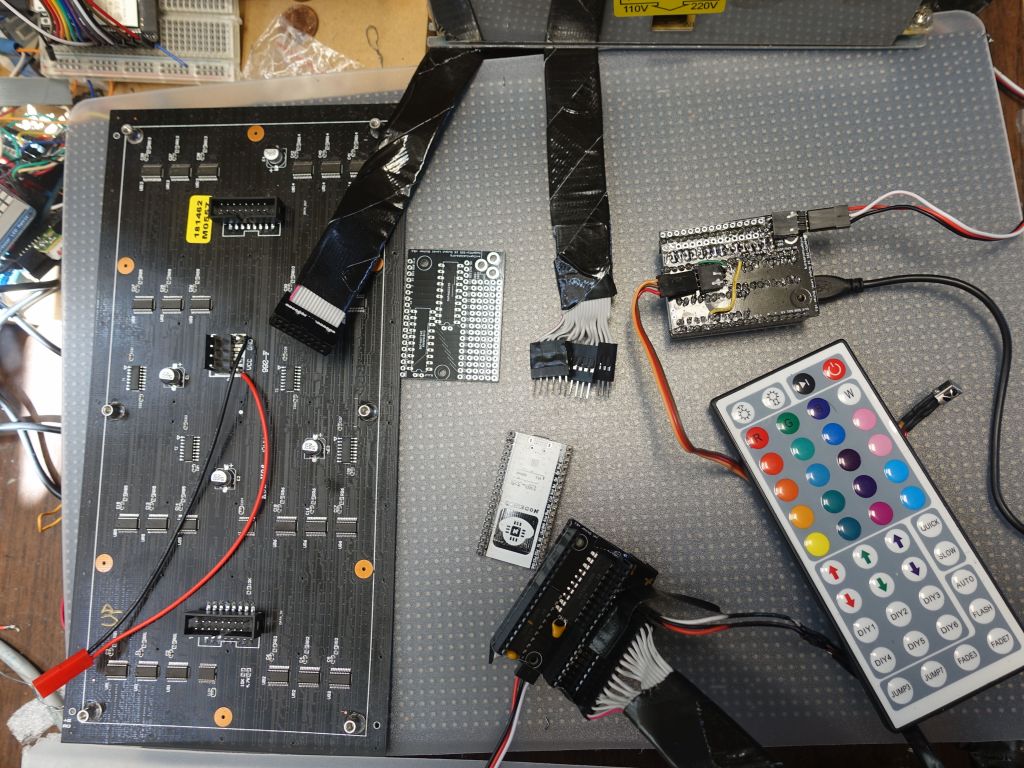
I went from a breadboard prototype to Jason Coon's ESP32 level shifter board, much more tidy
This video shows how things are wired from the ESP32 to the panels:
Here is what the whole power system looks like:
2 4S Lipos, 5Ah, 80wh, giving a total 160Wh of energy
Amp meter in line with the lipos and cell tester with low voltage warning buzzer
On off/switch
Amp gauge with timer to know how much energy flowed from the batteries (you can't run lipos down or they'll die)
Tobsun DC-DC converter to take voltage down to 5V
2nd voltage regulator to bring the voltage further down to 3.3V for the El Wire glasses
5V goes to RGBPanels via separate thick wire to carry the amps
ESP32 with level shifters from 3.3V back up to 5V for the RGBPanels (6 channels for the colors to level shifters, 4 address lines to do 16 scan line refreshes). CPU runs SmartMatrix::GFX and NeoMatrix-FastLED-IR
16th data line is used for the Neopixel strips on my arms and legs, running the same code than the previous shirt
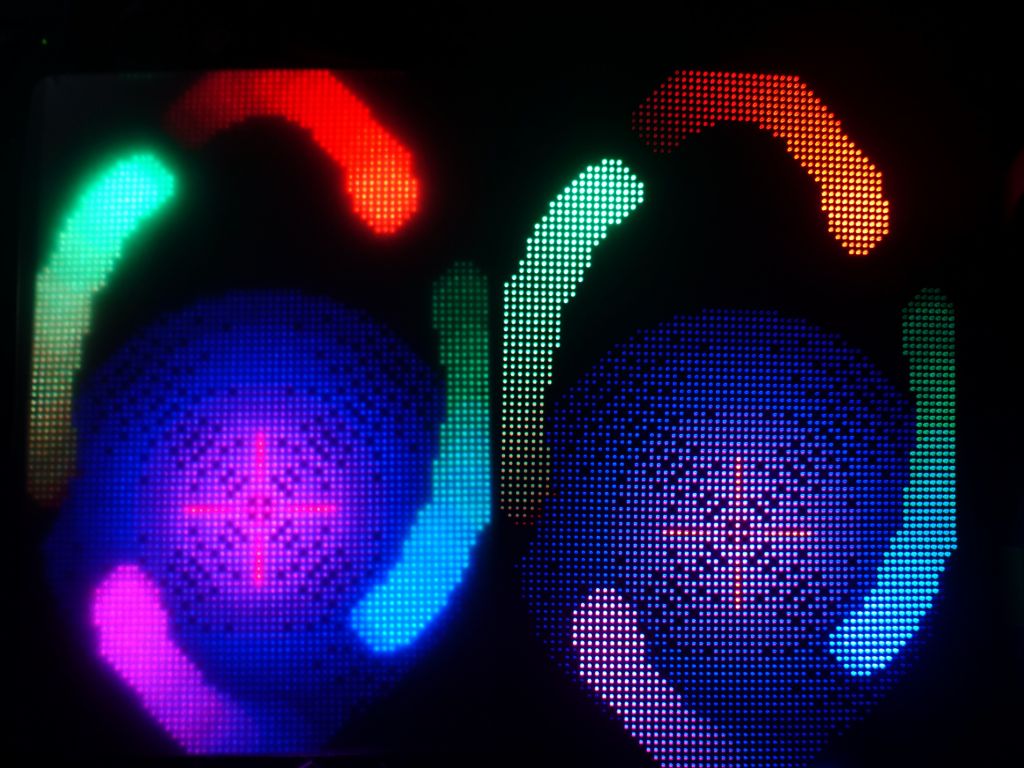
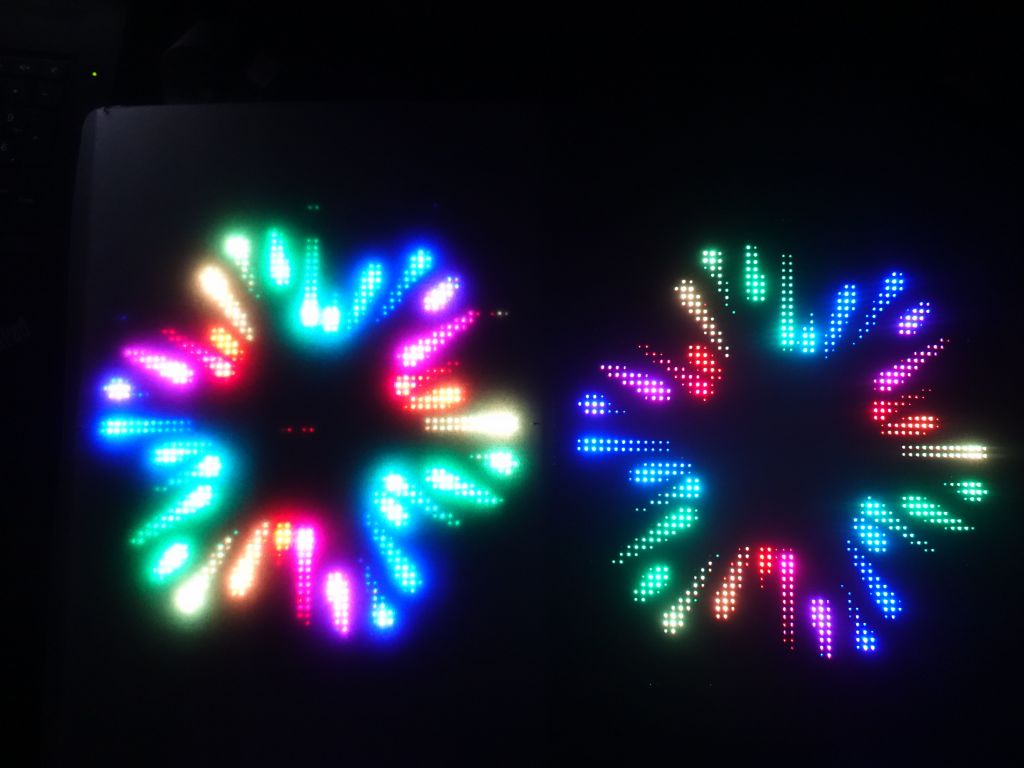
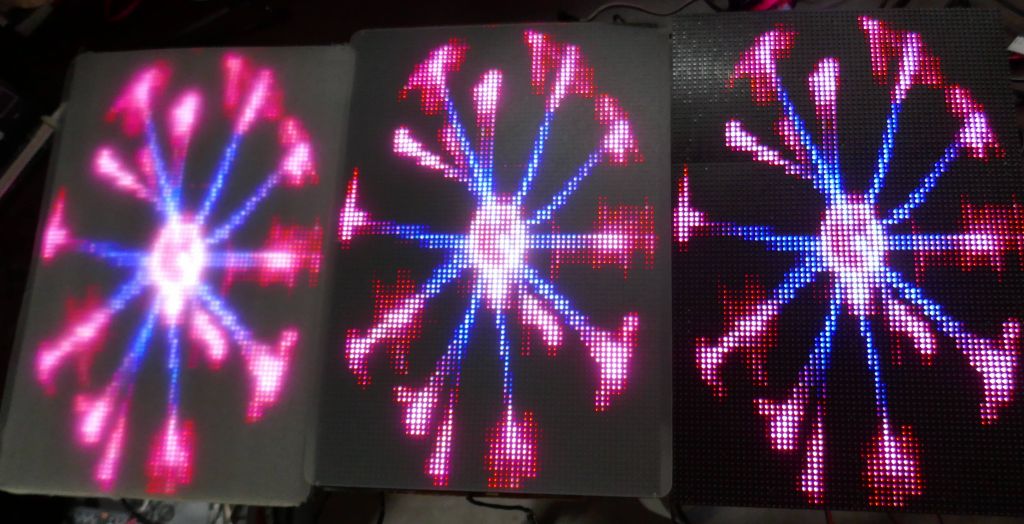
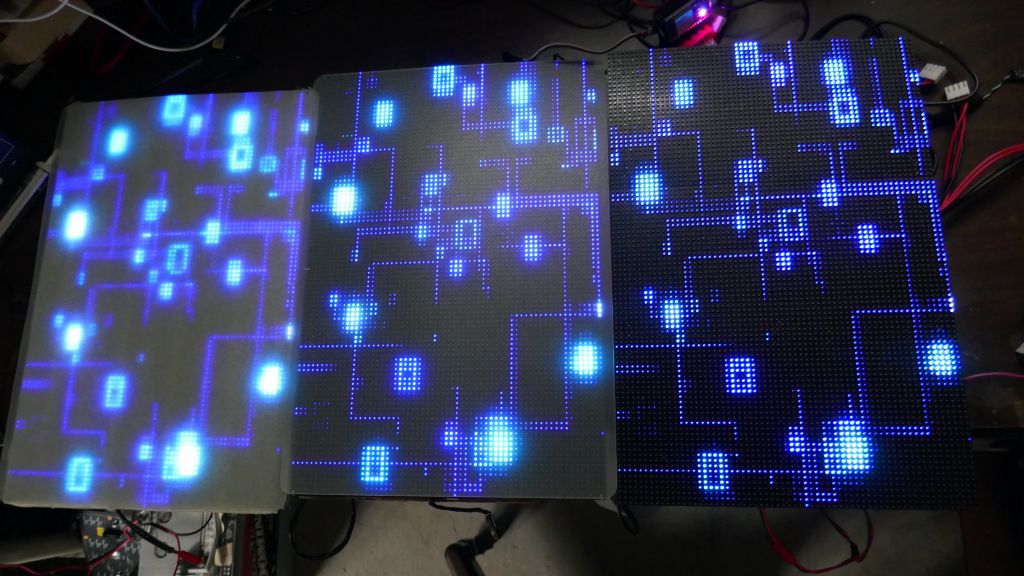
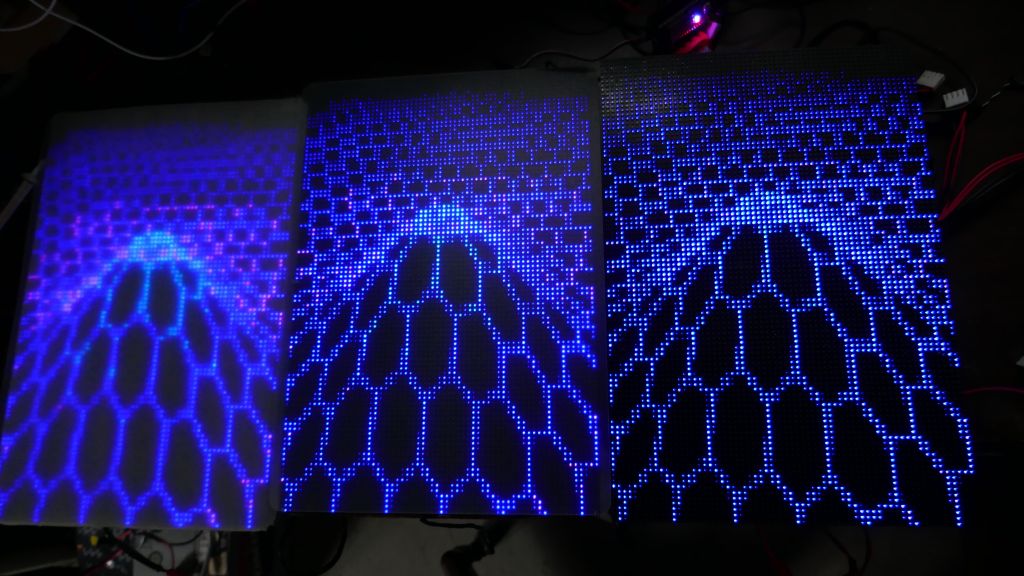
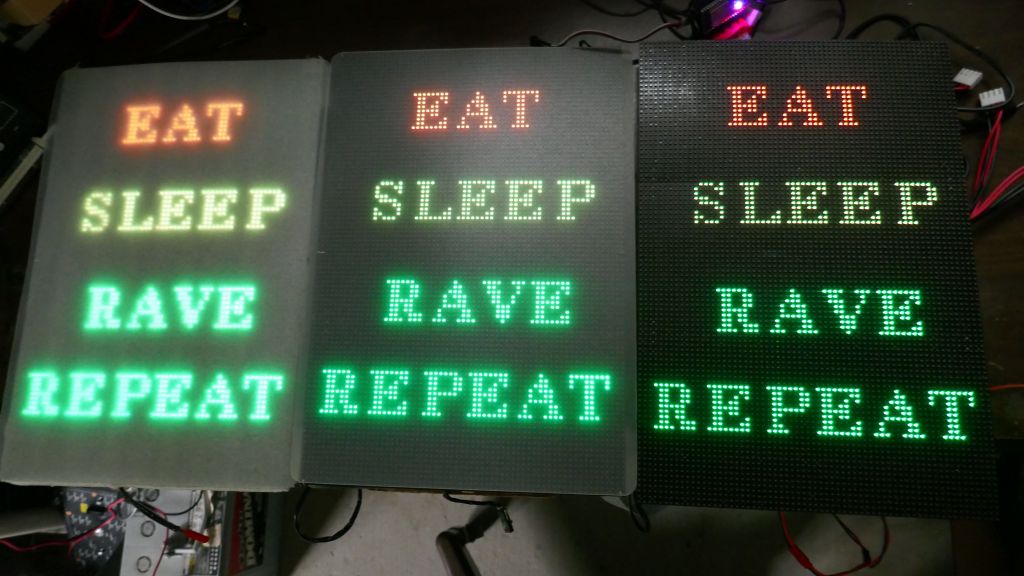
Here is an example of 3 levels of diffusers, including a raw set of panels with no diffusers:
After going to Luminosity Beach Festival, a underpaid and undertrained security guard at the entrance freaked out at the wires, so I made boxes to hide the wires and hopefully remove the "OMG, it's a bomb" reflex that some people might have:
2 batteries, fuse, meters and output
adapter box that takes 16V down to 5V and measures current used while distributing power
both boxes together are bigger than my previous setup, but looks a bit better
You can see a demo of the outfit being worn:
The flexible panels sadly kept breaking, Azerone was super nice in offering to fix them, see the thin patched wires they added, expert work I'm not capable of:
I first tried strenghtening them with light wood, but it still wasn't solid enough, and a waste of time, they still ended up breaking:
I ended up switching to hard panels, I should have used them for the start, They've been a lot more solid:
after vs before
After switching to the hard panels, which are indeed a bit thicker but not unbearably so, everything has been rock solid.
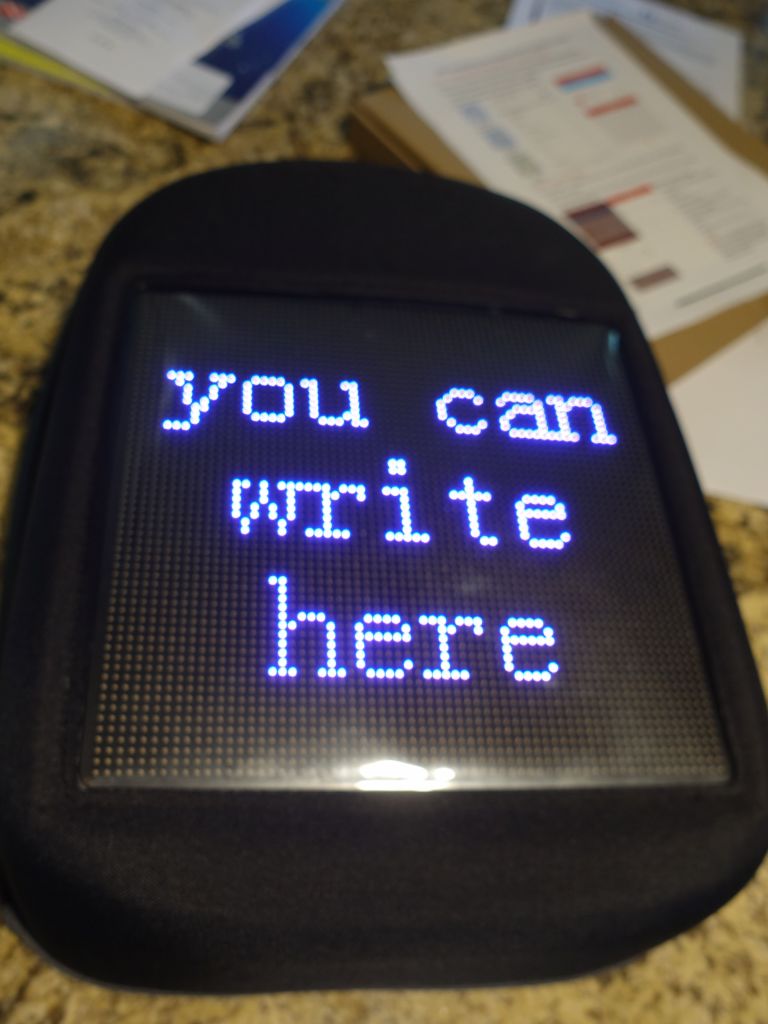
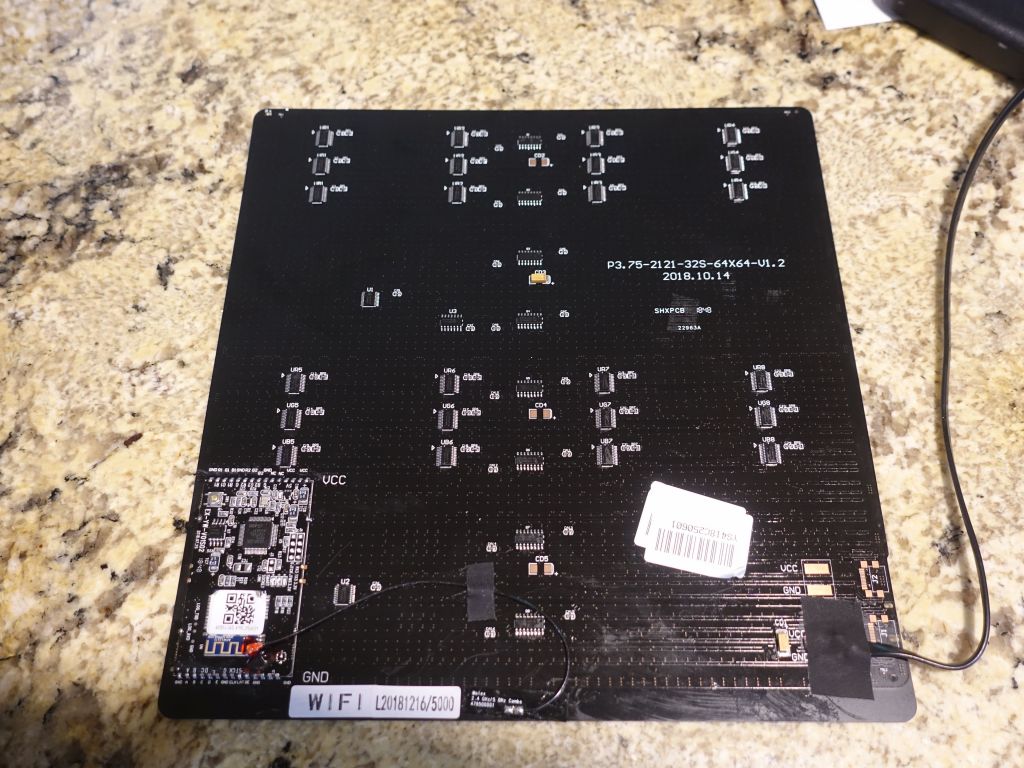
If you don't have time for all this, and are ok with 64x64, you can try this backpack from gearbest with everything built in and a very thin board. Just not fun for me because I can't run my own code on it: