Why Framebuffer::GFX?
After rewriting multiple related libraries, it became confusing to people how they fit together, Adafruit::NeoMatrix, FastLED::NeoMatrix, SmartMatrix::GFX, where does Framebuffer::GFX fit in?Is Adafruit::GFX still there/needed?
How about LEDMatrix, isn't it a better 2D lib?
What hardware backends are supported?
How the modules/drivers fit together
I made this little graph to summarize everything:
Low Level Drv|Glue Driver for FrameBuffer::GFX
FastLED     - FastLED_NeoMatrix  -------------\     FastLED CRGB Array
SmartMatrix - SmartMatrix_GFX -----------------\    24bit FB storage        API Support
                                                \   CRGB methods like
AF:ILI9341-\                                     \  scale8/fadeToBlackBy
AF:SSD1331  |--- FastLED_ArduinoGFX_TFT ----------|        |               ,FastLED API
AF:ST7735  /     FastLED_SPITFT_GFX (for AF)      |        |              / (XY 2D to 1D mapping)
ArduinoGFX/  AF:Adafruit (ArduinoGFX is all in 1) |        |

                                                  |        |

ArduinoOnPc-FastLED-GFX-LEDMatrix arduino         - FrameBuffer::GFX------ Adafruit::NeoMatrix +
emulation for linux / Raspberry Pi:               |        |             \ Adafruit::GFX APIs
----------------------------------               /    Adafruit::GFX       \
rpi-rgb-led-matrix - FastLED_RPIRGBPanel_GFX ---/   LEDMatrix (optional)   `LEDMatrix API
ArduinoOnPC X11/linux - FastLED_TFTWrapper_GFX

FastLED_SDL (linux)   -  FastLED_NeoMatrix   -/
Which 2D API: FastLED XY(), Adafruit/FastLED::NeoMatrix, vs LEDMatrix
- more primitives, including some flip/mirror screen options
- Table_Mark_Estes is just that good, that it's worth having LEDMatrix for
- LEDMatrix has Fancy Font Support. In my opinion it's more fancy than most people will need, and Adafruit::GFX built in front support is more than plenty, but it's there if you want it.
- LEDSprites is nice if you need sprites, see my LEDSprites-Pacman demo
The good news is that if you don't know which one to choose Framebuffer::GFX allows you to run all 3 at the same time, thanks to the work done in neomatrix_config.h which while not required, I greatly recommend so that it'll setup everything for you and make it trivial to change from one hardware backend to another one.
If you would like an example of each API, please go to https://github.com/marcmerlin/FastLED_NeoMatrix_SmartMatrix_LEDMatrix_GFX_Demos/ and check the demos in each per API directory.
If you would like to read images from SPIFFS/FATFS (ESP8266/ESP32) or SDcard, see https://github.com/marcmerlin/AnimatedGIFs
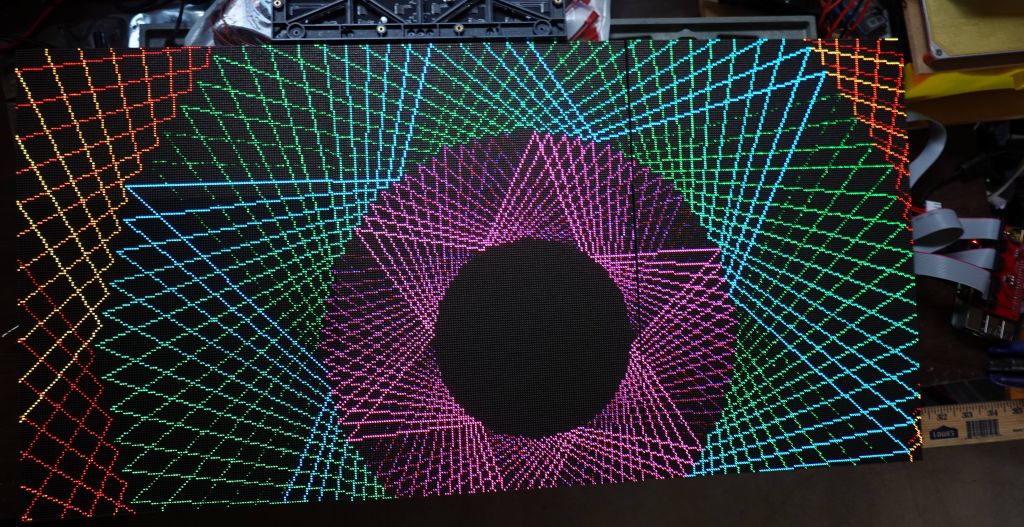
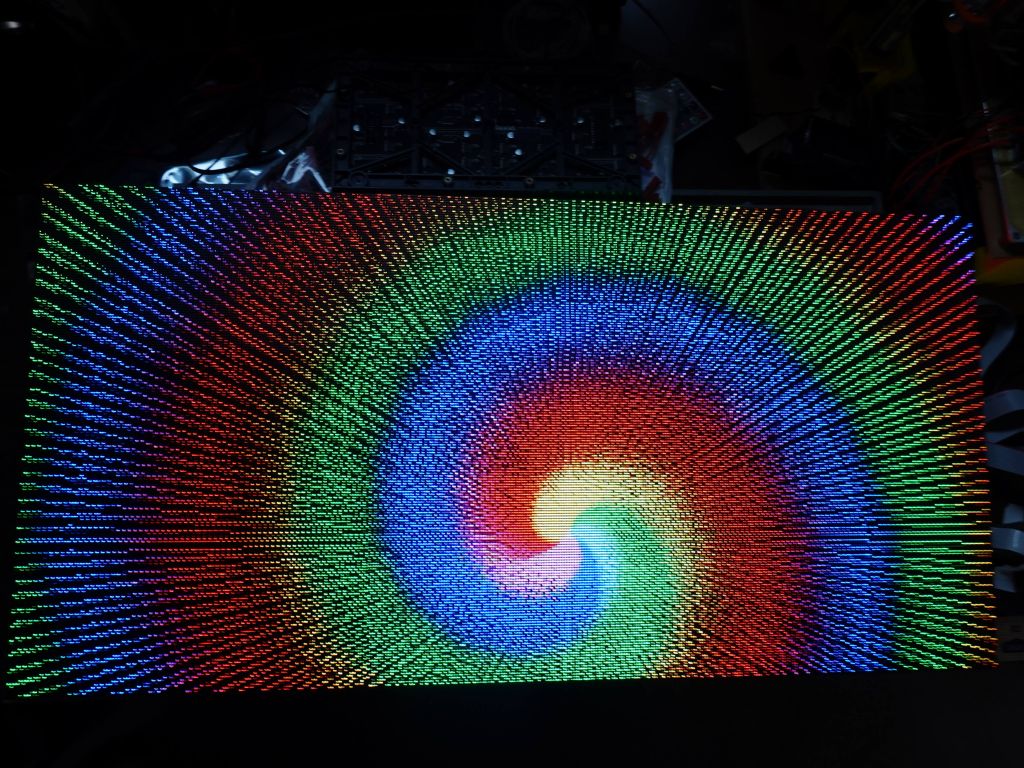
Supported hardware backends
https://github.com/marcmerlin/FastLED_NeoMatrix/

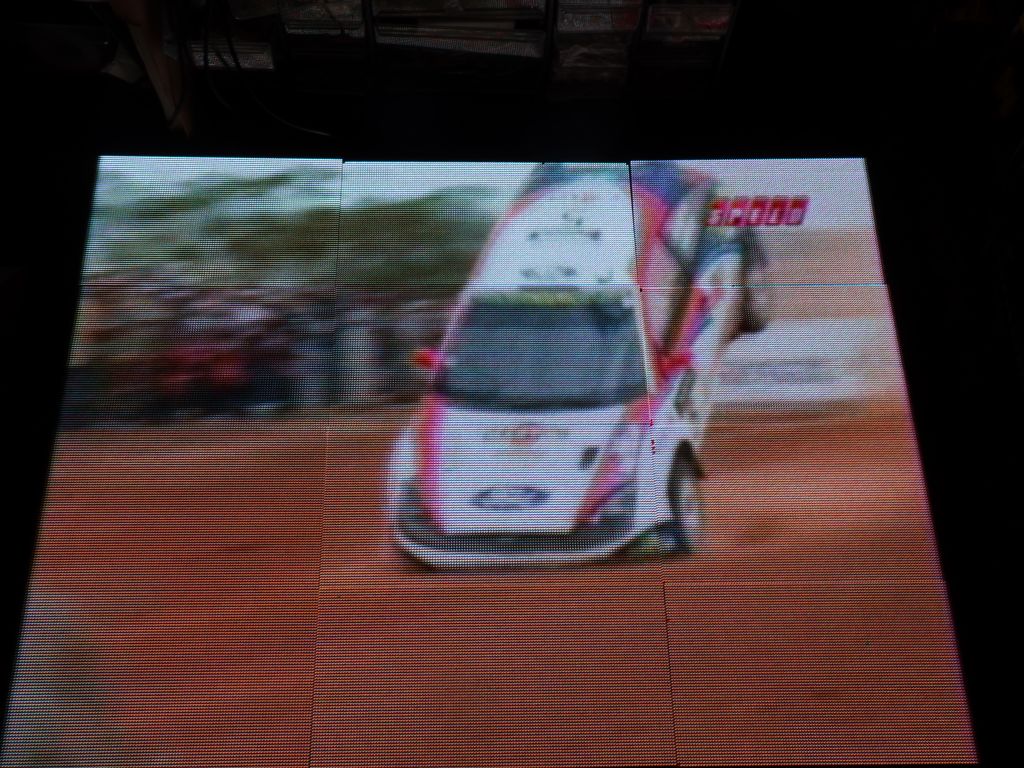
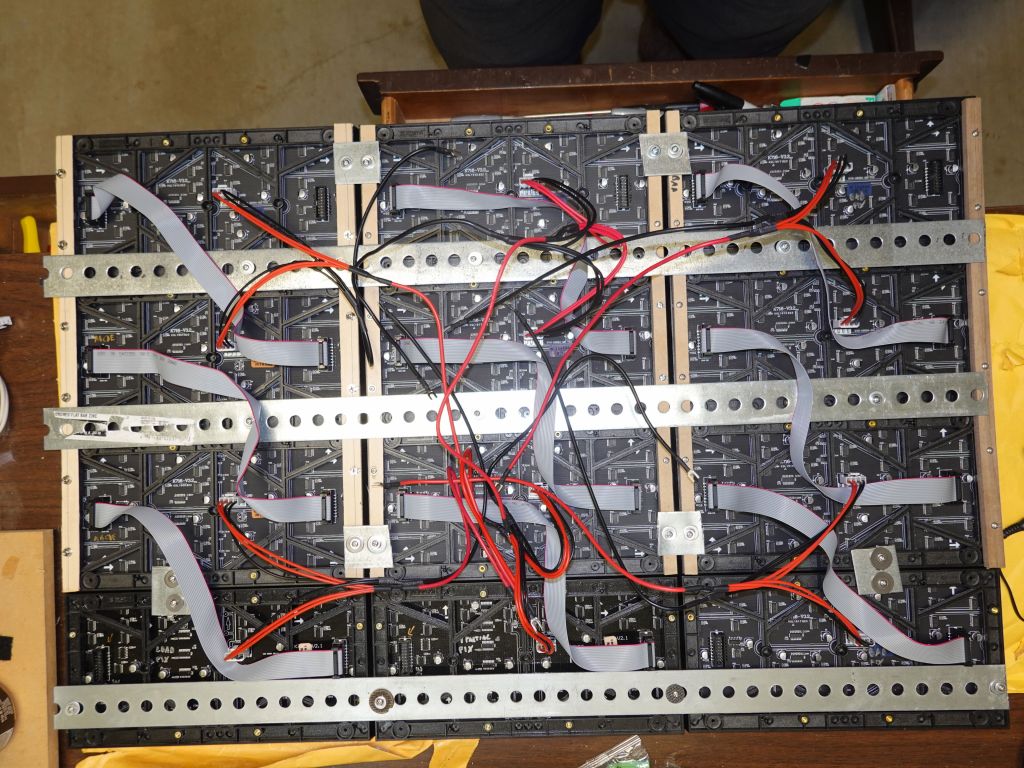
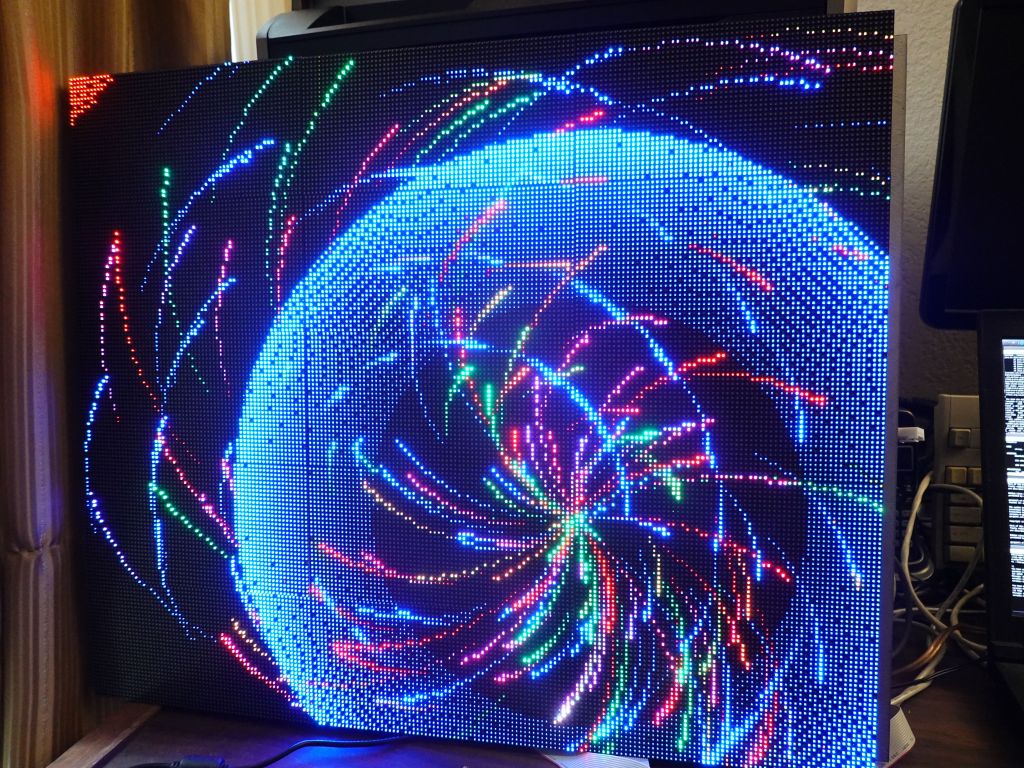
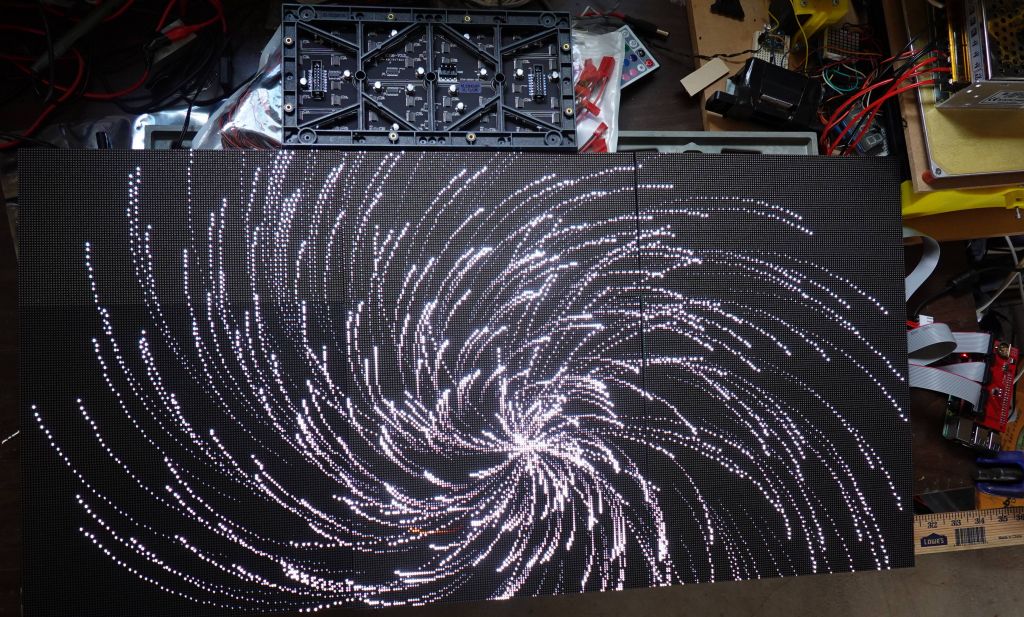
64x64 with Neopixels was 2 weeks of build work and 160 Amps at full power!
https://github.com/marcmerlin/SmartMatrix_GFX/

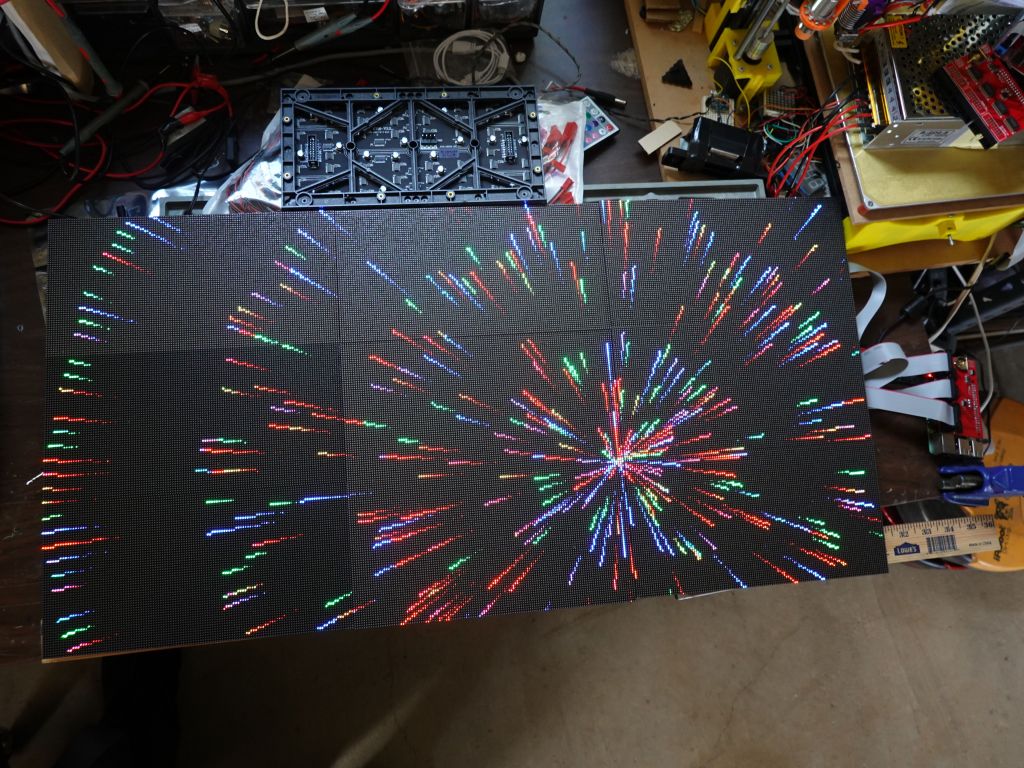
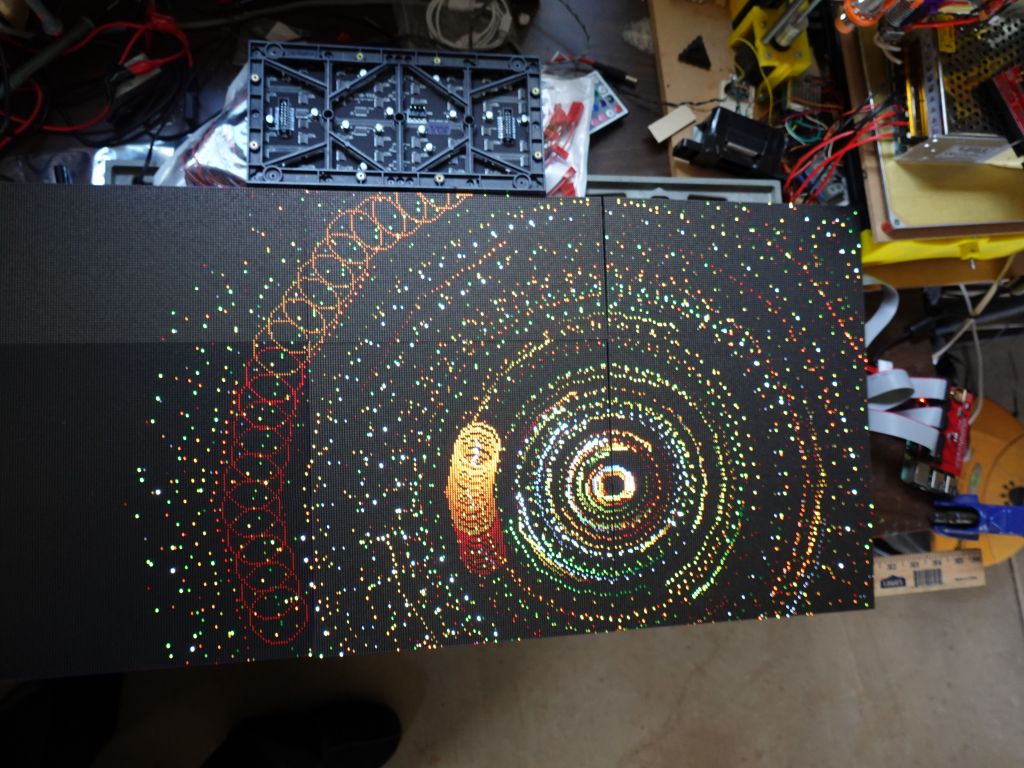
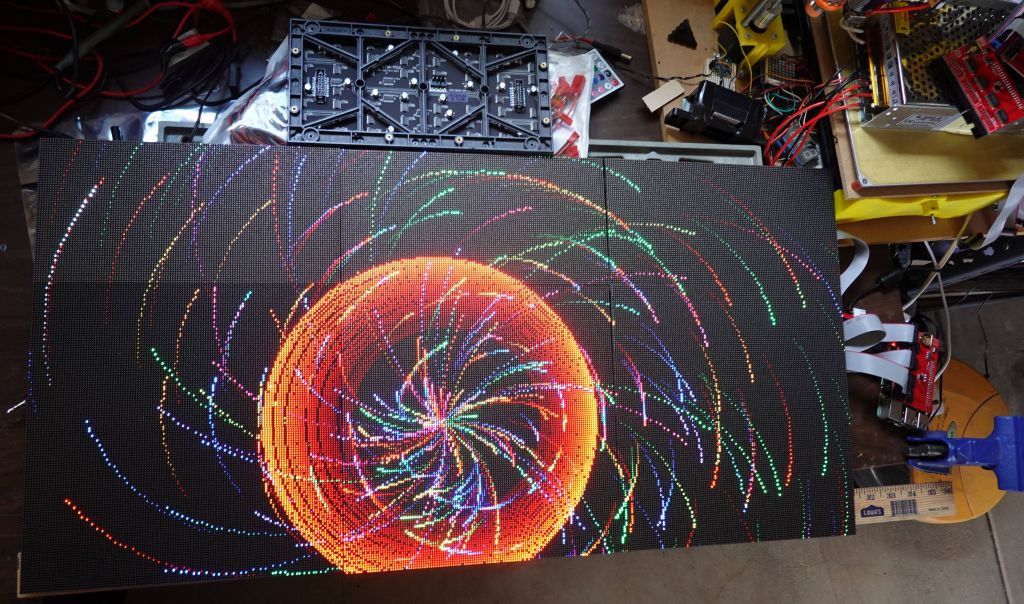
FastLED::NeoMatrix in 32x32 and 24x32 vs SmartMatrix::GFX 96x64
https://github.com/marcmerlin/FastLED_ArduinoGFX_TFT (many TFTs including SSD1331, ILI9341, and ST7735 TFTs)
This is now the library I recommend for all TFTs instead of the multiple libraries written by Adafruit (supported by FastLED_SPITFT_GFX), not quite with the same interface, and multiple drivers. I definitely recommend https://github.com/moononournation/Arduino_GFX instead for new work.Arduino_GFX supports running multiple TFTs at the same time if you have different CS pins:

comparison of TFTs
The demos below done on FastLED_SPITFT_GFX look exactly the same with FastLED_ArduinoGFX_TFT except for being faster with this driver.
https://github.com/marcmerlin/FastLED_SPITFT_GFX (SSD1331, ILI9341, and ST7735 TFTs)

Small SSD1331 in 96x64

The same exact resolution between RGBPanels and SSD1331

after extra work to support PSRAM on ESP32, ILI9341 320x240 became possible on ESP32

almost the same resolution than my huge RGBPanel driven by rPi
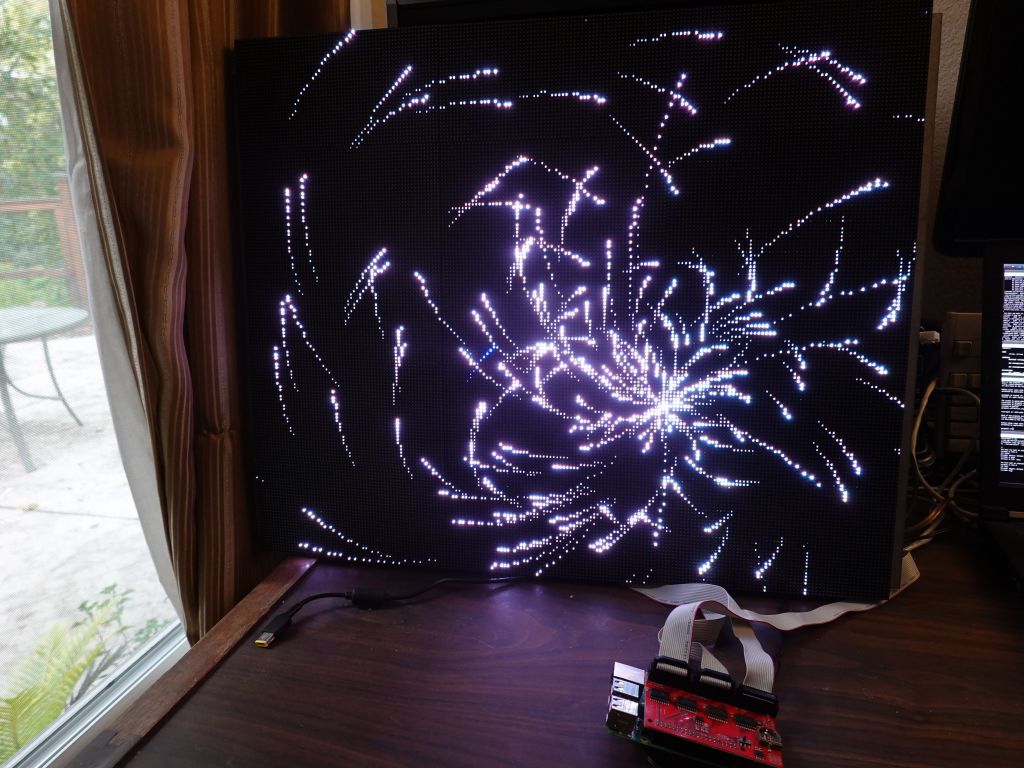
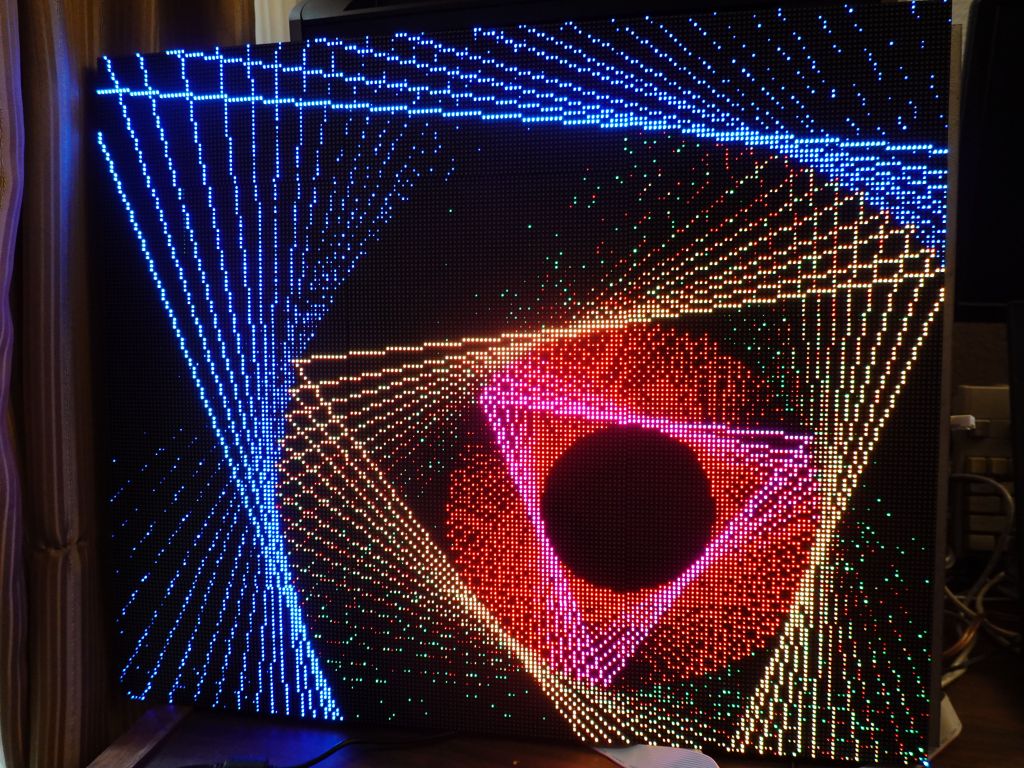
https://github.com/marcmerlin/FastLED_RPIRGBPanel_GFX (Glue driver for https://github.com/marcmerlin/ArduinoOnPc-FastLED-GFX-LEDMatrix/ that allows displaying a matrix on RGBPanels using https://github.com/hzeller/rpi-rgb-led-matrix )

My first rPi Display at 192x128

Even bigger, 384x192
https://github.com/marcmerlin/FastLED_TFTWrapper_GFX (Emulate a TFT screen on linux for https://github.com/marcmerlin/ArduinoOnPc-FastLED-GFX-LEDMatrix/ )
This is probably the most useful driver I wrote out of all of them, the ability to write your code and debug on linux, without any hardware:
Dealing with pushing bigger framebuffer sizes to TFTs like ILI9341
For long the highest resolution target for arduino chips has been the ILI9341 TFTs. With a resolution of 320x240 over SPI, they push the limits of Framebuffer::GFX a little bit, because it's a lot of pixels to push. Unfortunately, the TFT seems to only support about 14 frames per second for a full refresh, which is needed with the framebuffer approach, and by the time you add required use of PSRAM on ESP32, which is slower than regular RAM but required because ESP32 does not have the required contiguous 224KB of RAM, frame refresh falls down to 8fps. Worse, still, once you add computation of data being sent, demos actually run closer to 5fps.This is far from ideal, but it's good enough or some uses still, and generally still cool that Framebuffer::GFX can be pushed so far on arduino-like chips. Using RGBPanels does not help there on arduino chips, because there is no arduino like chip that can run such a resolution on RGBPanels (Raspberry Pi can barely do it though, but that's also pushing the limits of the underlying hardware refresh capabilities).
It this ends up being a problem, but you made the decision to stick to the Adafruit::GFX API, you always have the option to remove FrameBuffer::GFX and write directly to the TFT, without having to do full framebuffer refreshes.
If you'd like numbers, I gathered as part of a test between SPI speed, raw TFT speed (empty frame push), loop to push data not from PSRAM, loop to push data from PSRAM. Actual speed in demos is still lower given that it takes time to generate high resolution frames to PSRAM (double PSRAM penalty, one to write, one to read), before they can be pushed.
Arduino::GFX ILI9314
                    tft/gfx/bypass/copy
40fhz, fps no PSRAM: 25/15/22/14       PSRAM: 25/11/21/8
80fhz, fps no PSRAM: 42/19/33/18       PSRAM: 40/14/32/9 (Arduino_HWSPI)
80fhz, fps no PSRAM: 53/21/38/20 Arduino_ESP32SPI
80fhz, fps no PSRAM: 60/20/34/18 Arduino_ESP32SPI_DMA

Adafruit ILI9314 (much slower)
80Mhz: TFT 40fps, NO PSRAM: 32fps, PSRAM show: 12fps

Old Adafruit numbers:
ST7735_128b160: 80Mhz: TFT153fps, NO PSRAM:104fps, PSRAM show: 45fps
ST7735_128b160: 40Mhz: TFT 68fps, NO PSRAM: 56fps, PSRAM show: 32fps
ST7735_128b160: 20Mhz: TFT 53fps, NO PSRAM: 45fps, PSRAM show: 29fps
ST7735_128b128: 40Mhz: TFT117fps, NO PSRAM: 90fps, PSRAM show: 48fps

Arduino::GFX is a lot faster (over 100fps)
SSD1331: SWSPI: TFT  9fps, NO PSRAM:  9fps, PSRAM show:  8fps


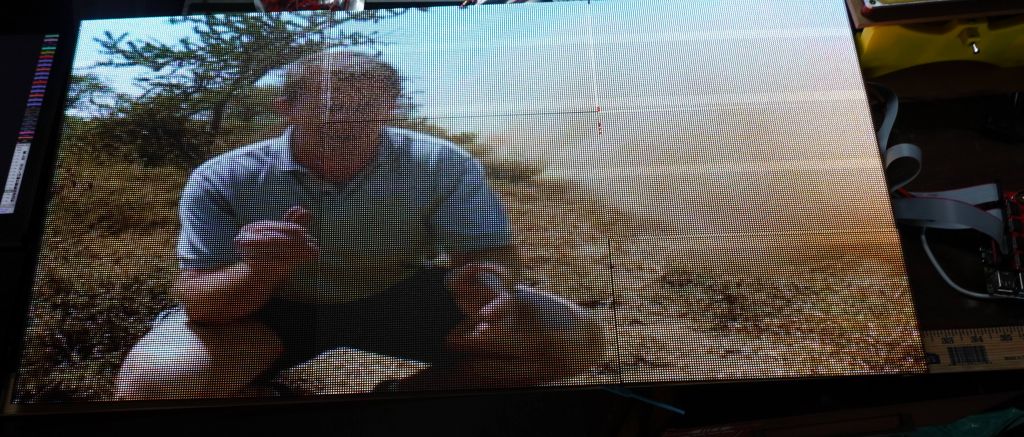
, not working (right), and after (left)")

")


")