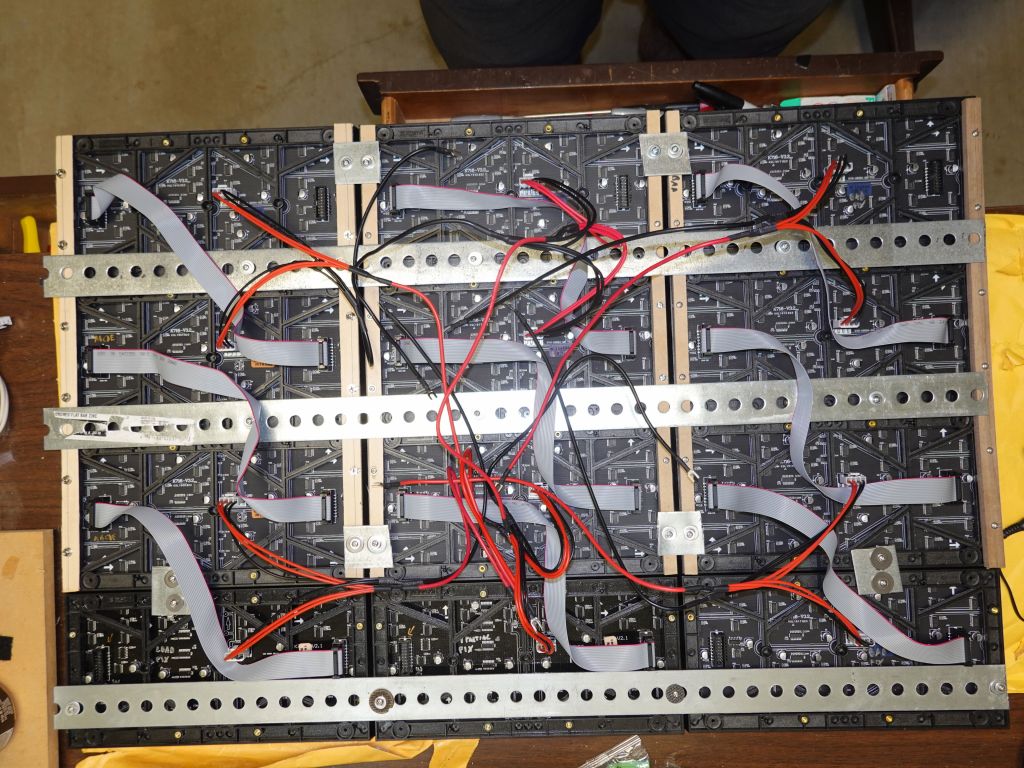
victory, first time I got those new panels to light up
I ended up getting 15 such panels from the nice folks at Azerone, because they were returns as other people couldn't use them due to lack of FM6126A support in the open source drivers at the time:
if only I had proper mounting hardware, this would be a decent 192x160 array
Ok, after writing this blog, I ended up getting a recommendation for rails, which weren't built for this but worked well enough:
you'll need something to cut the rails that are too long. I used a set of bolt cutters I had, some saws may work too, but the rails are pretty thick
holes don't all match, but enough of them do. Note that I put the panels in Z pattern
adding power
on my first try, the metal cut the ribbon cable, so I removed the top loop to avoid having it go towards the metal
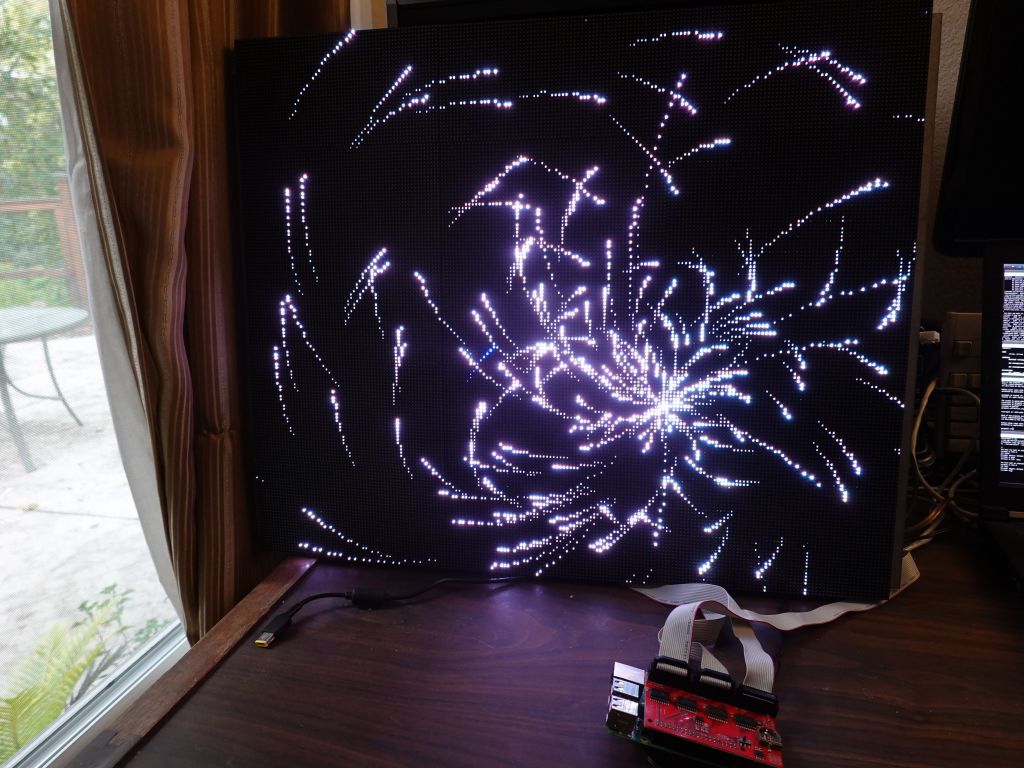
Now, I had an expected problem that hzeller/rpi-rgb-led-matrix did not support panels stacked vertically, never mind if every panel was upside down. I ended up writing a new mapper that allowed both vertical stacking and zig-zag. After that, success was had, end result was about 300Hz for 31K pixels with the active-3 board:
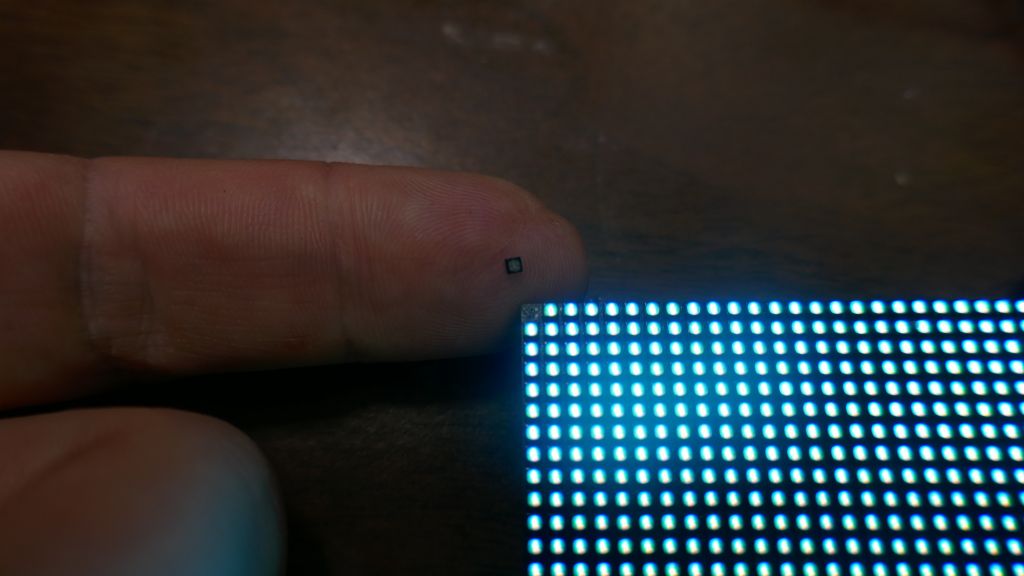
That said, while that bigger matrix with those 15 panels was 192x160, I had bigger plans. I got distracted due to other work, but then P2 panel appeared (2mm per pixel). The downsides of those panels is that the copper traces are so small that pixels come off easily, including during shipping:
even pixels that don't pop off can be partially failed
using the active-3 board with 3 chains of one panel each on rPi3
The first issue was that the newer 128x64 panels were FM6126A, which didn't work with default libraries as they need a special init. Thankfully this was added to rpi-rgb-led-matrix. Next issue was that refresh rate was going to suffer, and that's where the rPi solution is great: it allows for 3 channels in parallel thanks to the nice Electrodragon active-3 board.
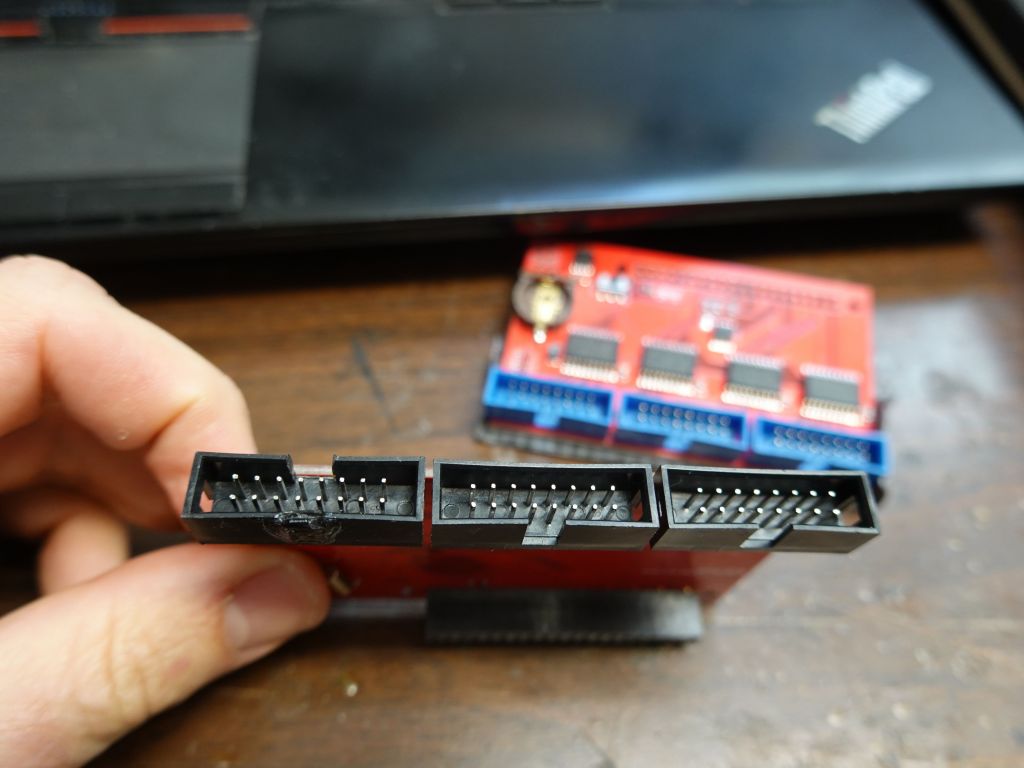
Chow He from Electrodragon was super nice, and sent me some boards with angled connectors (at my request) so that I could make the whole board more flat for my wearable application. I was really hopeful that I could put the connectors under the board for low profile after cutting the notch and moving it to the other side of the connector:
However, wire routing was such that pins were in the wrong order and it was impossible without re-routing all the wires on the board, so I did the next best thing and put the connector on top of the board, which is still more flush than when it was pointing up:
before (blue), not working (right), and after (left)
bottom is not possible, even after moving the notch
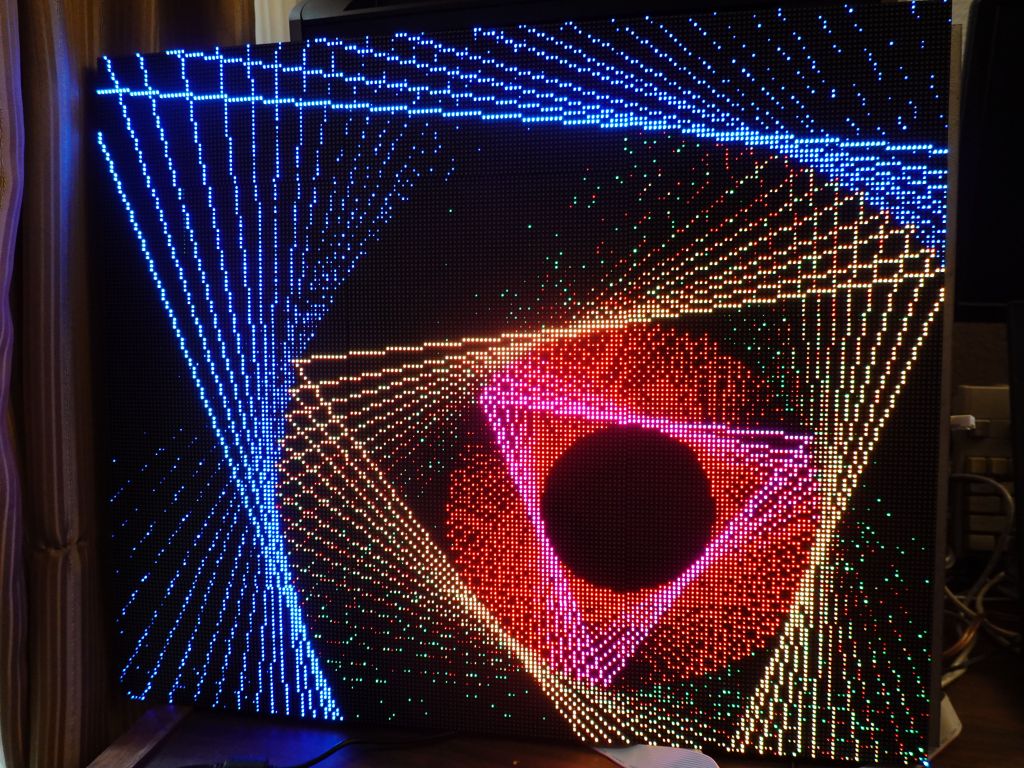
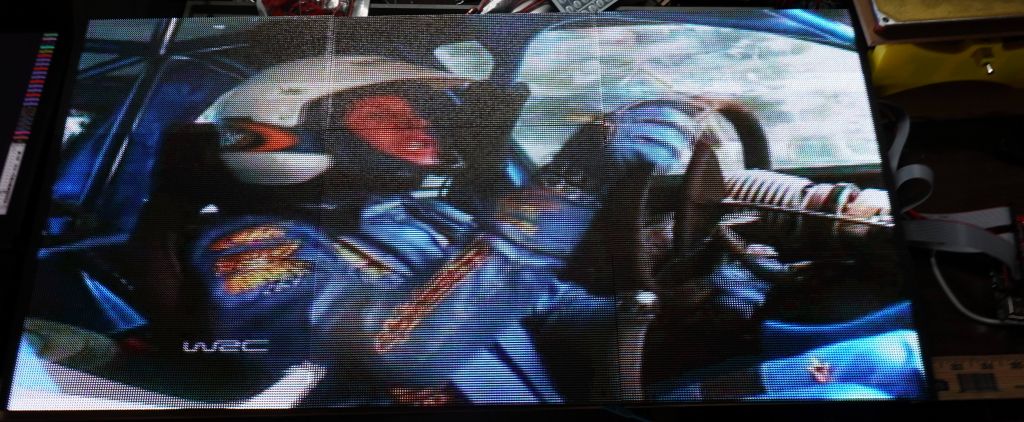
Still, 192x128 is a very nice display that happens to be the same size as my old 96x64 display using P4 panels, but since I ordered spare panels to get around the falling pixel problem, I had enough panels to make a 9x9 array of 384x192. I first tried with with rpi-rgb-panel's video viewer and it worked quite well:
During that time, I did a lot of work on 2D APis for Arduino and lots of backends, and wrote the base class, FrameBuffer::GFX. In a nutshell, it allow talking to a lot of hardware displays, now both on Arduino and Raspberry Pi:
Low Level Drv|Glue Driver for FrameBuffer::GFX
FastLED     - FastLED_NeoMatrix  -------------\     FastLED CRGB Array
SmartMatrix - SmartMatrix_GFX -----------------\    24bit FB storage        API Support
ILI9341 \                                       \   CRGB methods like
SSD1331  |--- FastLED_SPITFT_GFX ----------------\  scale8/fadeToBlackBy   ,FastLED API
ST7735  /                                         |        |              / (XY 2D to 1D mapping)
                                                  |        |

ArduinoOnPc-FastLED-GFX-LEDMatrix arduino         - FrameBuffer::GFX------ Adafruit::NeoMatrix +
emulation for linux / Raspberry Pi:               |        |             \ Adafruit::GFX APIs
----------------------------------               /    Adafruit::GFX       \
rpi-rgb-led-matrix - FastLED_RPIRGBPanel_GFX ---/   LEDMatrix (optional)   `LEDMatrix API
ArduinoOnPC X11/linux - FastLED_TFTWrapper_GFX

FastLED_SDL (linux)   -  FastLED_NeoMatrix   -/
This first demo of simple demo code that scaled up pretty quickly, explaining some of the challenges of scaling past 256 pixels in any dimention and 64K pixels total which hits a FastLED uint16_t limit:
This is an early demo of my shirt code running on a display that is so much bigger than what it was built for:
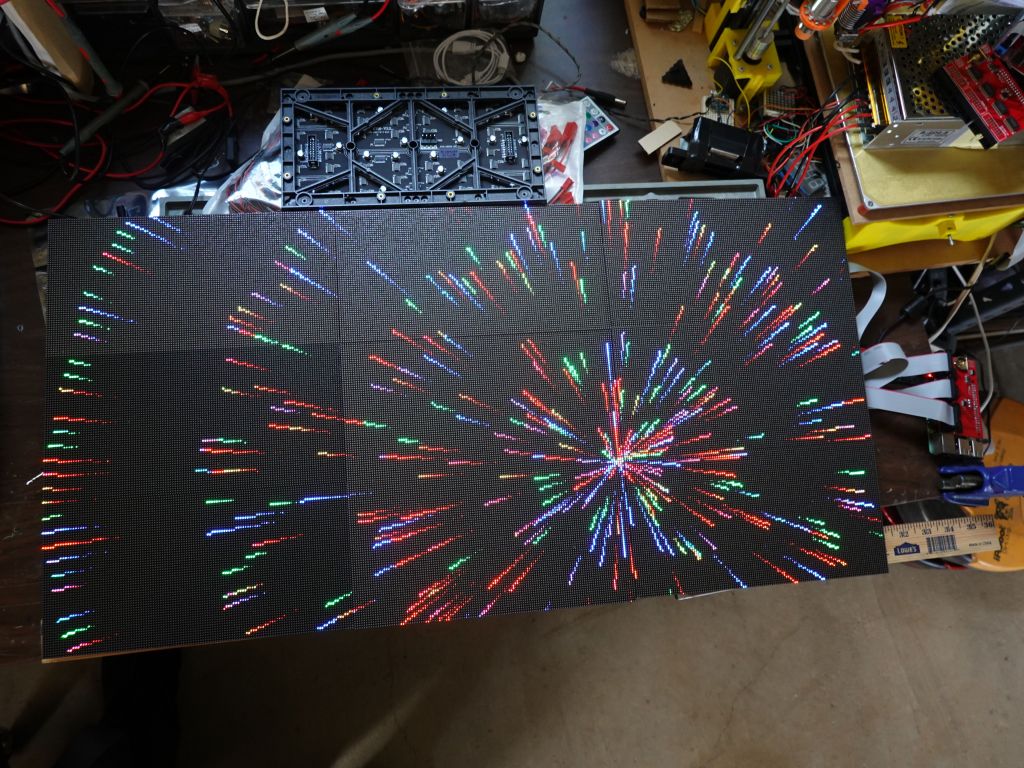
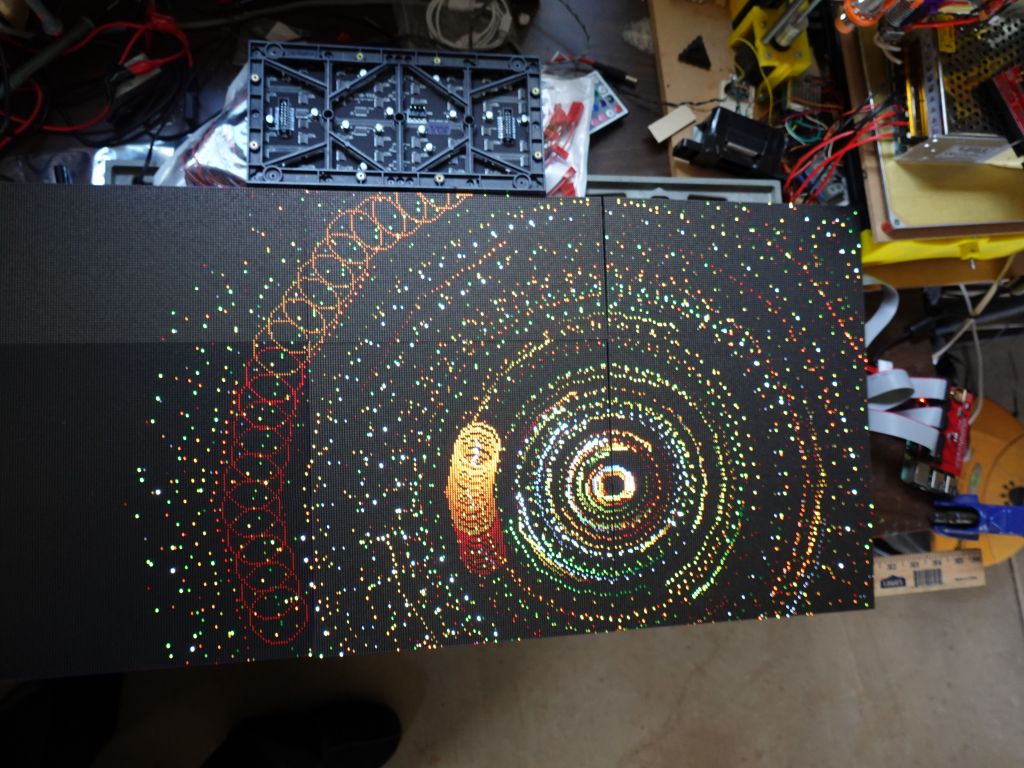
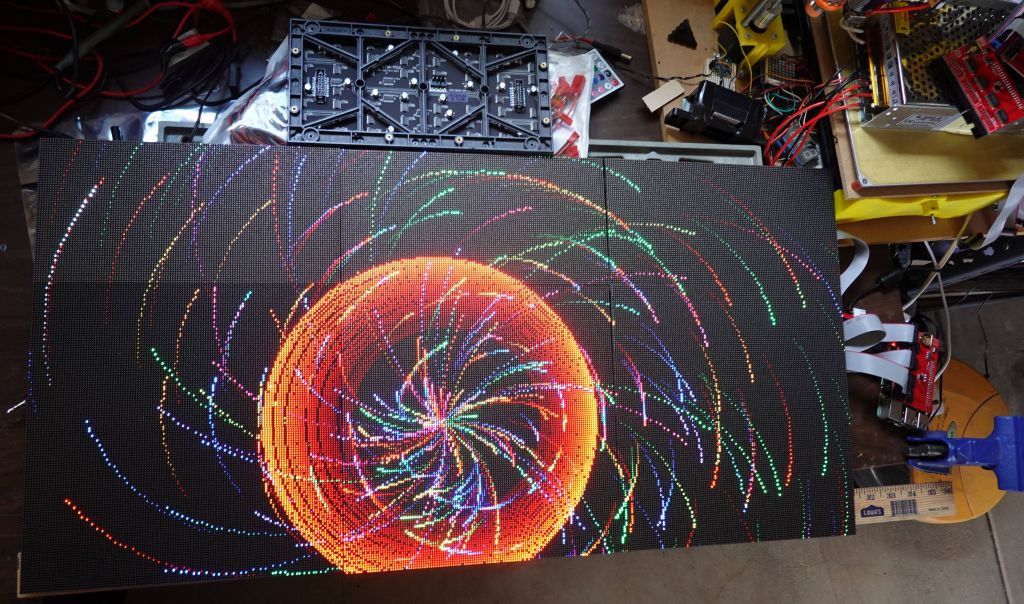
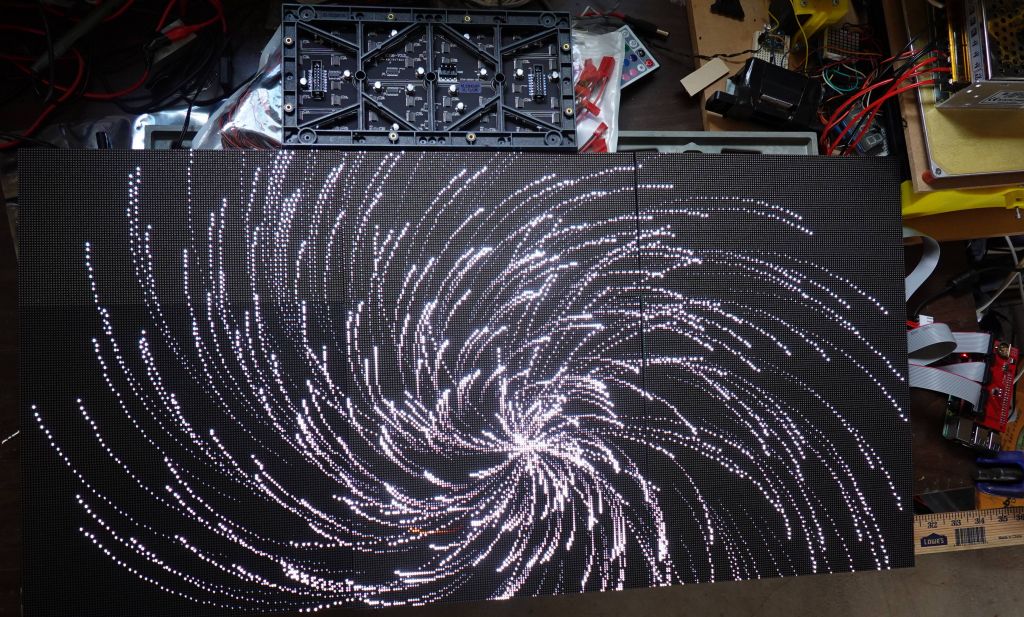
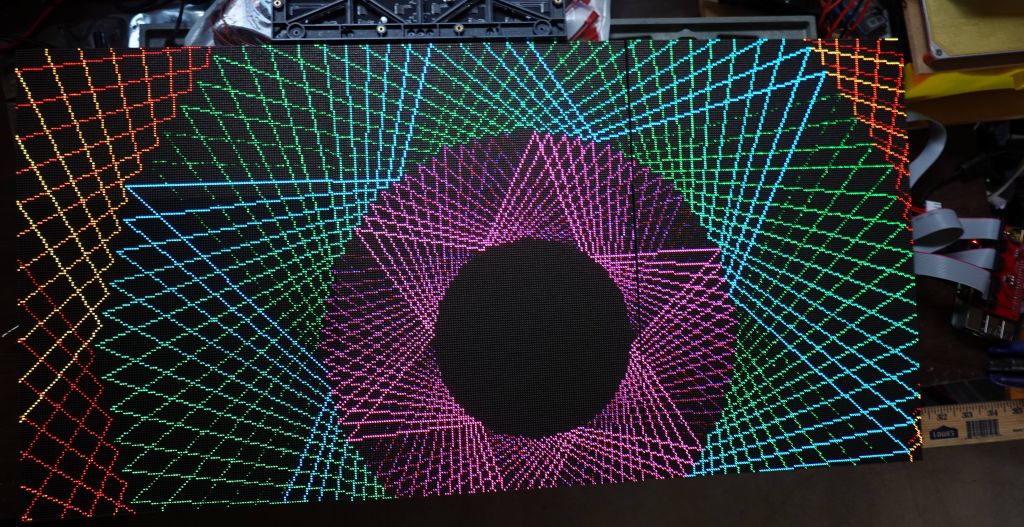
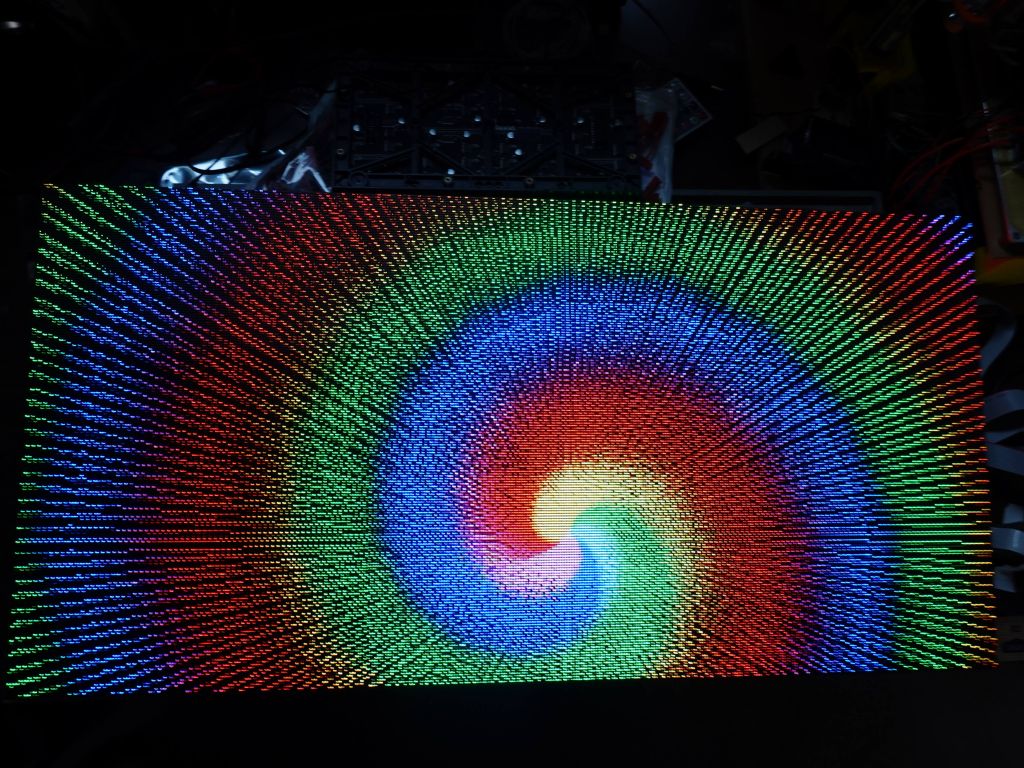
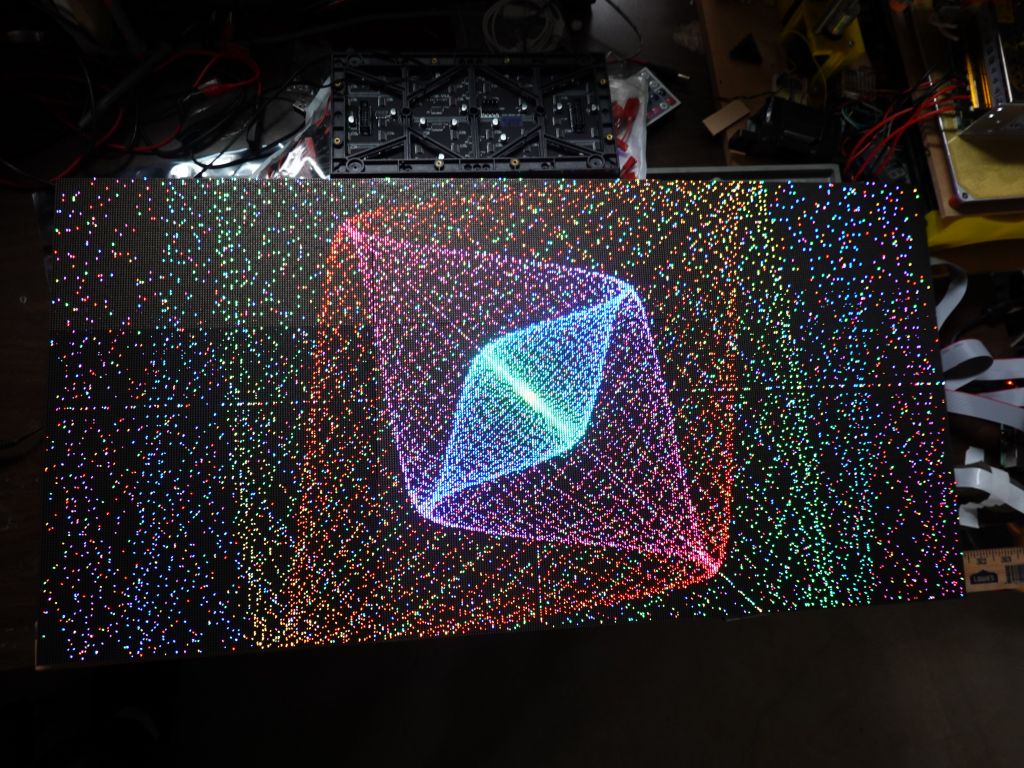
After some work to find a couple of crash bugs that came from scaling up, I was able to run Mark Estes' fantastic demo code I was able to scale up to such big displays without too much trouble. See Table_Mark_Estes1 and 14.
Table_Mark_Estes:
Table_Mark_Estes14:
Just put back an idea of scale between my first panel at 24x32, all the way up to 384x192. Yes, those are the exact same sprites with LEDSprites:
While 384x192 is starting to push the physical refresh limits that are acceptable for a 3 parallel chain setup, I'm going to try 384x256 for fun once I can get the pixel mapping to be correct. Bigger than that will require multiple control boards and synchronization by some network:
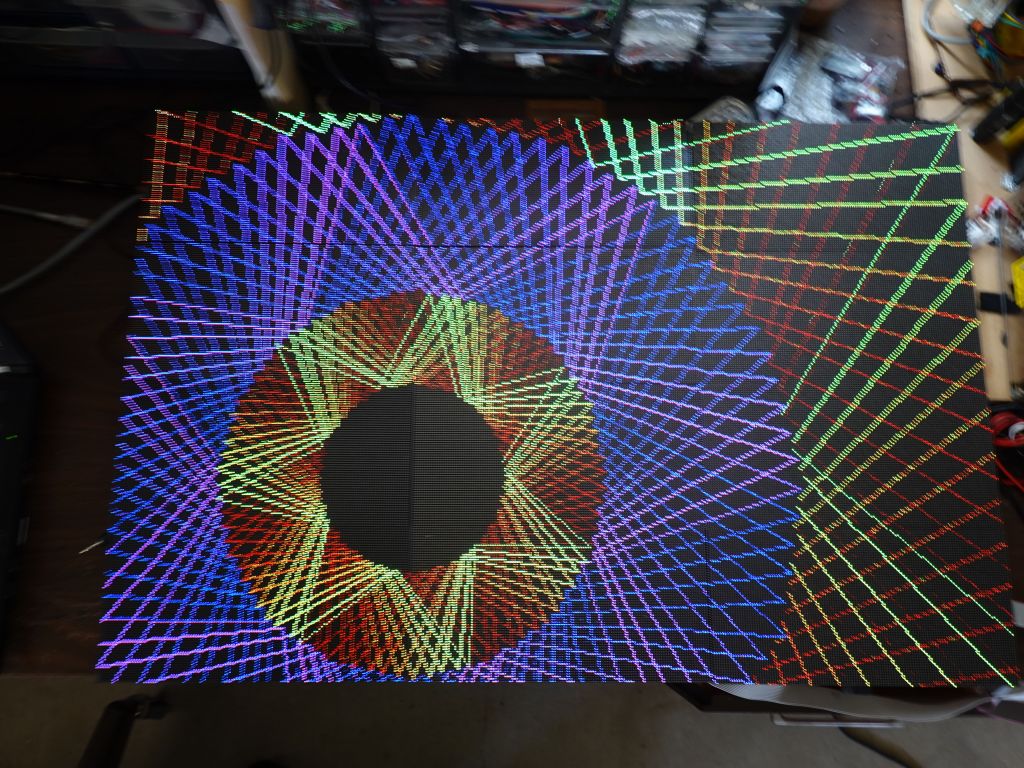
this was my first attempt, panel mapping didn't work, I'd have to write my own
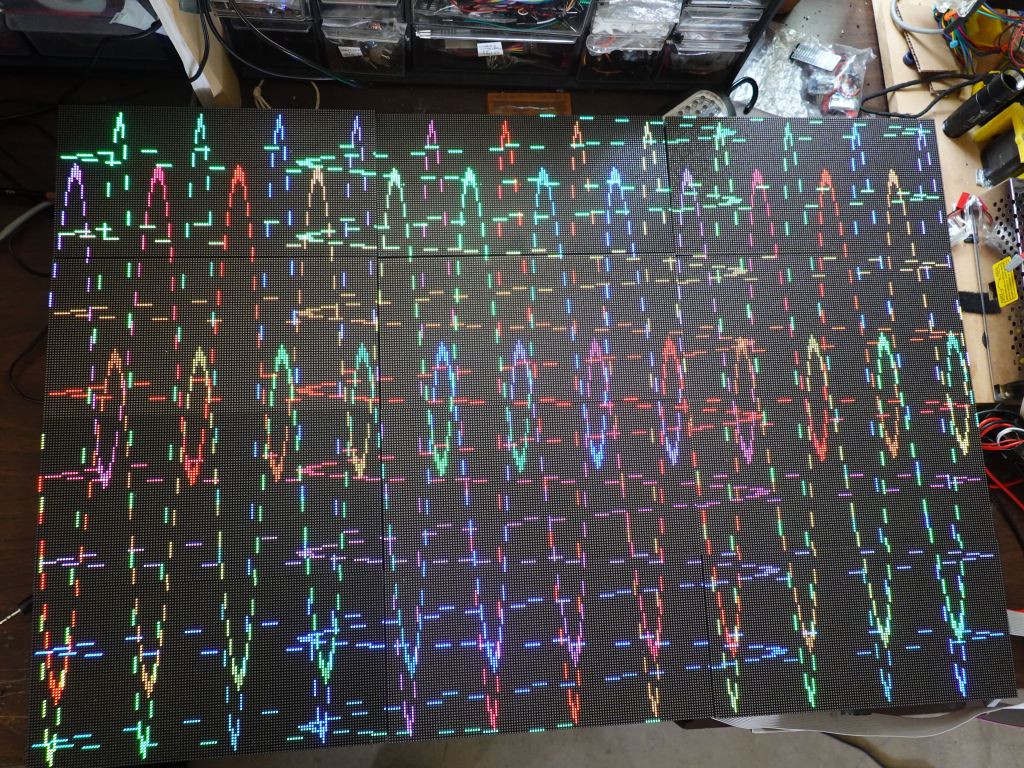
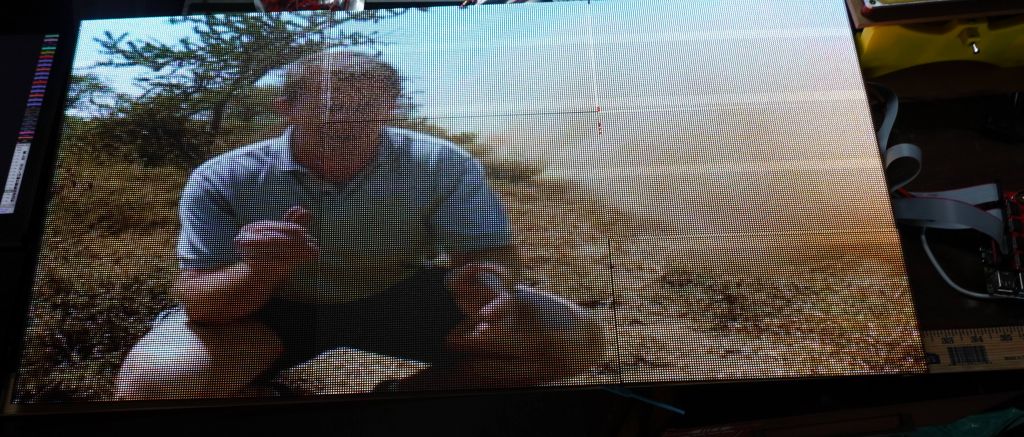
Interestingly, SmartMatrix adds panels in the vertical direction by default, while rpi-rgb-led-matrix adds them horizontally. This means I had to write a new Mapper for it: V-Mapper, which allowed me to make 3 parallel horizontal chains. The end result is not great as refresh rate is only 100Hz, but it works:
success!
that was a lot of work for a low resolution screen :)
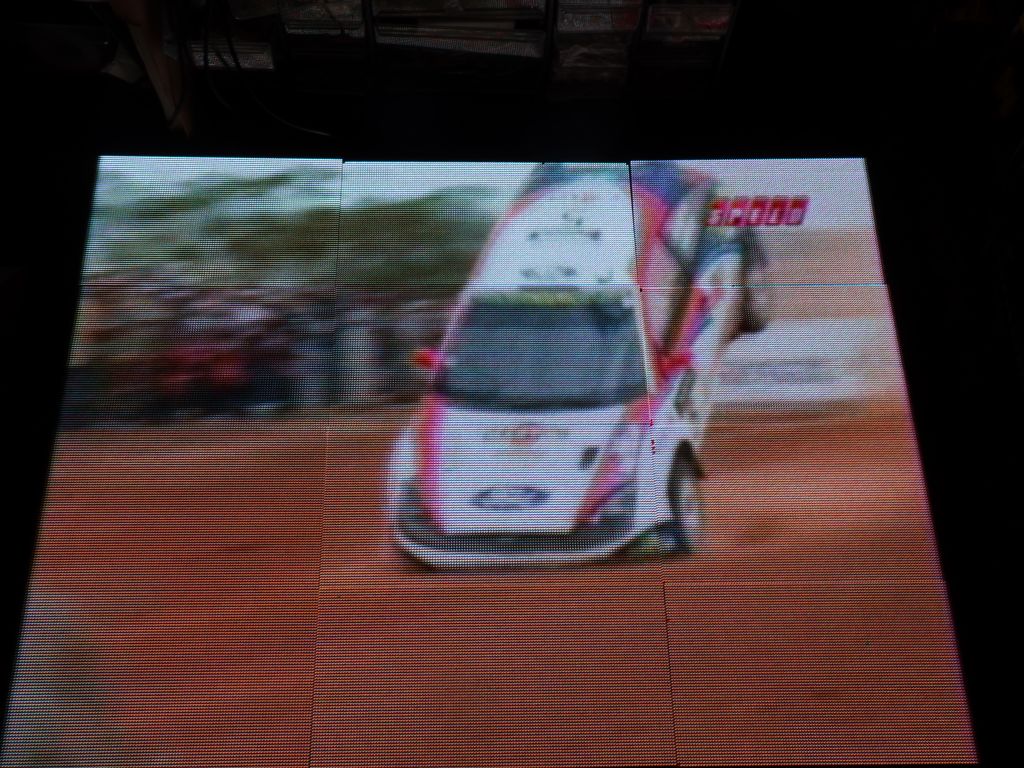
video still plays
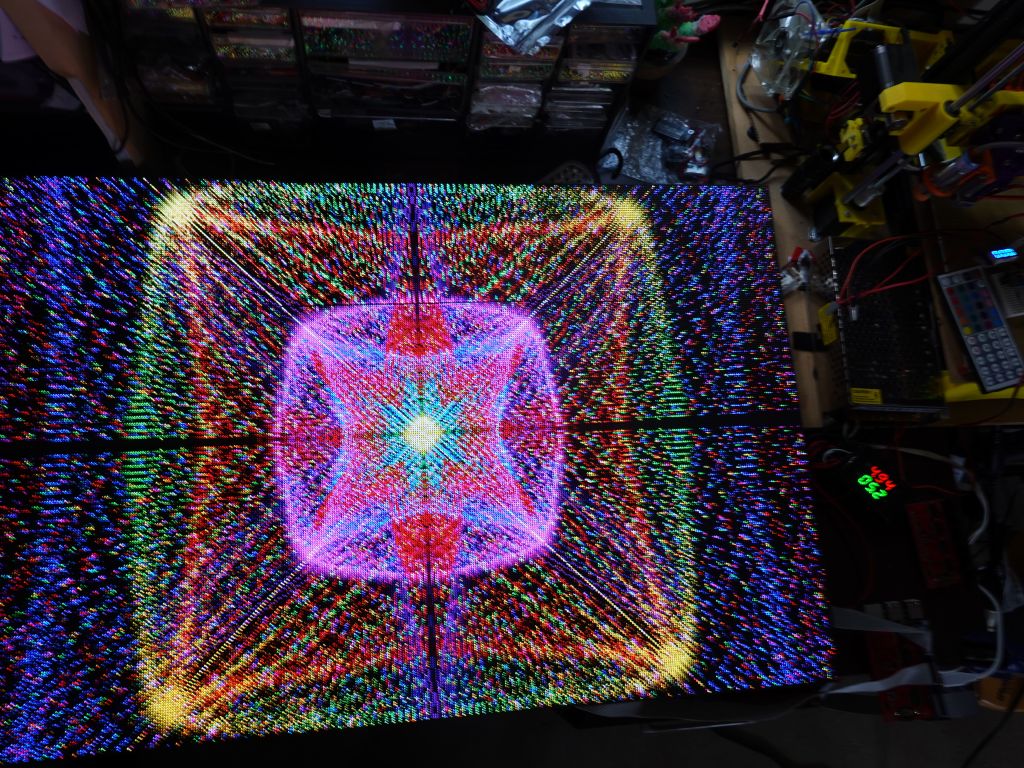
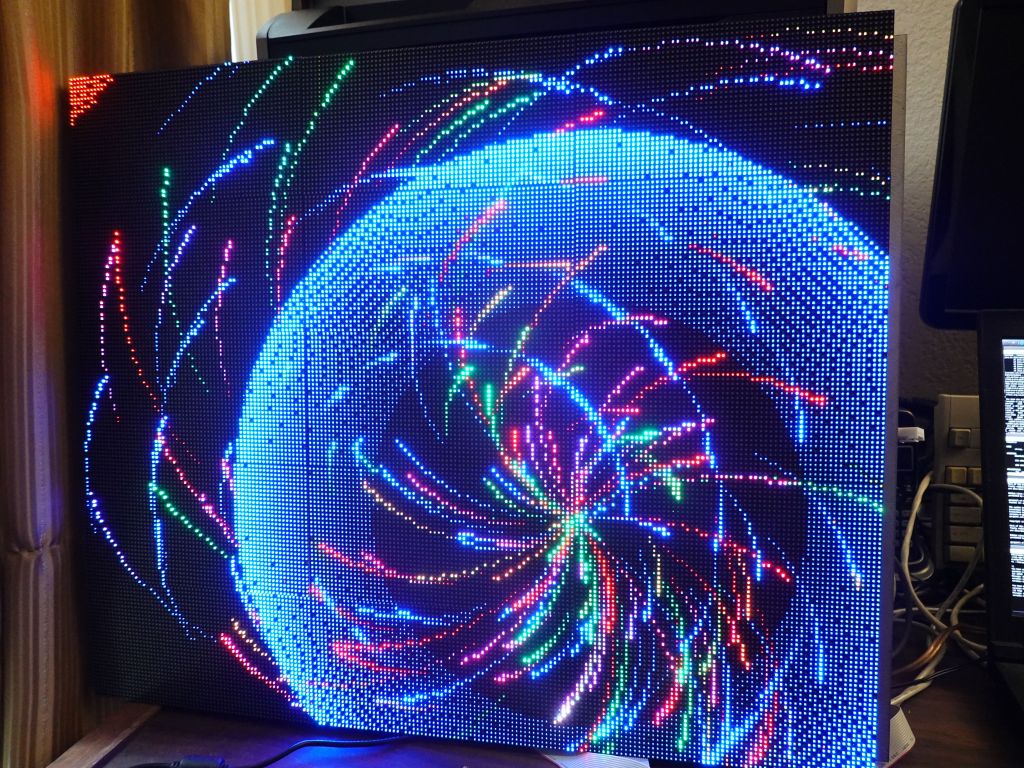
New pictures of Table_Mark_Estes in the higher resolution:
As above, thanks again to Chow He from Electrodragon for the great and cheap active-3 boards, and big thanks to Hongren Su from Azerone for selling me the panels I have used so far. You can find the Azerone store on amazon for panels you can buy and the 128x64 P2 Panels here.
On the software side, many people to thank, but obviously I wouldn't have gotten started with Adafruit, Louis Beaudoin for SmartMatrix on arduino chips, and Henner Zeller for rpi-rgb-led-matrix of course.
Getting Higher Speeds
Pushing 256 lines deep (with 128 pixels wide for each chain) is pushing the limits of how much data you can push and still get an acceptable refresh rate. I had to lower some quality numbers to get a usable refresh rate:
rgb_matrix::RGBMatrix::Options defaults;
defaults.hardware_mapping = "regular"; // or e.g. "adafruit-hat"
defaults.rows = 64;
defaults.cols = 128;
defaults.chain_length = 4;
defaults.parallel = 3;
// 50 is faster but makes the screen dimmer
defaults.pwm_lsb_nanoseconds = 100;
// lower color depth definitely helps refresh
defaults.pwm_bits = 7;
// Time dithering of lower bits
// 2 changes speed from 400Hz (from 160Hz)
// 1 is also a faster option that's a bit brigher
defaults.pwm_dither_bits = 2;
defaults.led_rgb_sequence = "RBG";
defaults.panel_type = "FM6126A";
defaults.pixel_mapper_config = "V-mapper";
This is a temporary frame I made for my 384x256 array, itself made out of 3 smaller 128x192 arrays I was going to use as portable battery powered frames for my outfit. Unfortunately I used one bolt that was a bit too long and damaged a line on one panel when I screwed it in. Doh :(


, not working (right), and after (left)")

")


")