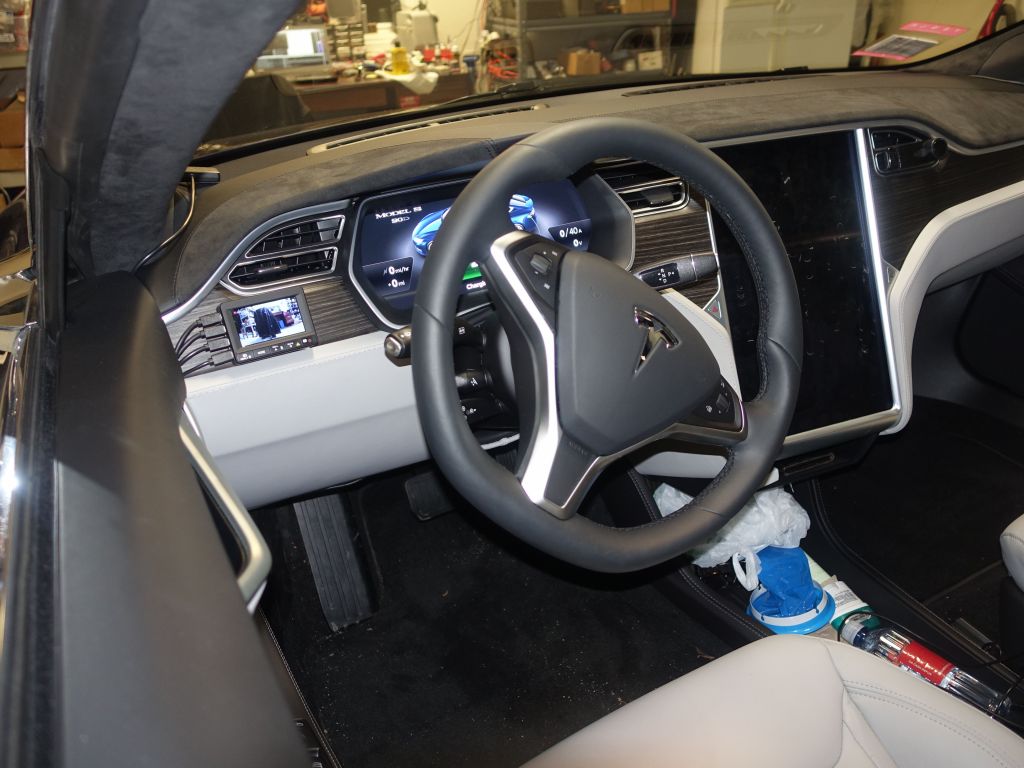
I bought a Spy Tec K1S, which is a very nice dual dashcam, and I figured I would put the front cam in the car's nose so that I can also use it as a parking cam to avoid hitting those curbs you can't ever really see, and that are sometimes too low to be picked up by the parking sensors.
For some reason, a set of Telsa owners have bought blackvue DR500 or DR600 dual dashcams, but I don't understand why you'd buy those when they cost more than the K1S, and do not come with a handy little screen you can put anywhere in your dash. http://teslatap.com/modifications/dash-cam/ talks about it, but this was clearly not my choice. My Spy Tec K1S dashcam was better, cheaper, and more versatile :)
The main problem was routing the cable through the firewall and knowing how to take panels apart. Quick google searched turned out some pages:
routing a wire through an existing hole in the firewall in an unused grommet: http://teslatap.com/modifications/running-wires-through-the-firewall
Adding the stock rear camera in the front with a switch: http://www.teslarati.com/tesla-model-s-front-camera-touchscreen-kit
removing thoe nose cone (easy, it just unclips): https://my.teslamotors.com/no_NO/forum/forums/removing-nosecone-parking-sensors
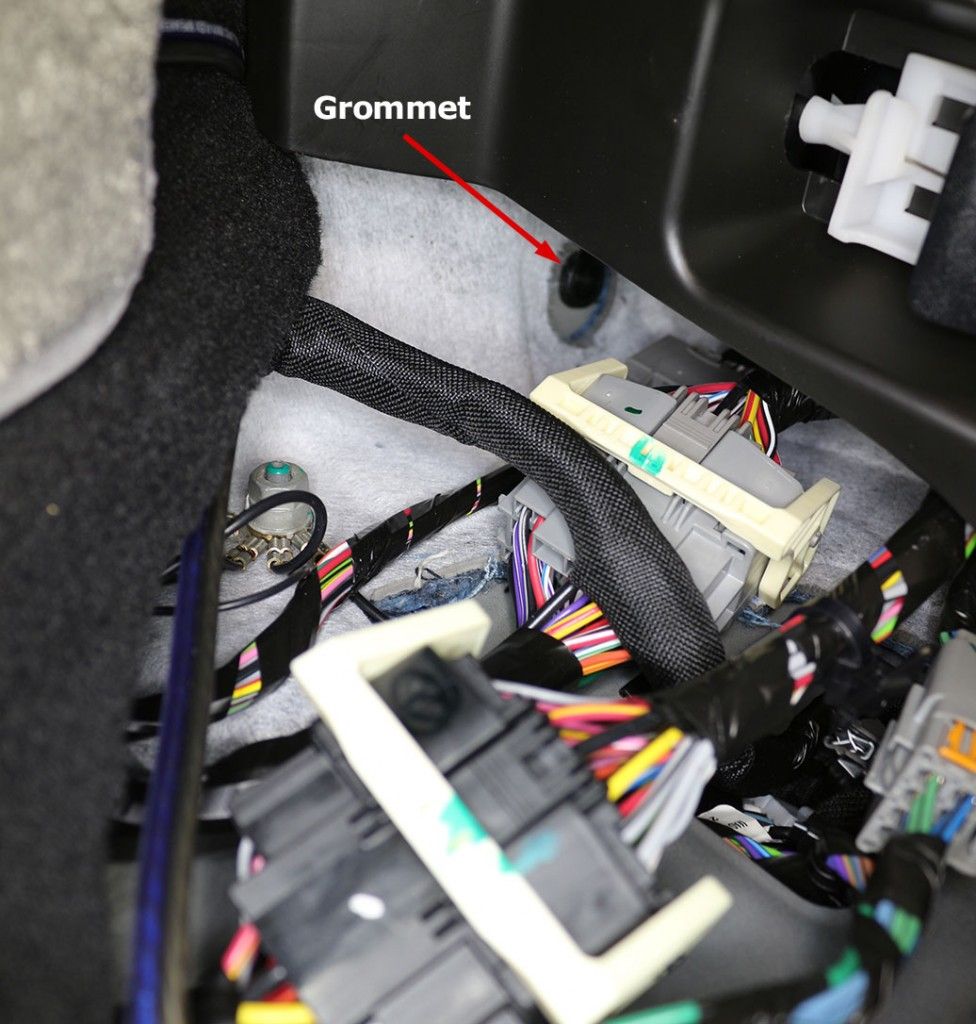
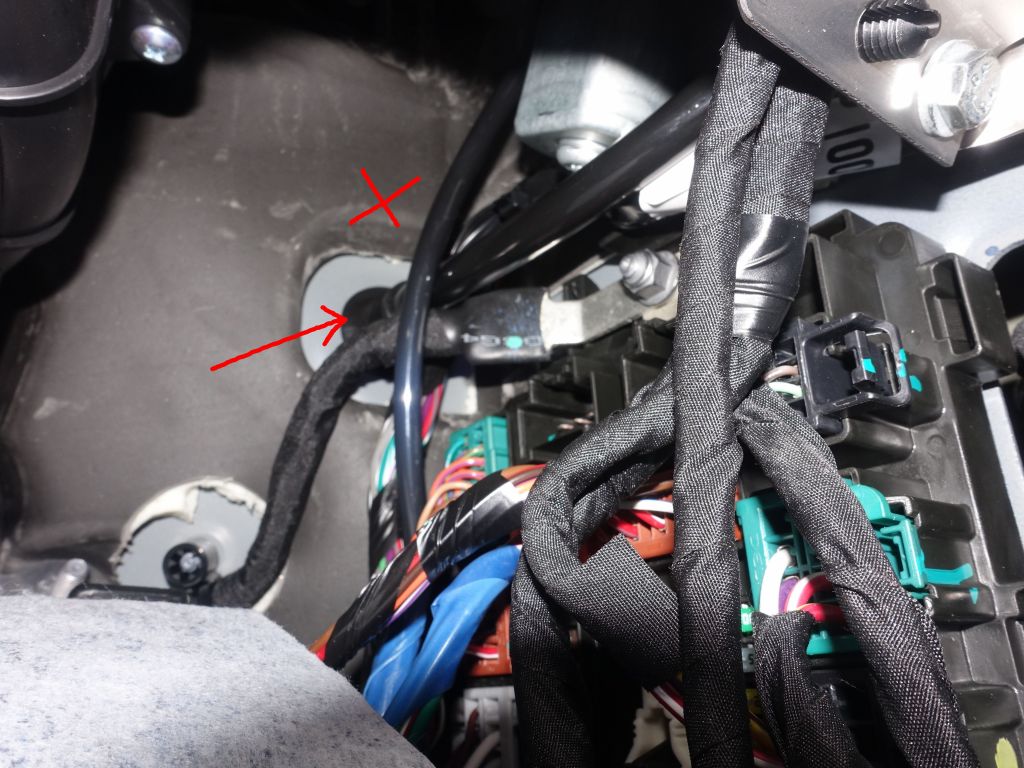
Sadly the first page makes it sound easy to just use the hole with an unused grommet, but in my loaded up car, that grommet was used by a drain plug (I'm getting the pano roof) and proved mostly impossible to take apart (I tried pushing the grommet back from the frunk side to the cabin side, but didn't manage).

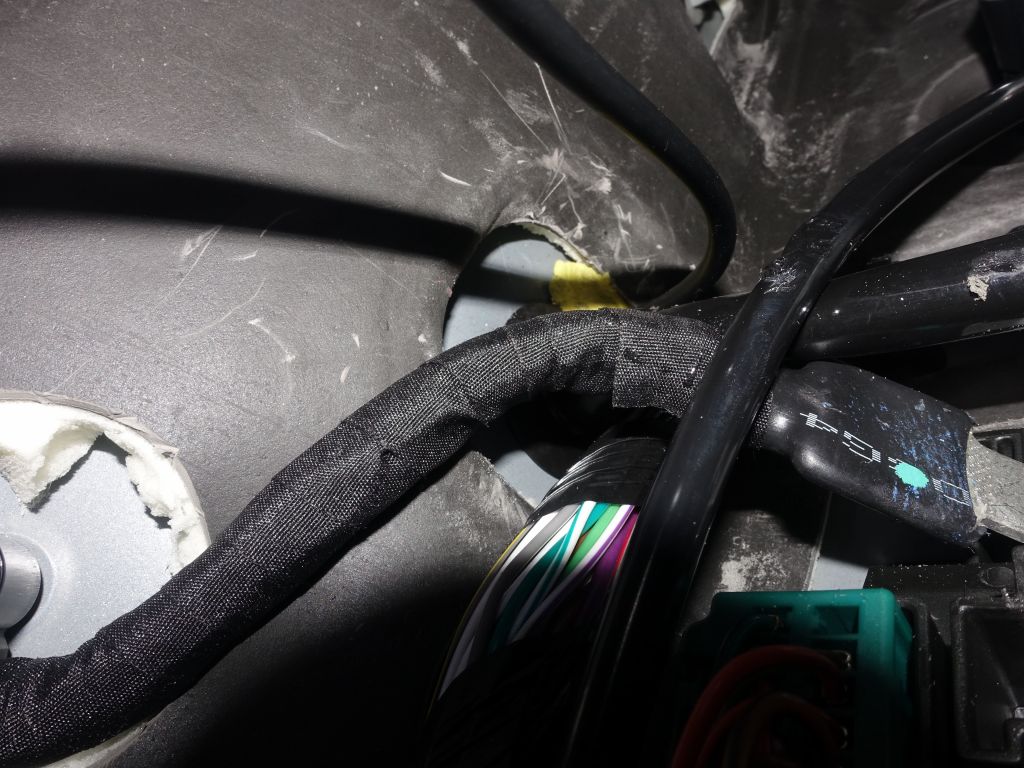
this is how it looks like if you're lucky
In my case, I was stuck making a new hole just above that grommet, and it was easier to do from the cabin side above the grommet and towards the frunk side. I just used a cordless power drill with a metal bit. Once to make a reasonable hole, and a 2nd time to make one big enough to fit a mini USB plug through the whole (required for the dashcam). I then used silly putty like blue tack (that was yellow) to plug the hole since I didn't have a new grommet that was big enough).
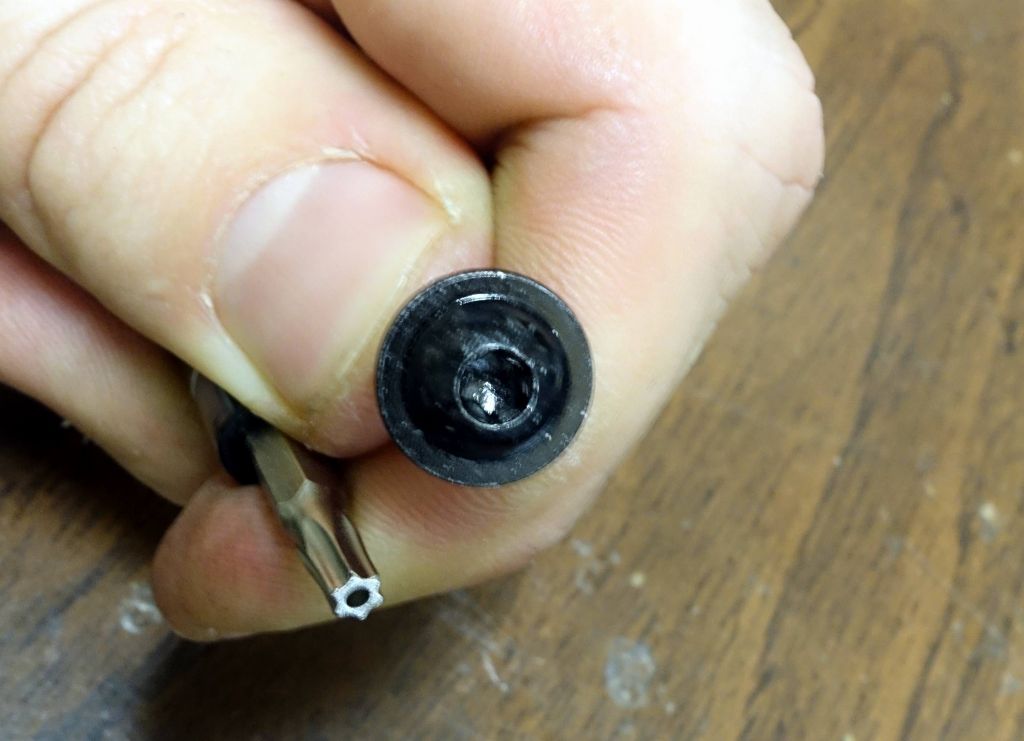
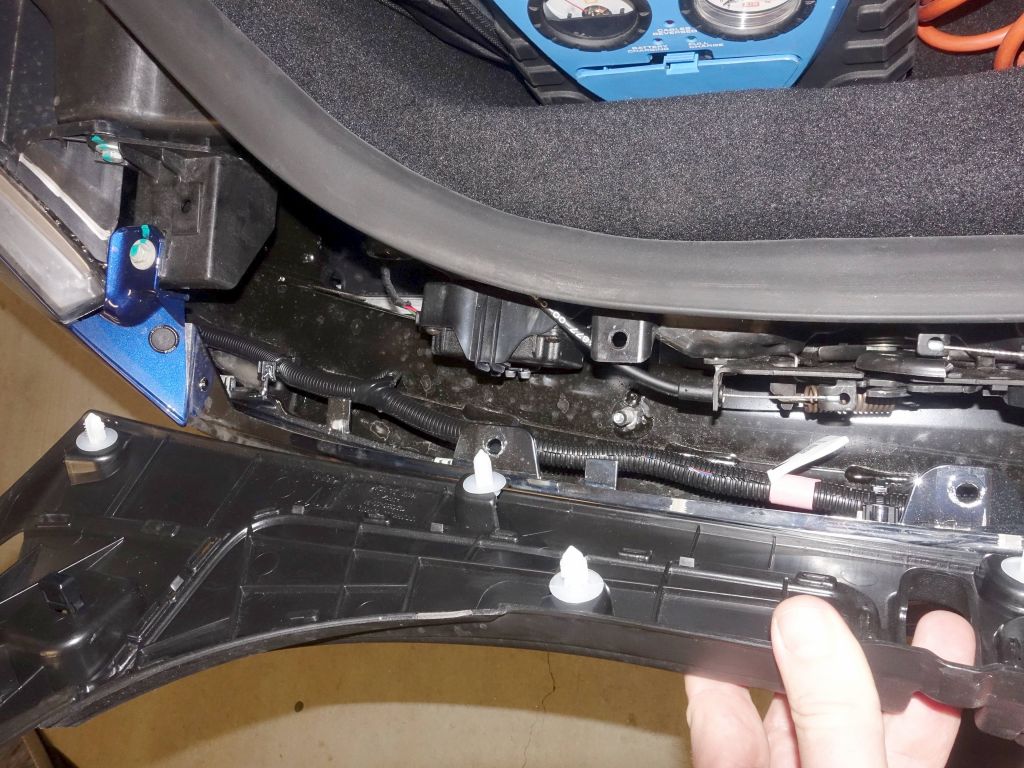
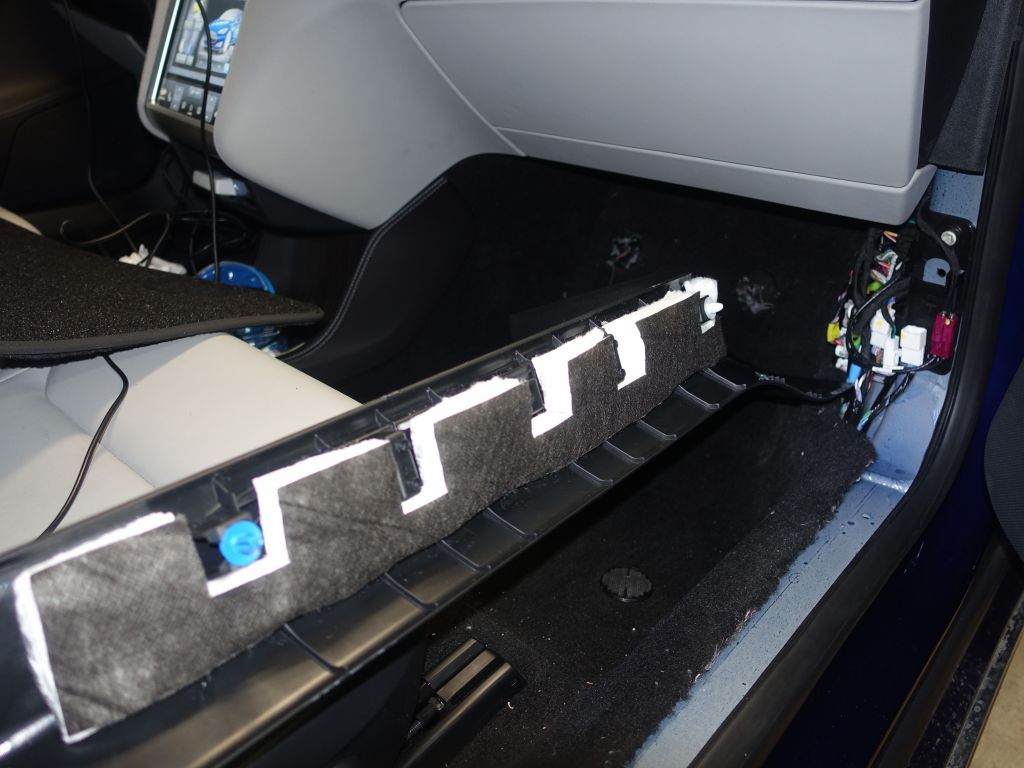
I spent too long taking out panels that didn't need to be taken out until I figured out that I only needed to take out one panel with a special T15 screw. The magic panel is on top of the passenger feet, there is a single screw to take out:
This is on the passenger side by the door, but you need to remove the panel on top:
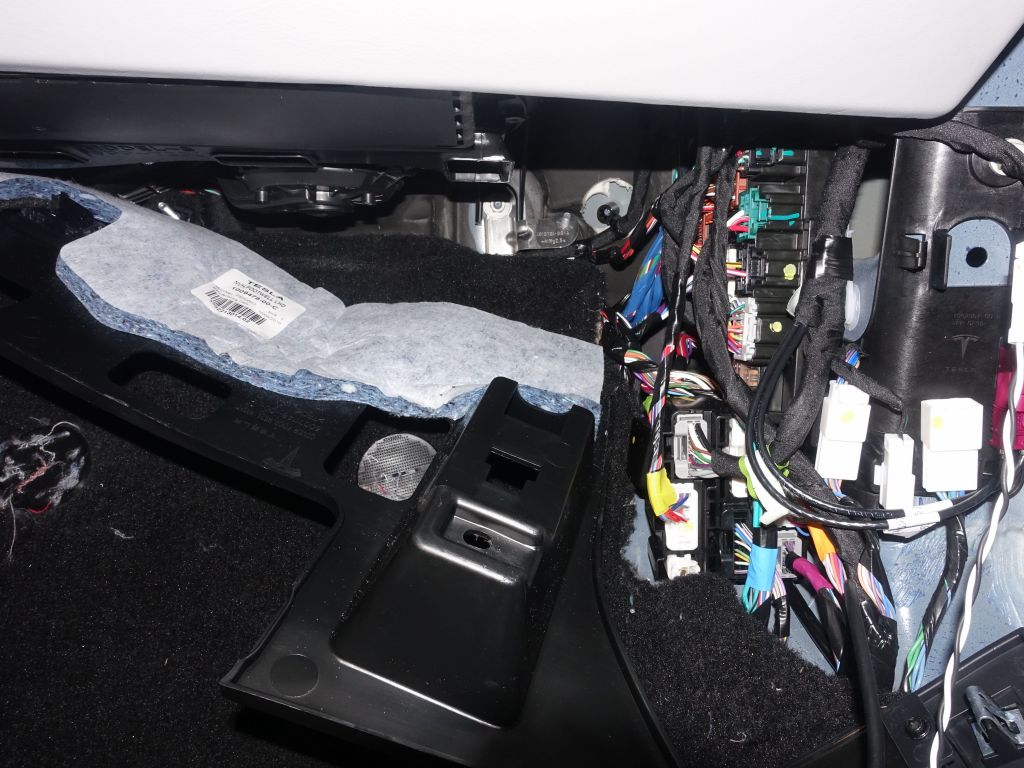
After that, you make a hole above the grommet with a drill (unless your car isn't using that drain plug):

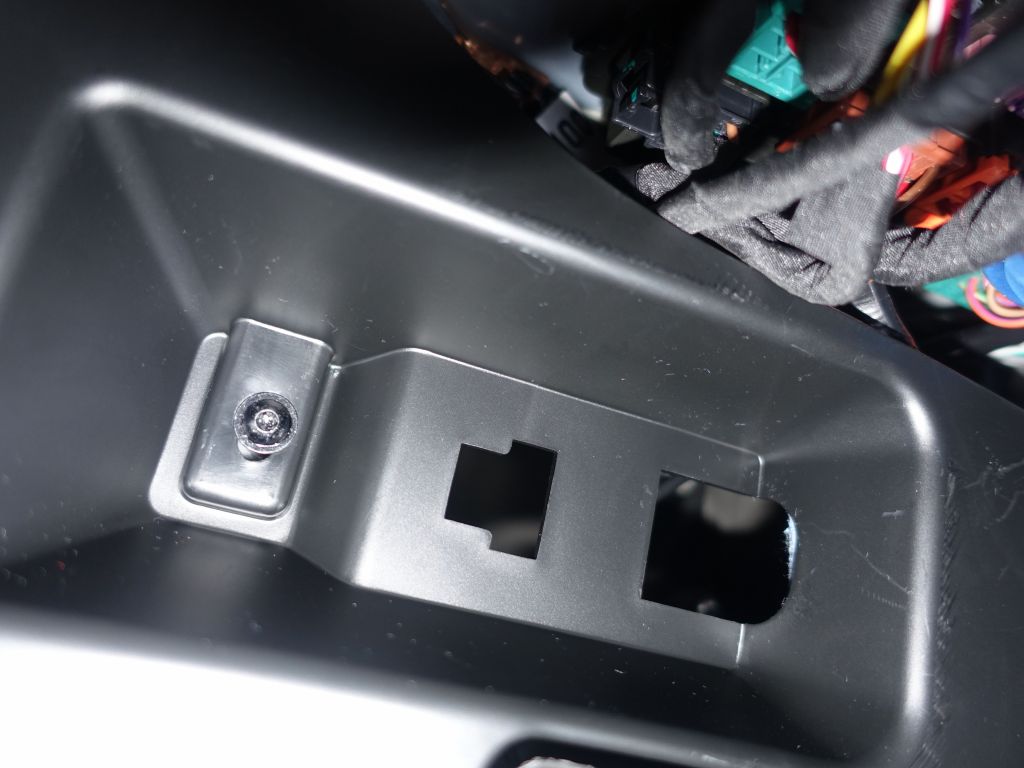
my USB cable now fits through the hole
http://teslatap.com/modifications/running-wires-through-the-firewall/ does a good job explaining how to take off panels in the front, except the part about the grommet hole which can't be used on my car:
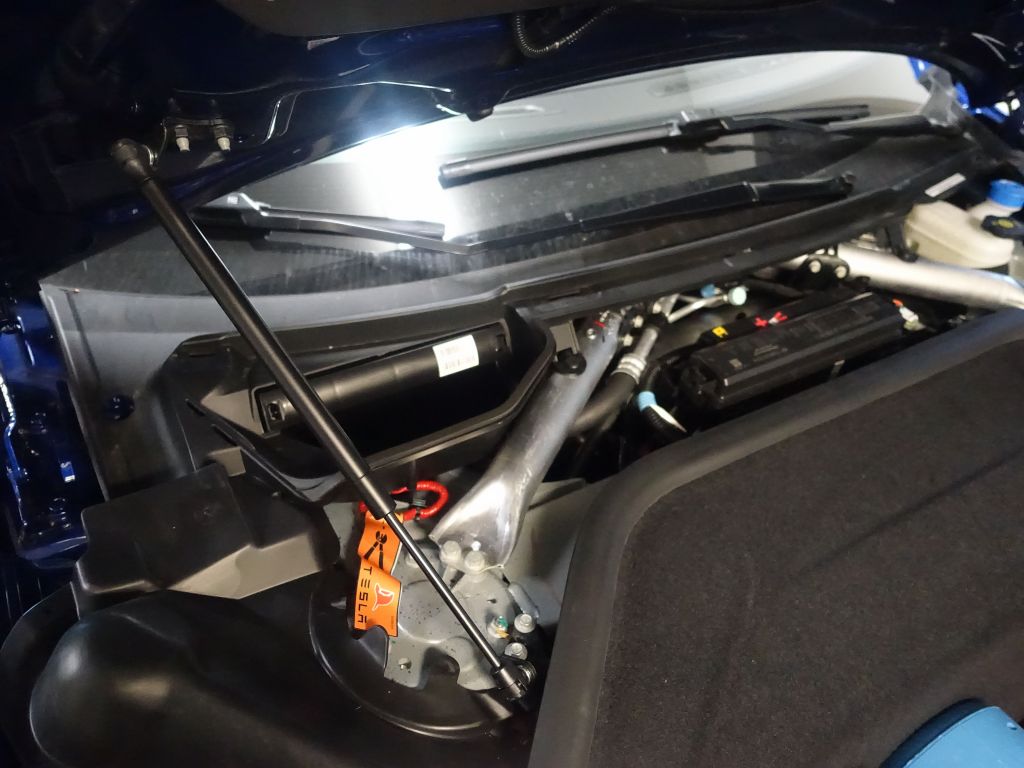

behind the air filter, you see the orange conduit
")
I then put the cable through the new hole I made above the grommet (fairly hard to make the hole from that side, so do it cabin side)
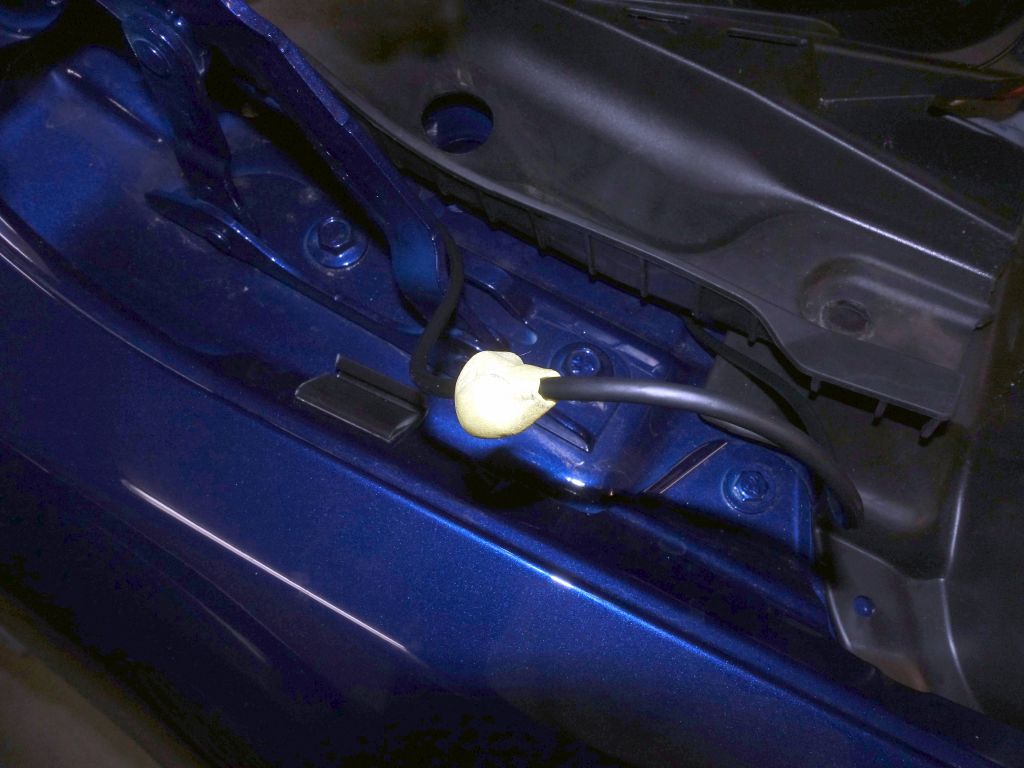
To plug the hole, I used yellow blue tack, silly putty would also probably have worked. It's not approved material, but that's what I had:
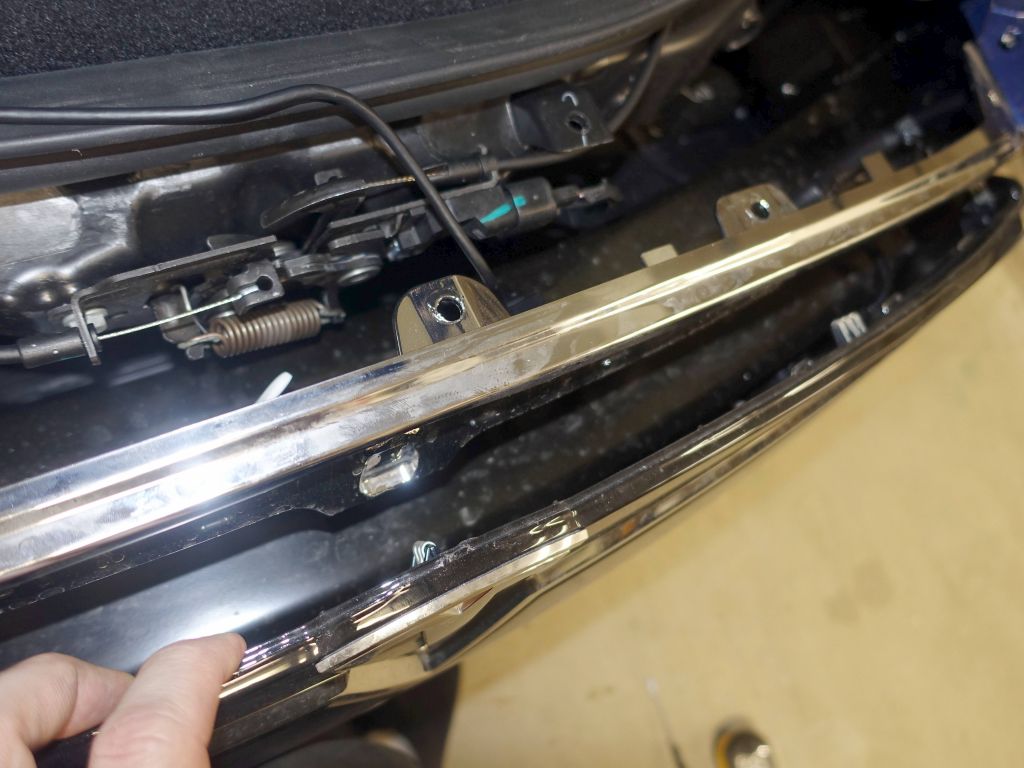
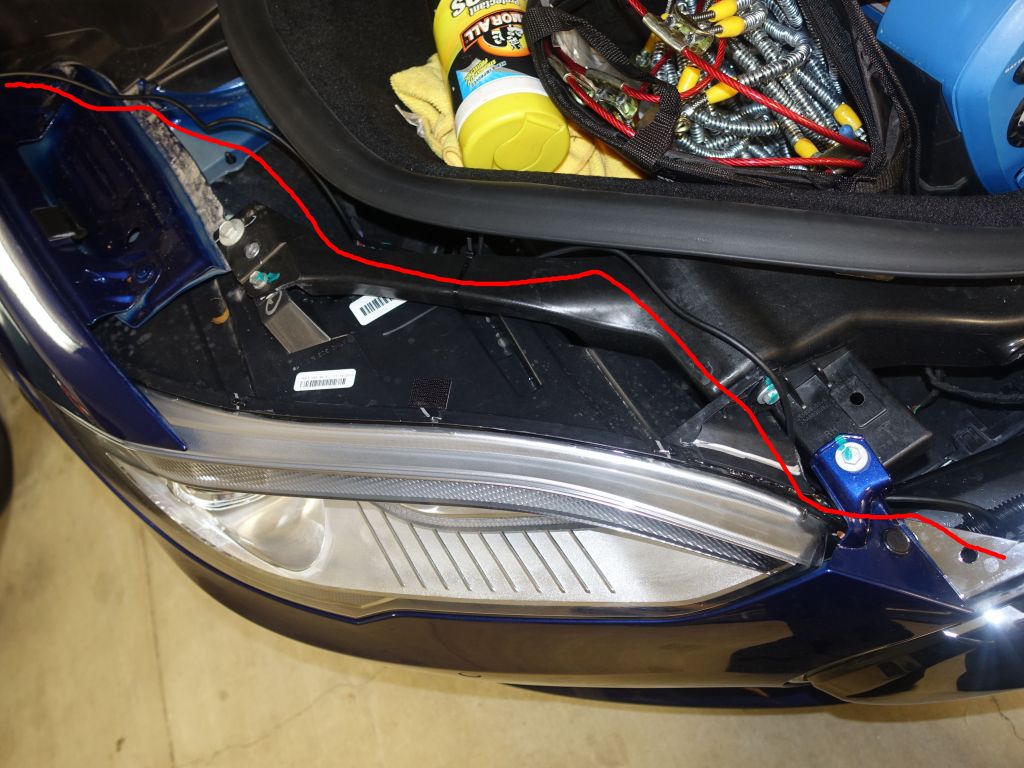
Now that the cable is through, you need to bring it to the front grill. the front piece just unclips:
Then the nose grill also unclips:
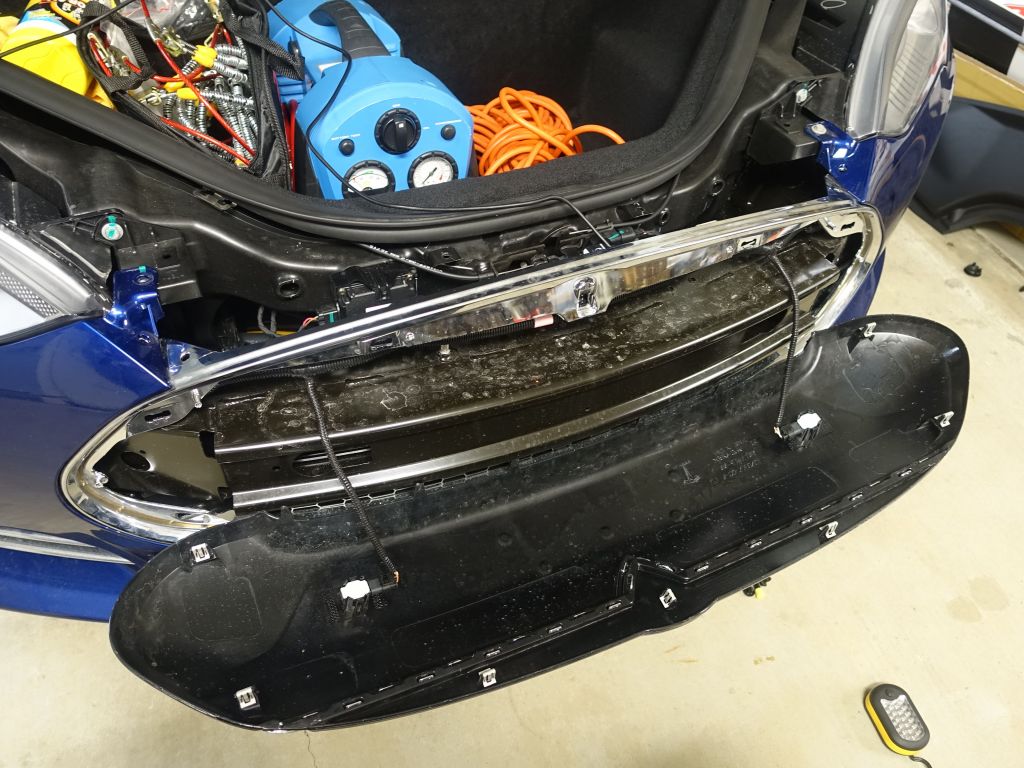

zip tie the camera and route the cable
Turns out I did not need to unclip the door sill:
And like all good jobs by non professionals, I ended up with a spare fastener I have no idea where to put back :)

And here is the end result: